

Paver maintenance is the routine of sweeping, washing, re-sanding joints, sealing and repairing patio, driveway and walkway pavers so the surface stays level, clean and stable. Pavers are individual units set on compacted stone and sand, and joint sand locks the units together. Paver maintenance protects that joint sand, stops weeds and stains from taking hold, and keeps water draining off the surface.
This guide gives the full routine in order: how often to clean and seal pavers, safe washing methods, weed, moss, algae and stain removal, joint sand replacement, sealer types, a seasonal schedule and the DIY or professional choice.
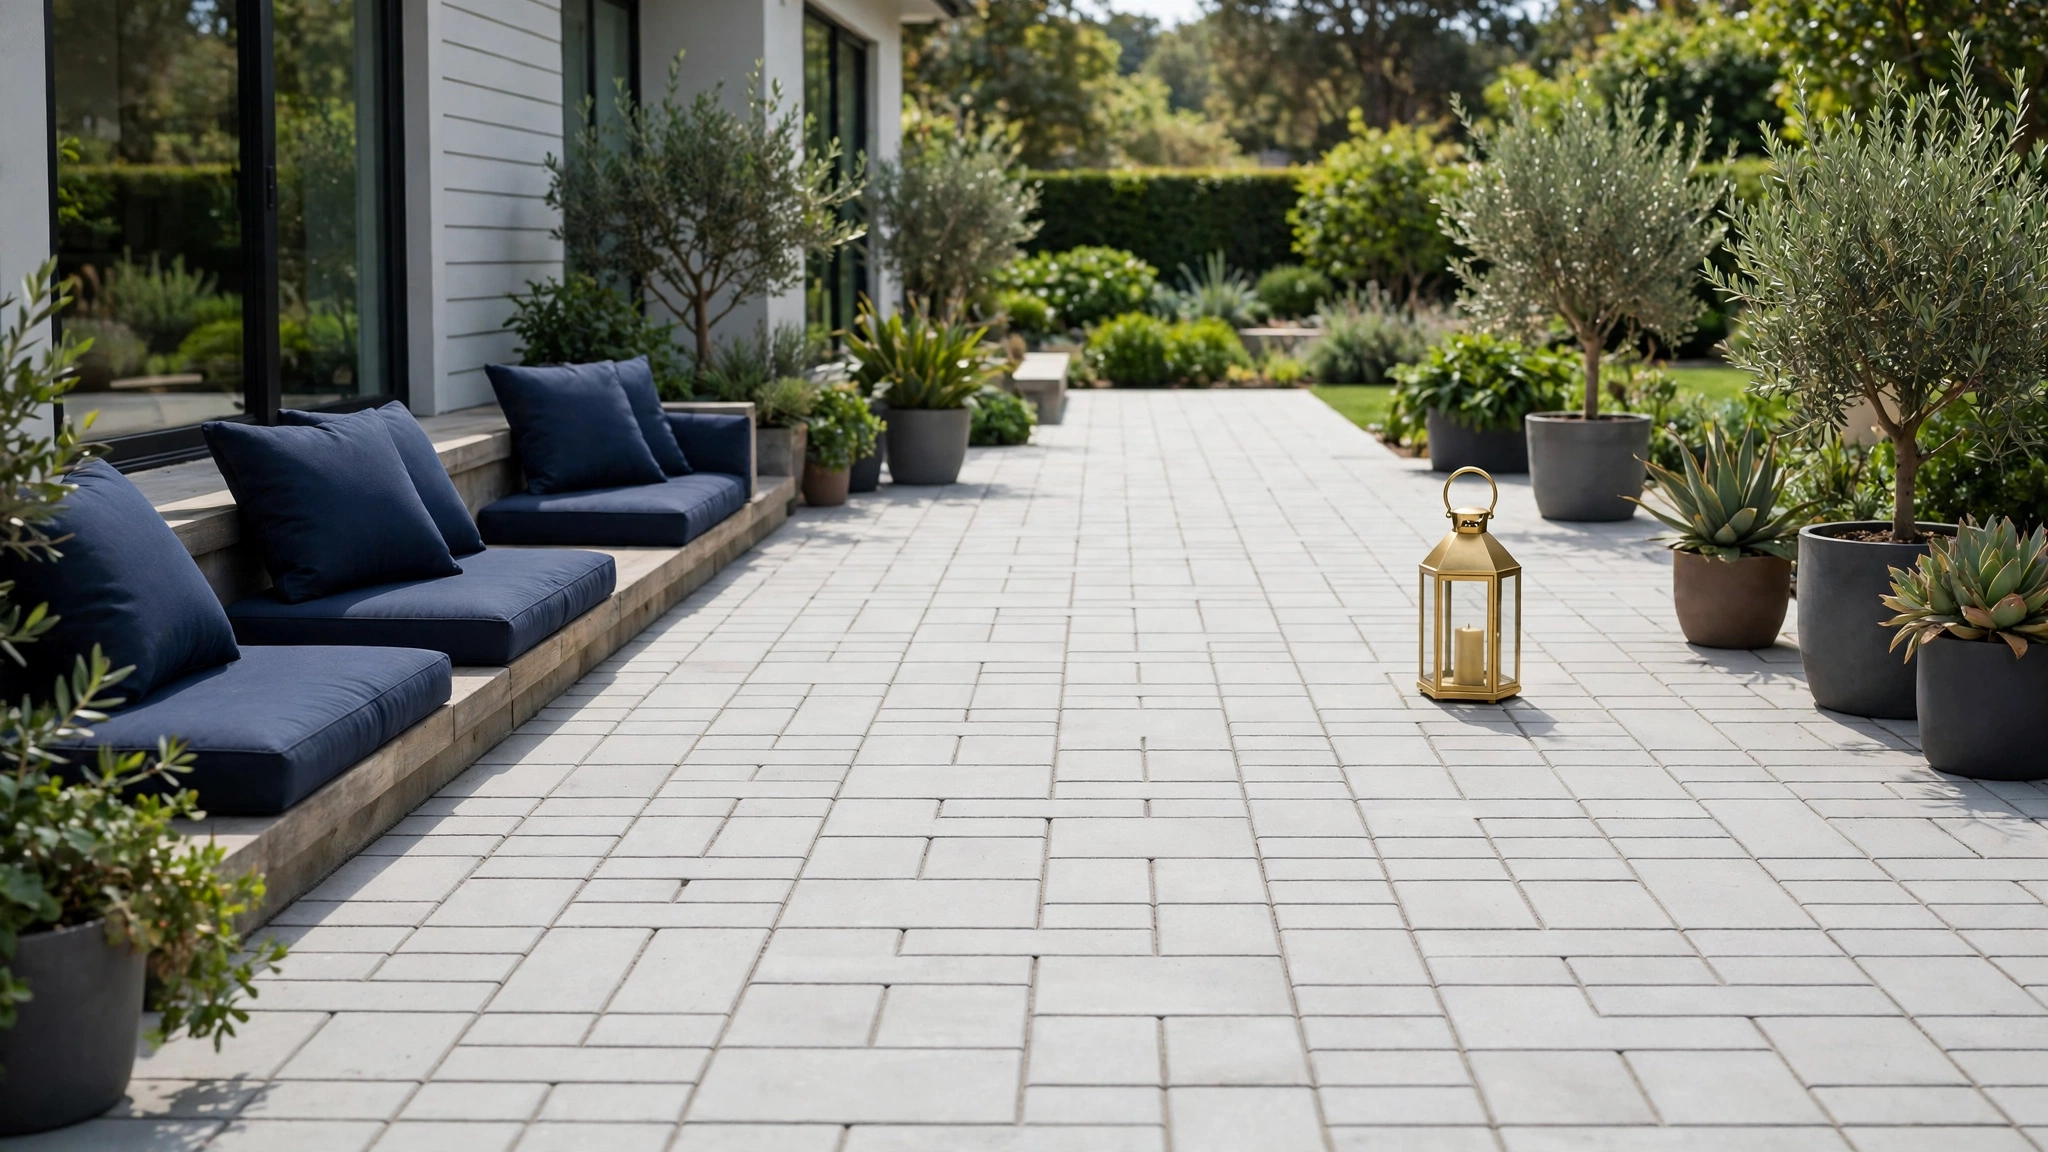
- Sweep weekly and rinse often so grit, leaves and spills do not stain paver faces or grind into joints.
- Clean and inspect before sealing, and fix sunken units, loose units and failed edge restraints first.
- Re-sand low joints with polymeric sand, and let pavers dry 24 to 48 hours before sealing.
- Match the cleaner and sealer to the paver material, and test each product on a hidden area first.
What Is Paver Maintenance?
Paver maintenance is the scheduled care of patio, driveway and walkway pavers through cleaning, joint sand care, sealing and repair. Paver maintenance keeps individual paver units level, keeps joints full, limits weed growth, and slows stain and color loss from sun, water and foot traffic.
A paver is a paving stone, sett, tile, brick or brick-like piece of concrete used as exterior flooring, and pavers sit on layers of compacted stone and sand with sand-filled joints (see this overview of paving stone construction on Wikipedia).
Paver maintenance has 4 parts: cleaning, joint care, sealing and repair. Cleaning removes dirt, leaves, algae and spills. Joint care keeps sand at the correct level. Sealing adds a layer that resists water, oil and stains. Sealing a dirty surface locks damage under the sealer.
Three materials dominate home patios, driveways and walkways: concrete pavers, brick pavers and natural stone pavers. Concrete pavers use sand, stone, cement and iron oxide pigments pressed in a mold. Brick pavers use fired clay. Natural stone pavers include limestone, bluestone, granite and travertine. The first concrete pavers were created in Edinburgh, Scotland in 1872, and the first production of concrete pavers in North America was in Canada in 1973 (Source: Wikipedia, 2026). For more home care routines, browse the Home Improvement guides on Voice of Wave.
How Often Should You Clean and Seal Pavers?
Clean pavers lightly every week, deep clean pavers once or twice a year, and seal pavers every 2 to 3 years or every 3 to 5 years based on material, traffic and sealer type. Paver maintenance frequency follows use and exposure, not a single fixed date. Driveway paver care needs shorter cycles than shaded walkway care.
Sweep each week with a stiff-bristle broom. Rinse with a garden hose every few weeks, or after dust, pollen and heavy leaf fall. Spot clean spills on the day the spill happens. Deep clean in spring and fall.
Belgard advises homeowners to plan to clean and reseal pavers every 3 to 5 years (Source: Belgard, 2026). Clean My Pavers advises sealing most pavers every 2 to 3 years, with shorter cycles for high traffic and harsh weather (Source: Clean My Pavers, 2025). Use the water test each spring: sprinkle water on clean pavers, and plan a new coat when water soaks in fast instead of beading.
Belgard advises waiting at least 30 days to seal new pavers so efflorescence can be removed first (Source: Belgard, 2026).
How Often Should You Add Joint Sand?
Add joint sand when joints sit below paver faces, when sand washes out after storms, or during each deep clean and seal cycle. Check joints yearly and top up small gaps each year.
How Do You Clean Pavers Without Damaging Them?
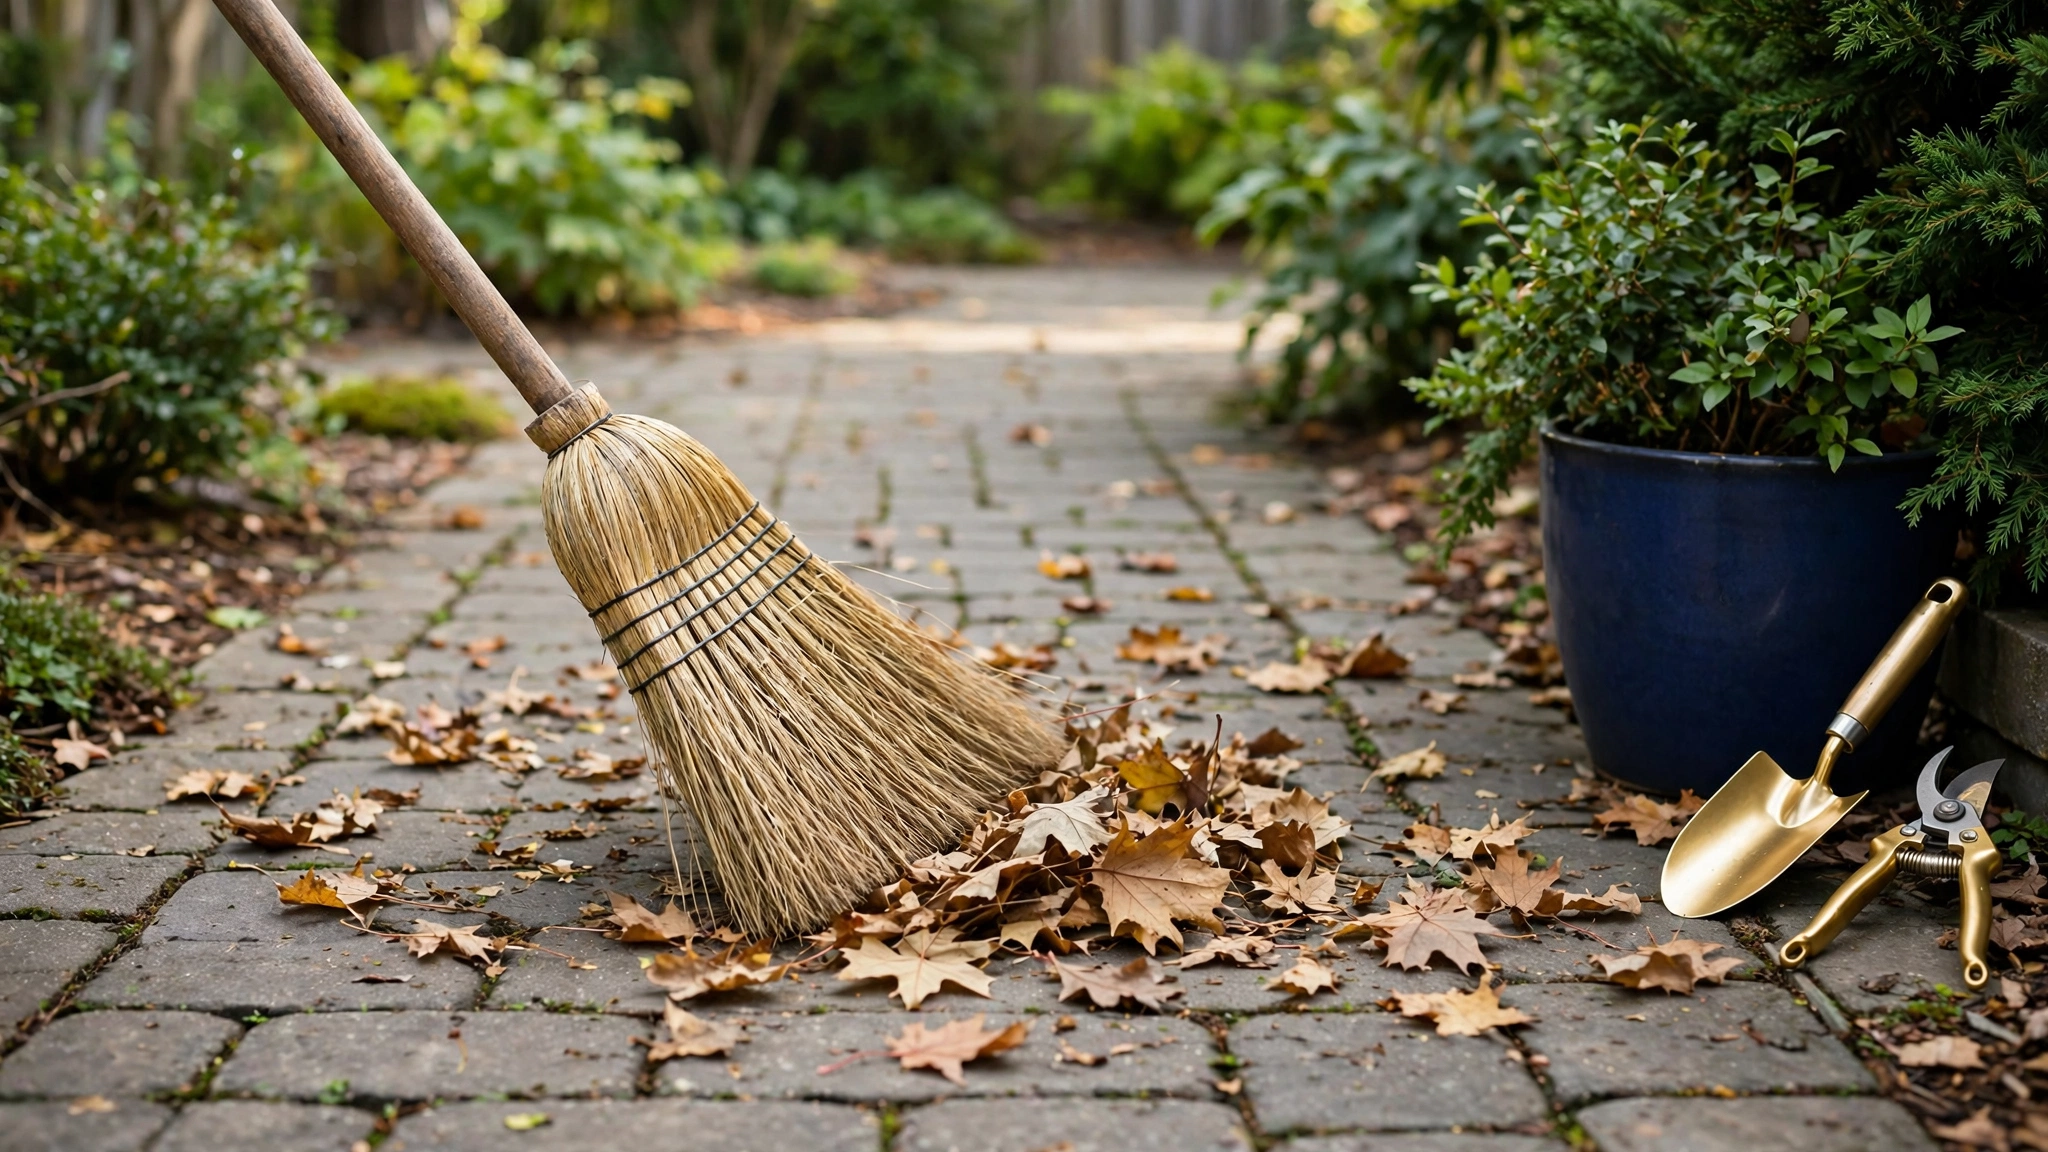
Clean pavers with sweeping, a garden hose rinse, a paver-safe cleaner and a stiff brush, and use a pressure washer only at low pressure with a wide-fan nozzle held well back from the surface. Paver cleaning works in layers: loose debris first, surface dirt second, set stains third, and sealer last, after full drying.
Clear furniture, planters and rugs first. Sweep the full surface and clear leaves and grit from joints. Inspect while the surface is clear, and mark sunken, loose and cracked units and low joints with chalk.
Use a garden hose for routine dirt. Use a paver-safe cleaner for ground-in dirt, algae and grease film. Apply it to a damp surface, follow the label dwell time, scrub with a stiff brush, and rinse.
High pressure strips joint sand, etches soft stone and leaves stripe marks. A South Florida guide advises keeping pressure under 2,000 PSI with a wide fan tip held 12 inches or more from the surface (Source: Medium, 2026). Keep the wand moving and keep spray off joints.
On my own patio, joints under a large planter stayed damp for days after rain, and trapped leaves stained the pavers beneath it. Moving the planter monthly stopped the damp patches.
Paver Cleaning Steps in Order
Paver cleaning steps run in this order: clear, sweep, inspect, pre-treat stains, wash, scrub, rinse, dry and re-sand.
- Clear furniture, planters and rugs from the work area.
- Sweep the surface and joints with a stiff-bristle broom.
- Inspect joints, edges, drainage and each paver unit.
- Pre-treat oil, rust and organic stains with a matched cleaner.
- Apply paver-safe cleaner, scrub and rinse with clean water.
- Let pavers dry for 24 to 48 hours before re-sanding or sealing.
- Re-sand low joints and remove loose sand from paver faces.
Which Cleaners Suit Each Paver Material?
Concrete pavers suit pH-neutral cleaners, brick pavers suit cleaners made for clay and masonry, and natural stone pavers need stone-safe cleaners with no acid and no bleach unless the stone maker allows the product.
How Do You Remove Weeds, Moss, Algae and Stains?
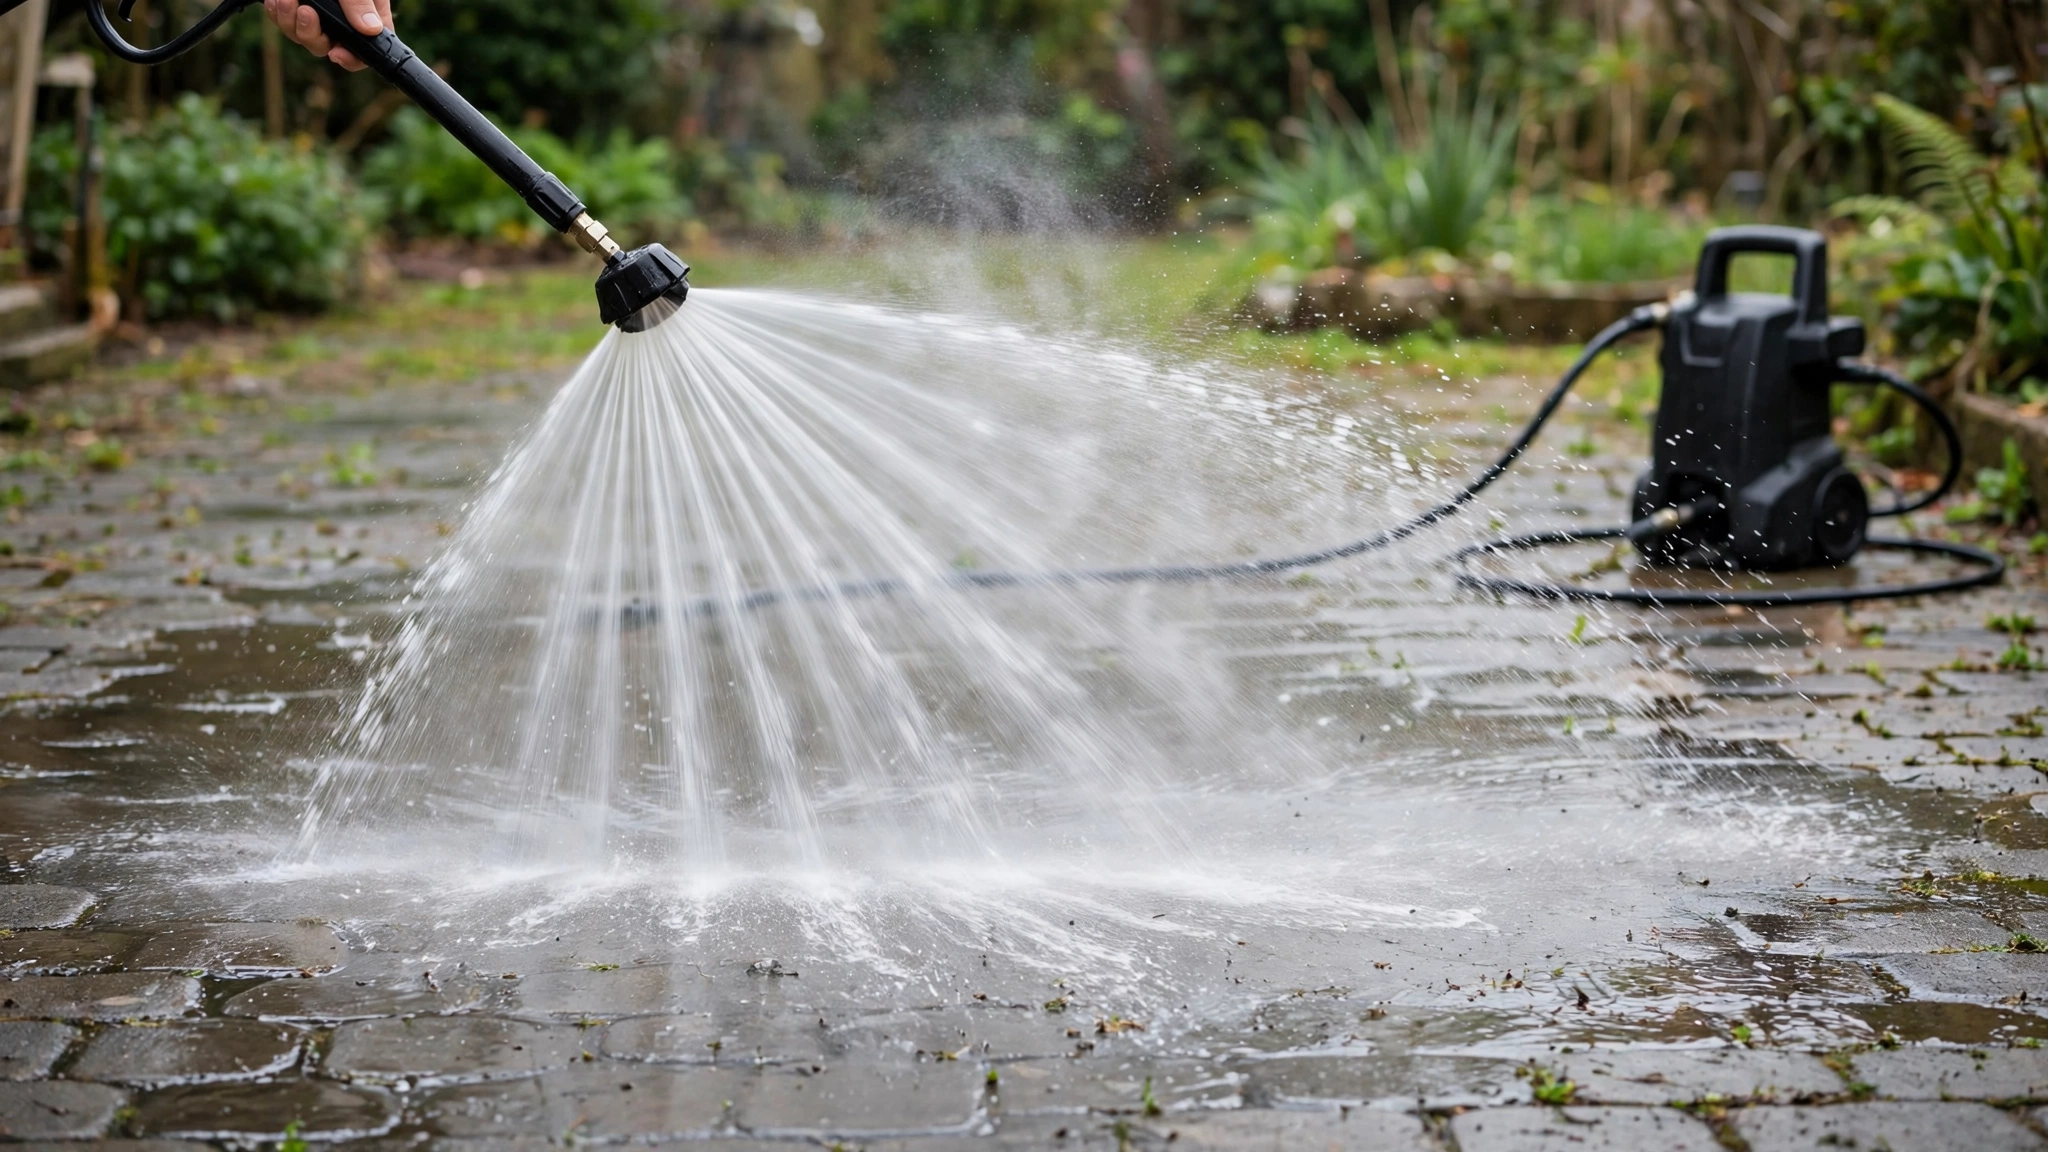
Remove weeds, moss, algae and stains by pulling growth out by the roots, treating the joint or stain with a matched product, re-sanding the joint, and fixing the damp or shaded condition that fed the growth. Weeds, moss and algae each need a different fix, and stain type sets the cleaner choice.
Pull isolated weeds by hand and remove the full root. Use a weed killer made for paving for widespread growth, and follow the label for pets and planting beds. After removal, sweep polymeric sand into the joint and activate it with water per the label.
Moss and algae grow on shaded, damp faces and in wet joints. Scrub both with a stiff brush and a paver-safe cleaner, rinse fully, and trim branches or move planters to let sun and air reach the surface. Do not seal over moss or algae.
Stains need matched treatment. Soak fresh oil with granular absorbent or cat litter, lift it without rubbing, and treat the mark with a degreaser made for pavers. Treat rust with a rust cleaner made for pavers. Treat leaf, food and wine marks with mild detergent and a soft brush, and act fast before stains set.
What Is Efflorescence and How Does Efflorescence Removal Work?
Efflorescence is a white haze of salt deposits left on paver faces when water carrying dissolved salts evaporates from the surface. Efflorescence is the migration of a salt to the surface of a porous material (see this explanation of salt deposits on masonry on Wikipedia). Efflorescence removal starts with brushing the dry haze off and rinsing with clean water. Do not seal over efflorescence.
How Do You Fix a Sunken or Loose Paver?
Fix a sunken or loose paver by lifting the unit, checking the base and bedding sand beneath it, adding and leveling bedding material, and resetting the unit flush with neighboring pavers. Call a professional when settlement covers a wide area or when the same spot sinks again after a reset.
What Does Joint Sand Do and When Do You Replace It?
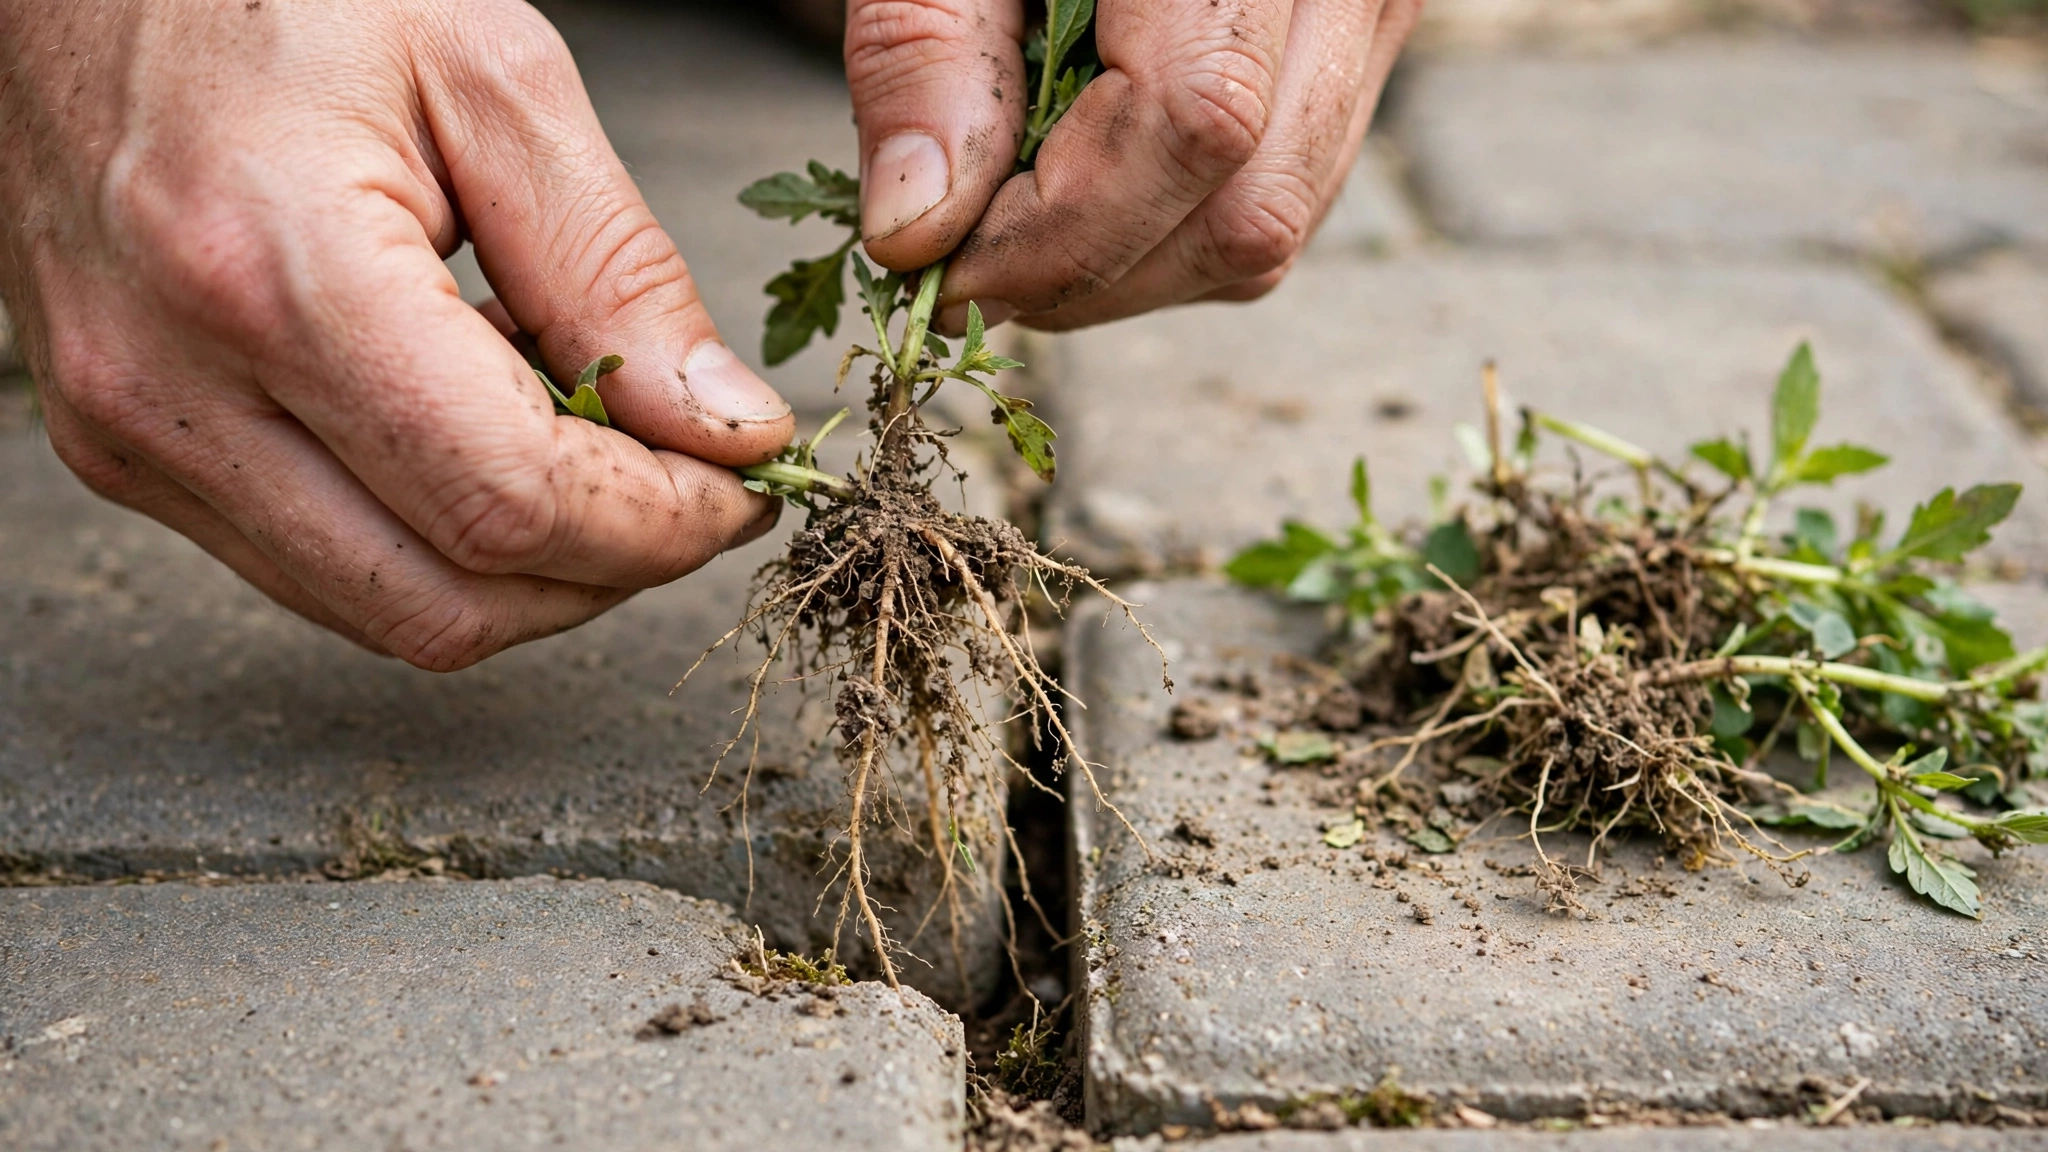
Joint sand locks paver units together, spreads loads across neighboring units, blocks weed seeds from rooting in joints, and stops the bedding layer below from washing out. Low joints lead to weed growth, paver movement and water damage under the surface.
Joints are the most vulnerable areas of a paver installation. Belgard advises keeping joints topped off with jointing sand to stop the sand-bedding layer below from breaking down and letting pavers shift (Source: Belgard, 2026). Check joints each spring for joints below paver faces, loose sand piles, weed stems and ant activity.
Polymeric sand holds binding agents that activate with water and harden in the joint. The hardened joint resists washout, weeds and ants better than loose sand. Use polymeric sand for most re-sanding work, and match the grade to joint width and depth per the label.
How Do You Re-Sand Paver Joints With Polymeric Sand?
Re-sand paver joints by cleaning joints, drying the surface, sweeping sand into joints, blowing loose sand off paver faces, and misting with water to activate the sand. Remove old polymeric sand when it is cracked, loose or filled with weeds, because new sand bonds poorly over failed sand.
- Clean joints and remove weeds, roots and loose sand.
- Let pavers and joints dry fully before adding sand.
- Sweep polymeric sand into joints just below paver faces.
- Blow or sweep every grain of sand off paver faces.
- Mist joints lightly with water per the product label.
- Keep foot traffic off joints until the sand sets.

Which Paver Sealer Fits Your Patio or Driveway?
The right paver sealer fits the paver material, the finish you want, and the traffic on the surface. Film-forming sealers change the look and add surface protection, while penetrating sealers protect without changing the look. Sealer choice also sets gloss, slip resistance and how often recoating falls due.
Film-forming sealers sit on the paver face as a coating. They give a glossy or semi-glossy finish, deepen color for a wet look, and resist stains. They peel or turn cloudy when applied too thick or over damp pavers. Penetrating sealers soak in without changing the look. They repel water and salts, keep a natural matte finish, and suit pool decks and walkways.
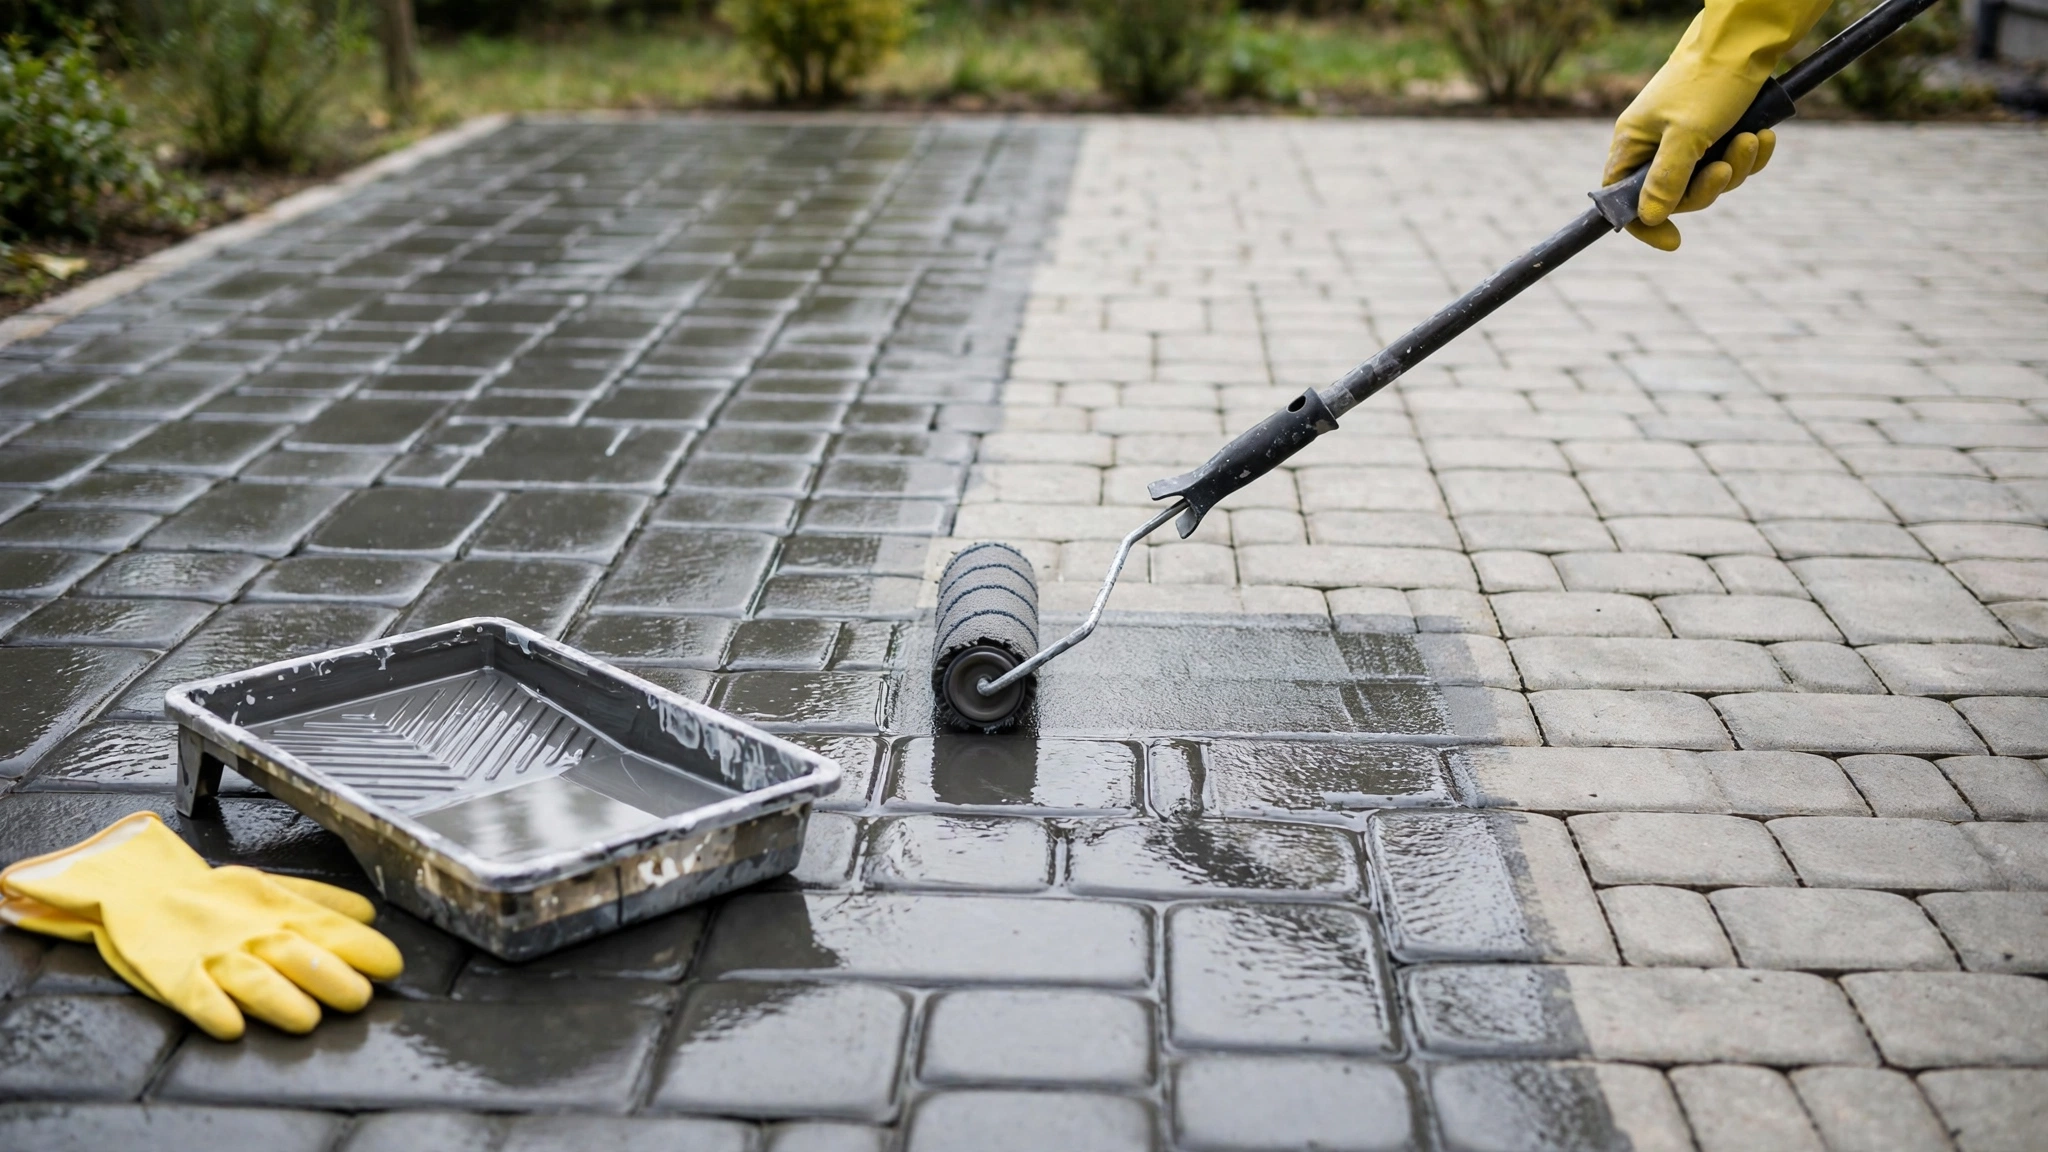
Test each sealer on a hidden area first. Apply thin, even coats with a low-pressure sprayer or roller, work in sections, and avoid overlap lines. Let pavers dry 24 to 48 hours after cleaning before sealing. Keep foot traffic off for 24 hours and vehicles off driveways for 48 to 72 hours.
Film-Forming Sealer vs Penetrating Sealer
Film-forming sealer fits patios where a wet look and strong stain resistance matter, and penetrating sealer fits pool decks, walkways and natural stone where a natural look and grip matter.
| Feature | Film-forming sealer | Penetrating sealer |
|---|---|---|
| Finish | Glossy or semi-glossy, deepens color | Natural matte, color stays close to unsealed |
| Protection | Surface coating resists stains, water and oil | Soaks in, repels water and salts from inside |
| Best use | Patios and driveways where color depth matters | Pool decks, walkways and slip-prone areas |
| Recoat cycle | Every 2 to 4 years, shorter on driveways | Every 3 to 5 years, longer on low-traffic patios |
| Main risk | Peeling, cloudiness and overlap marks | Weaker surface stain barrier, needs prompt spill cleaning |
| Paver fit | Concrete pavers and brick pavers most often | Concrete, brick and natural stone pavers |
Belgard advises that sealers should not be applied more than once in 3 years, to a maximum of 2 applications, because extra coats build a film that may discolor in sunlight (Source: Belgard, 2026).
For wood surfaces next to pavers, read Deck Repair and Maintenance: Complete Guide 2026.
What Does a Year-Round Paver Maintenance Schedule Look Like?
A year-round paver maintenance schedule splits work by season: deep clean and inspect in spring, light checks and spill control in summer, repairs and sealing in fall, and snow, ice and drainage control in winter. Paver patio maintenance stays short in each season when work spreads across the year.
Spring: deep clean, inspect joints, edges and drainage, and run the water test. Summer: sweep weekly, clean spills fast, and move planters so no joint stays damp. Fall: finish repairs, re-sand joints, seal when due, and clear leaves. Winter: use a plastic shovel and de-icers in moderation.
| Season | Main tasks |
|---|---|
| Spring | Deep clean, full inspection, joint check, water test, plan repairs |
| Summer | Weekly sweeping, fast spill cleaning, planter rotation, algae watch in shade |
| Fall | Repairs, re-sanding, sealing when due, leaf clearing, gutter and drainage check |
| Winter | Plastic shovel use, moderate de-icer use, pooling water check, edge restraint check |
Check drainage after heavy rain in every season.
Should You Do Paver Maintenance Yourself or Hire a Professional?
Do sweeping, rinsing, spot cleaning, hand weeding and small joint top-ups yourself, and hire a professional for pressure washing at scale, full re-sanding and sealing, and wide-area sunken paver repair. Low-risk routine work suits DIY care, and work that can damage joints, sealer or the base suits professional tools and methods.
DIY pressure washing suits small patios only at low pressure with a wide-fan nozzle.
Professional help fits deep cleaning, polymeric sand replacement, even sealer application on large areas, and repair of sunken, loose or cracked units. Professionals also fit drainage checks, base repair and edge restraint replacement. Get a written scope first: cleaning method, sand type, sealer type and finish, cure time, and repair work included.
When Does Paver Damage Need a Professional?
Paver damage needs a professional when settlement covers a wide area, when the same spot sinks again, when water pools after rain, when edge restraints fail, or when stains, haze or sealer failure resist tested home methods.
Conclusion
Paver maintenance keeps pavers looking new through a simple cycle: sweep and rinse often, deep clean and inspect each year, re-sand low joints, seal on the right cycle, and fix sunken units before sealing. Voice of Wave publishes practical home guides like this one for readers who run most tasks without specialist tools.
Keep reading: Browse the latest articles for more home care guides.
Frequently Asked Questions
How often should I seal my pavers?
Seal pavers every 2 to 3 years or every 3 to 5 years, based on paver material, traffic, sun exposure and sealer type. Driveways and full-sun patios need the shorter cycle, while shaded walkways with penetrating sealer last longer. Run the water test each spring and reseal when water soaks in fast instead of beading.
Can I pressure wash pavers without removing joint sand?
Yes, with low pressure, a wide-fan nozzle and distance from the surface. Keep pressure under 2,000 PSI, hold the nozzle 12 inches or more from pavers, keep the wand moving, and keep spray off joints where possible. Check joints after washing and re-sand joints that lost sand before sealing.
How do I remove weeds between pavers?
Pull weeds by hand and remove the full root, then treat widespread growth with a weed killer made for paving. Sweep polymeric sand into the cleaned joint, activate the sand with water per the label, and keep joints full. Fix damp shade and low sand, because weeds return fast in empty, damp joints.
What causes white haze on new pavers?
The white haze is efflorescence, a coating of salt deposits left when water carrying dissolved salts evaporates from paver faces. Efflorescence appears most often on new concrete pavers and shows more on dark pavers. Brush the haze off, rinse with clean water, and wait for salts to clear before sealing.
Should I seal pavers right after installation?
No. Wait at least 30 days before sealing new pavers so efflorescence can appear and be removed, and joint sand can settle. Sealing too soon traps salts and moisture under the sealer and leaves a white haze. Clean the surface, check joints, and seal only when pavers are dry and haze has cleared.
When should I call a professional for paver repair?
Call a professional when settlement covers a wide area, when the same spot sinks again after a reset, when water pools after rain, or when edge restraints fail. Call for help also when stains, white haze or sealer failure resist tested home methods, because a new coat over failed sealer locks the fault in place.