

Introduction
Dryer vent cleaning is the removal of lint and debris from the full dryer exhaust path so hot, moist air leaves the home safely. Dryer vent cleaning lowers fire risk, cuts drying time, and protects the dryer, and dryer vent cleaning needs a yearly schedule in most homes.
Dryer vent cleaning covers the lint screen, the transition duct behind the dryer, the rigid vent pipe in the wall, and the exterior hood outside the home. This guide covers what dryer vent cleaning means, why lint creates a fire risk, how often to clean a vent, the signs of a clog, a step by step DIY method, the choice between DIY work and a professional service, safe vent materials and layouts, a maintenance routine between cleanings, and the warning signs that mean stop and call for help.

- Dryer vent cleaning needs a yearly schedule in most homes, and a 6 month schedule in heavy use homes.
- Lint is flammable, and lint inside a vent path plus trapped heat creates the main fire risk.
- Longer drying times, hotter clothes, and a weak exterior flap signal a clogged vent.
- Rigid metal duct with a short, straight run gives the safest vent layout.
- Stop the dryer at once for a burning smell, a gas smell, smoke, or a melted duct.
What Is Dryer Vent Cleaning?
Dryer vent cleaning is the removal of lint, dust, and debris from the lint screen, the transition duct, the rigid vent pipe, and the exterior hood so hot, moist air leaves the home safely. Dryer vent cleaning covers the full path from the dryer outlet to the outside vent cap, and dryer vent cleaning keeps airflow strong on every load.
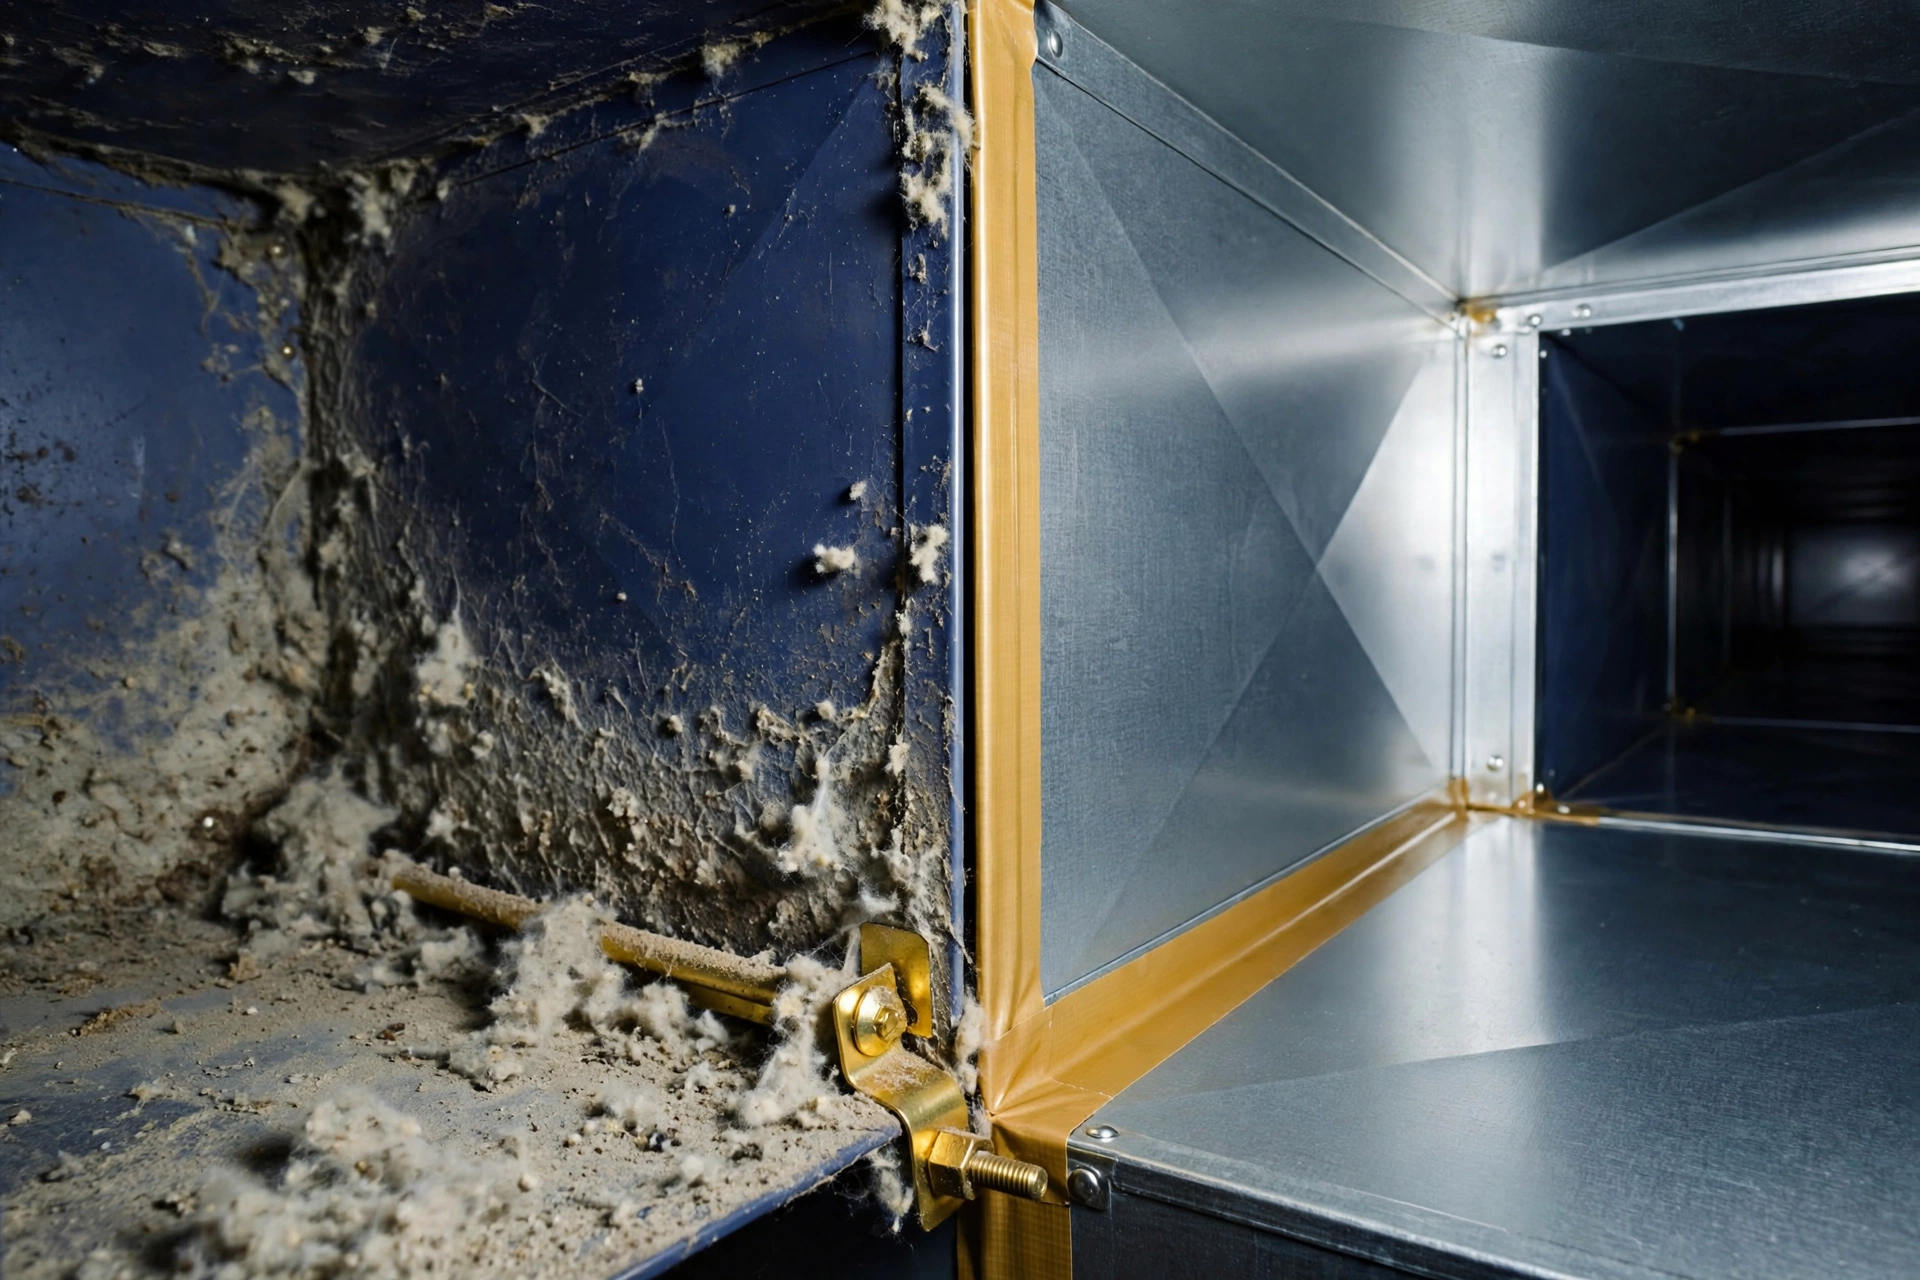
A vented dryer works by pulling room air in, heating the air, passing hot air through wet clothes in the drum, and pushing hot, moist air out through the vent. The lint screen catches most lint, but fine lint passes the screen on every load. Fine lint coats the transition duct, the rigid pipe, and the exterior hood over months of use. Dryer vent cleaning removes that coating before the coating narrows the pipe and traps heat.
The vent system has 4 parts. The lint screen sits in the dryer and catches lint from each load. The transition duct joins the dryer outlet to the wall opening, and the transition duct must stay short and free of kinks. The rigid vent pipe runs inside the wall or floor to the outside of the home. The exterior hood covers the outside opening, and the exterior hood flap must open freely when the dryer runs. A blockage at any part cuts airflow for the full system.
Find more home upkeep topics in the Home Improvement category for guides that pair with dryer care, drain care, and home safety checks.
Why Is Dryer Vent Cleaning a Fire Safety Issue?
Dryer vent cleaning lowers fire risk because lint is flammable, lint collects inside the vent path, and restricted airflow traps heat near that lint. Dryer vent cleaning removes the fuel and restores airflow, and dryer vent cleaning stops the dryer from overheating during normal loads.
Lint has a high surface area for its weight, so lint catches fire at lower heat than solid fabric. The lint page notes that dryer lint is highly flammable and presents a fire hazard, and the same page notes that failure to clean the lint filter is the leading cause of home clothes dryer fires. Heat builds in a blocked vent because hot air cannot leave the dryer, and the dryer heating element keeps cycling while airflow stays weak. A blocked vent also dries clothes slowly, so the dryer runs longer and the vent stays hot for longer.
The numbers show the scale of the risk. The U.S. Fire Administration reported about 2,900 home clothes dryer fires per year, with failure to clean as the leading factor in 34 percent of cases, and about 35 million dollars in property loss per year (Source: U.S. Fire Administration, data for 2008 to 2010). The National Fire Protection Association reported about 13,820 home fires from clothes dryers per year, with dust, fiber, or lint as the item first ignited in 27 percent of cases (Source: National Fire Protection Association, data for 2014 to 2018). The two counts differ because the two sources use different case definitions and different study years, but both sources point to the same cause: lint left in the vent path.
How Often Should You Clean a Dryer Vent?
Most homes need dryer vent cleaning once a year, and homes with heavy use, pets, long vents, or roof exits need dryer vent cleaning every 6 months. Dryer vent cleaning frequency follows load count, lint load, vent length, and vent bends, and dryer vent cleaning must happen sooner when drying times grow longer.
The National Fire Protection Association guidance sets the baseline: clean lint out of the vent pipe once a year, or more often when clothes take longer than normal to dry. The baseline suits a small household with a short, straight vent to a side wall. Heavy use homes move past the baseline fast, because each load adds lint to the vent path.
| Household or vent type | Cleaning frequency |
|---|---|
| Small household, short straight vent | Once a year |
| Average household, 3 to 5 loads per week | Once a year |
| Large household, 5 or more loads per week | Every 6 months |
| Pet owners, heavy towel and bedding loads | Every 6 months |
| Long vent run, several bends, or roof exit | Every 3 to 6 months |
| Flexible accordion duct | Every 3 to 6 months |
Set the cleaning date on a fixed calendar point, such as the start of autumn, and set a second date 6 months later for heavy use homes. Check the lint screen before every load, and wash the lint screen with soapy water every few weeks, because fabric softener film blocks airflow even when the screen looks clean.
What Are the Signs of a Clogged Dryer Vent?
A clogged dryer vent shows longer drying times, hotter clothes, a hotter laundry room, a weak exterior vent flap, lint near the vent cap, and a burning smell during cycles. A clogged dryer vent forces extra cycles, and a clogged dryer vent needs cleaning before the next load when any sign appears.
Watch for these 7 signs:
- Clothes need a second cycle to dry fully.
- Clothes feel hotter than normal at cycle end.
- The laundry room feels hot or humid during cycles.
- The exterior vent flap opens weakly or stays shut.
- Lint or debris sits around the exterior vent cap.
- A burning smell appears while the dryer runs.
- The dryer shuts off early from overheating protection.
Longer drying times give the earliest sign in most homes. A load that dried in 40 minutes and now needs 60 minutes signals restricted airflow, not a dying dryer, in most cases. A burning smell ranks as the most urgent sign, and a burning smell means stop the dryer and clean the vent before the next load.

How Do You Clean a Dryer Vent Step by Step?
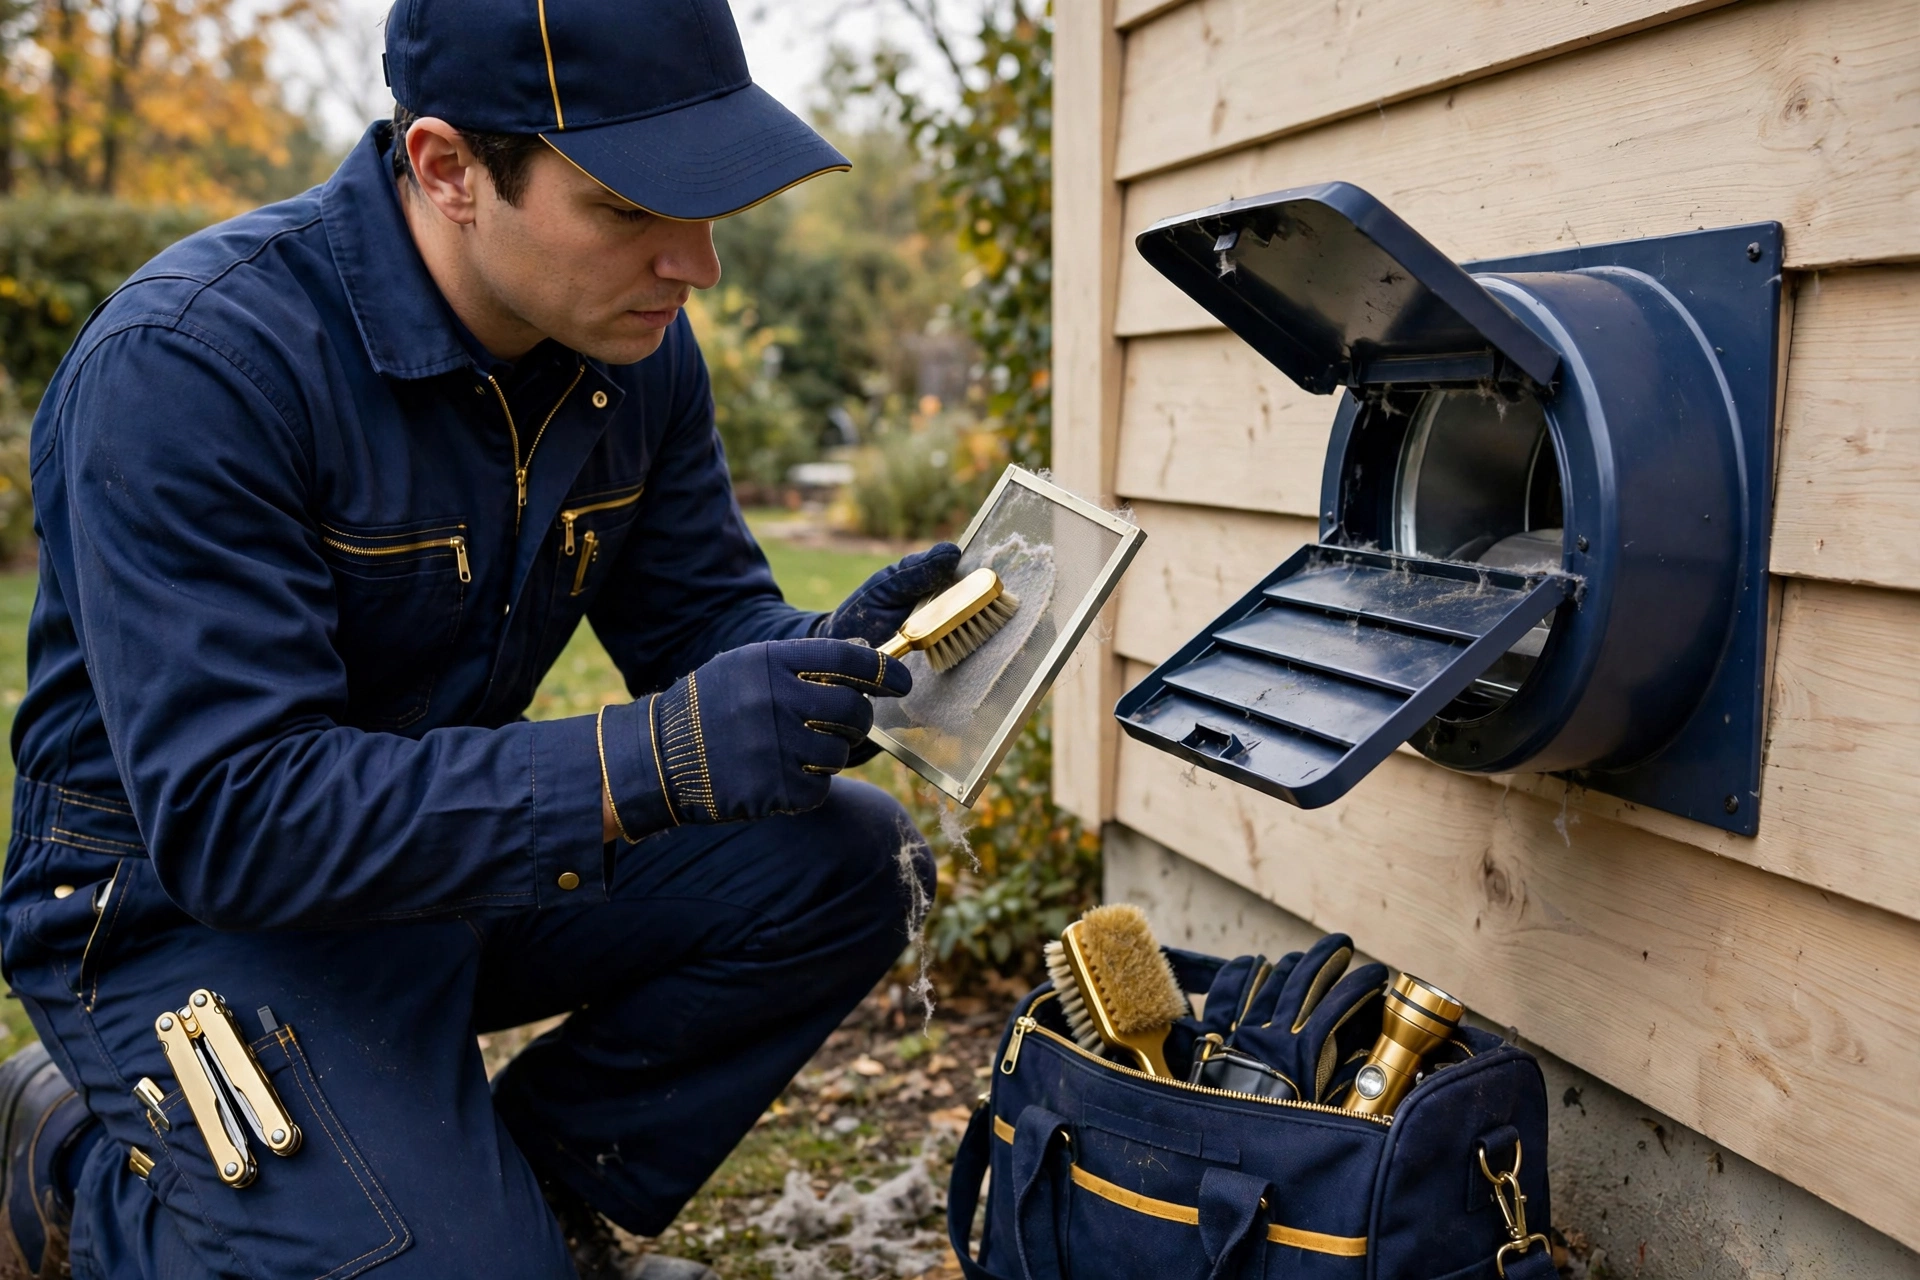
To clean a dryer vent, unplug the dryer, disconnect the duct, brush the duct from both ends, vacuum the lint, clean the exterior cap, reconnect the duct, and test airflow outside. To clean a dryer vent safely, keep the gas valve off on a gas dryer, and to clean a dryer vent fully, repeat brushing until little lint remains.
Gather these tools first: a dryer vent cleaning kit with a brush and flexible rods, a vacuum with a crevice tool, a screwdriver, metal tape, and a flashlight. A brush kit costs about 15 to 40 dollars at a hardware store (Source: Trade Pricing Control, 2026). Wear a dust mask and gloves, because vent lint holds dust, pet hair, and fine fibers.
Follow these 8 steps:
- Unplug the dryer and shut the gas valve on a gas dryer.
- Clean the lint screen and vacuum the lint screen slot.
- Pull the dryer out and disconnect the duct at the dryer.
- Vacuum the dryer outlet and the wall duct opening.
- Brush the duct from inside, turning rods clockwise while pushing.
- Brush the duct from outside, then vacuum lint from both ends.
- Clean the exterior cap and check that the flap moves freely.
- Reconnect the duct, seal joints with metal tape, and test airflow.
Brush in short pushes and pull the brush back slowly, vacuuming lint off the bristles as the brush comes out. Repeat brushing until little lint comes out on a pass. Check the duct for kinks, crushed sections, and disconnected joints while the duct sits open. Reconnect the duct with clamps, seal joints with metal tape, and run a short test cycle while watching the exterior flap for a strong swing.
For another home upkeep guide, read Drain Cleaning: Best Methods for Clear Pipes.

Should You Clean a Dryer Vent Yourself or Hire a Professional?
You should clean a dryer vent yourself when the vent is short, straight, and easy to reach, and you should hire a professional when the vent is long, roof mounted, damaged, or still weak after cleaning. You should hire a professional for gas dryer checks, and you should hire a professional when a duct runs inside walls.
| Option | Typical cost | Best for | Limits |
|---|---|---|---|
| DIY brush kit | 15 to 40 dollars | Short, straight, ground level vents | Cannot reach long or roof vents well |
| Professional cleaning, ground level vent | 80 to 150 dollars | Full duct cleaning with inspection | Needs an appointment, costs more than DIY |
| Professional cleaning, second floor vent | 110 to 185 dollars | Longer runs, wall cavities | Cost rises with vent length and access |
| Professional cleaning, roof vent | 150 to 250 dollars | Roof exits, high exterior caps | Needs roof access equipment and safety gear |
Cost figures come from 2026 pricing guides (Source: Trade Pricing Control, 2026). A professional service suits a roof vent, a second floor vent, a vent with several bends, and a vent that stays weak after a DIY cleaning. A professional service also suits a gas dryer annual check, because the check covers the gas line and the gas connection as well as the vent. A DIY cleaning suits a short vent to a side wall, a ground level exterior cap, and a homeowner who can pull the dryer out safely.
Ask a professional 3 questions before work starts: what method fits the vent length and material, whether a camera inspection comes first on a long run, and what the fixed price covers. Ask for a written summary after the job, because the summary records duct damage and vent length findings that decide the next cleaning date.
What Dryer Vent Materials and Layouts Are Safest?
The safest dryer vent uses smooth rigid metal duct, a short straight run, metal tape on joints, and an exterior hood that vents outside the home. The safest dryer vent avoids plastic duct, foil duct, screws inside the duct, and indoor termination, and the safest dryer vent keeps total length within the dryer maker limit.
Rigid metal duct gives the safest vent material because the smooth inner wall sheds lint, the metal wall resists crushing, and the metal wall holds heat without melting. Semi rigid metal duct suits the short transition section behind the dryer, and semi rigid metal duct must stay short and free of kinks. Plastic duct and foil duct fail the safety test, because plastic duct melts and foil duct crushes and traps lint in folds. A crushed transition duct behind a dryer pushed too far back against the wall ranks as a common hidden fault, and the fault needs a shorter duct or a dryer move, not a cleaning alone.
Keep the vent run short and straight with few gentle bends, and keep total length within the dryer manual limit. Join duct sections with metal tape, not screws, because screw tips inside the duct catch lint. Fit an exterior hood with a flap that opens freely, and clear the hood of nests, leaves, and snow each season. Never vent a dryer into an attic, a basement, a crawl space, or a garage, because indoor venting dumps moisture and lint into the home and breaks code rules in most areas.
The clothes dryer page explains how a tumble dryer vents hot, humid air outside to make room for fresh drying air, and the same page notes that a partially blocked vent raises drying time and internal temperature. A vent layout that follows that principle keeps the air path short, smooth, and open to the outside.

How Do You Keep a Dryer Vent Clear Between Cleanings?
To keep a dryer vent clear between cleanings, clean the lint screen before every load, check the exterior flap each month, and clean the full vent on the yearly schedule. To keep a dryer vent clear, keep wipes out of the dryer path, and fix a crushed duct without delay.
Run this monthly routine:
- Clean the lint screen before every load, without exception.
- Check the exterior flap for a strong swing during a cycle.
- Clear lint, leaves, and nests from the exterior cap.
- Wipe the moisture sensor bars with rubbing alcohol monthly.
Run this quarterly routine:
- Vacuum the lint screen slot and the area behind the dryer.
- Check the transition duct for kinks, crushing, and loose joints.
- Check under and behind the dryer for lint piles and damp spots.
Load habits also shape lint buildup. Shake pet bedding outside before washing, empty pockets before washing, and avoid overloading the drum, because an overloaded drum dries unevenly and sheds more lint per load. In my own home, a towel load that needed a second cycle returned to a single cycle after the transition duct kink was fixed and the exterior cap was cleared.
When Should You Stop Using the Dryer and Call for Help?
Stop using the dryer and call for help when you smell burning, smell gas, see smoke, find a melted duct, or see a vent that stays blocked after cleaning. Stop using the dryer and call for help when the dryer shuts off from overheating, and stop using the dryer when the gas line looks damaged.
A burning smell means stop the dryer at once, unplug the dryer, and keep the dryer off until the vent path is cleaned and checked. A gas smell means leave the room, avoid switches and flames, and call the gas supplier from outside. Smoke from the dryer or the vent means call emergency services, because smoke signals a fire risk that a homeowner must not investigate by running the dryer again.
Call a professional for a vent that stays blocked after a full DIY cleaning, because a fixed blockage can mean a crushed duct inside a wall, a disconnected joint, or a vent that terminates indoors. Call a professional for a dryer that shuts off from overheating on repeat cycles, and for any gas line damage, any melted duct, or any vent damage from a roof leak or pest entry.
Conclusion
Dryer vent cleaning works as a yearly safety habit, not a one time fix: clean the lint screen every load, clean the full vent once a year, and use rigid metal duct. Dryer vent cleaning protects the home and the dryer, and dryer vent cleaning earns its place on the same calendar as smoke alarm checks.
Voice of Wave covers home improvement guides with the same check first approach. Set the next cleaning date now, run the flap test on the next load, and fix a crushed duct or a weak flap before the next heavy laundry week.
Explore more home guides on the Voice of Wave blog.
Frequently Asked Questions
How often should you clean a dryer vent?
Most homes need dryer vent cleaning once a year, and heavy use homes need dryer vent cleaning every 6 months. Clean the vent sooner when drying times grow longer, when the exterior flap moves weakly, or when the vent run is long, bent, or roof mounted.
What are the signs of a clogged dryer vent?
A clogged dryer vent shows longer drying times, hotter clothes, a hotter laundry room, a weak exterior flap, lint near the vent cap, and a burning smell. A burning smell means stop the dryer at once, and any sign means clean the vent before the next load.
Can you clean a dryer vent yourself?
Yes, you can clean a dryer vent yourself when the vent is short, straight, and easy to reach. Unplug the dryer, disconnect the duct, brush from both ends, vacuum lint, clean the cap, reconnect with metal tape, and test airflow outside before the next load.
How much does professional dryer vent cleaning cost?
Professional dryer vent cleaning costs about 80 to 150 dollars for a ground level vent, about 110 to 185 dollars for a second floor vent, and about 150 to 250 dollars for a roof vent (Source: Trade Pricing Control, 2026). Prices vary with vent length, access, and local rates.
Is a flexible dryer vent hose safe?
No, a flexible plastic or foil hose is not safe for a dryer vent, because plastic melts and foil crushes and traps lint in folds. Use smooth rigid metal duct for the vent run, and use short semi rigid metal duct only for the transition section behind the dryer.
What should you do if your dryer smells like burning?
Stop the dryer at once, unplug the dryer, and keep the dryer off until the vent path is cleaned and checked. Do not run another load to test the smell, and call a professional when the smell stays after cleaning or when smoke appears.