
Introduction
Irrigation system maintenance is the routine inspection, cleaning, adjustment, and seasonal shutdown work that keeps an irrigation system delivering the right amount of water to the right place. Irrigation system maintenance covers sprinkler heads, drip emitters, filters, valves, controllers, sensors, and pipes. A maintained irrigation system waters evenly, wastes less water, and avoids cracked pipes, clogged emitters, and dead patches. Homeowners run most irrigation system maintenance with basic tools: a screwdriver, a small brush, spare nozzles, spare emitters, and a pressure gauge. The work follows the seasons: spring startup, monthly checks, fall cleaning, and winter shutdown in cold climates. This guide gives the full routine in order, from the parts of an irrigation system to seasonal checklists, cleaning steps, pressure checks, winterizing, troubleshooting, and professional help.
- Inspect each zone while the irrigation system runs, once a month in the growing season.
- Clean filters and sprinkler heads 2 times each year, in spring and in fall.
- Test coverage with a catch can test, then adjust run times zone by zone.
- Winterize before the first hard freeze in cold climates, and store removable parts indoors.
- Call a professional for backflow testing, main line breaks, and electrical valve faults.
What Is Irrigation System Maintenance?
Irrigation system maintenance is the scheduled work that keeps water flowing at the right pressure, through clean outlets, to the plants that need water. Irrigation system maintenance has 4 jobs: find damage early, keep outlets clean, keep coverage even, and shut the irrigation system down safely before freezing weather. Irrigation system maintenance is not one annual visit. Irrigation system maintenance is a set of small jobs spread across the year, and each job takes minutes when done on schedule. For more home care routines in this area, browse the Home Improvement guides on this site.
An irrigation system fails in predictable ways. Filters clog with sediment. Sprinkler heads tilt after mowing. Drip emitters clog with mineral scale or algae. Valves stick. Controllers lose the correct schedule after a power cut. Each fault shows a visible sign: a dry patch, a soggy patch, misting spray, or a weak zone. Monthly zone checks catch each sign early, while the fix stays small.
What Are the Main Parts of an Irrigation System?
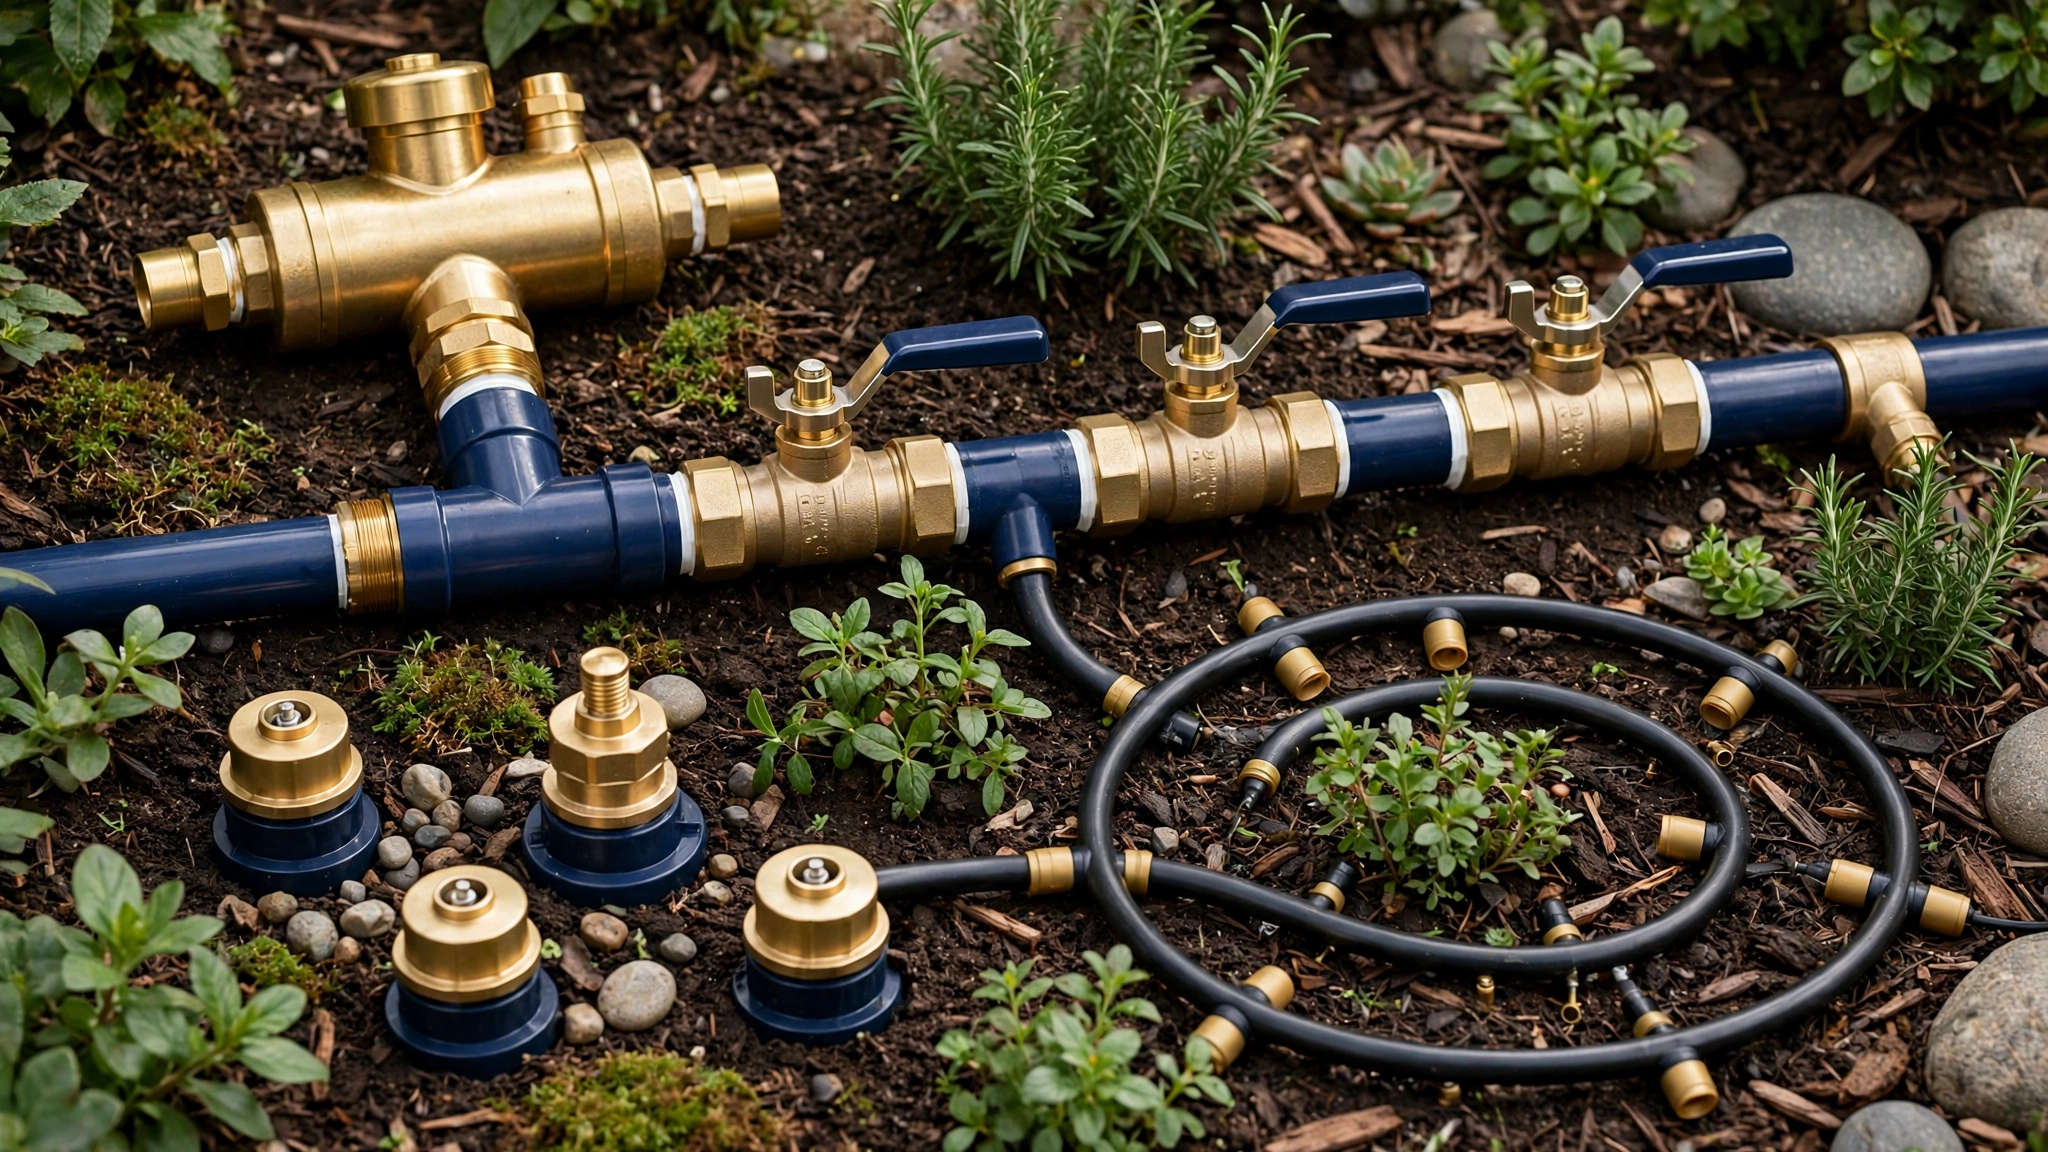
The main parts of an irrigation system are the water source connection, the backflow preventer, the main line, zone valves, lateral lines, outlets, the controller, and sensors. The backflow preventer stops irrigation water from flowing back into the drinking water supply. The main line carries water to the zone valves. Zone valves open and close water flow to one zone at a time. Lateral lines carry water from each zone valve to the outlets in that zone. Outlets are sprinkler heads, rotors, drip emitters, or micro-sprays. The controller sets start times, run times, and watering days. Rain sensors and soil moisture sensors pause watering when water is not needed.
Sprinkler irrigation sprays water through the air over lawns and beds. Drip irrigation delivers water slowly at the soil surface near plant roots. Surface irrigation moves water across the soil by gravity. Irrigation methods{:target=”_blank” rel=”noopener noreferrer”} include sprinkler, drip, and surface methods. Home yards use sprinkler irrigation for lawns and drip irrigation for beds, shrubs, and trees, often in separate zones.
How Often Should You Inspect an Irrigation System?
Inspect an irrigation system once a month during the growing season, plus a full check at spring startup and a full check in fall. Monthly inspection runs each zone in turn while the homeowner watches. Spring startup adds filter cleaning, leak checks, and controller programming. Fall inspection adds a second deep clean and winterizing preparation. In cold climates, the winter check is one item: confirm the irrigation system stays off, drained, and protected.
Run the monthly inspection in 8 steps:
- Walk the yard before turning the irrigation system on, and note tilted heads and damaged lines.
- Run one zone at a time, and watch each head or emitter for output.
- Look for misting spray, weak streams, missing streams, and uneven patterns.
- Look for soggy spots, pooling water, and bubbling soil that point to leaks.
- Look for dry spots that point to clogged outlets or blocked heads.
- Trim grass and weeds that block spray from sprinkler heads.
- Check the controller display for the correct date, time, and schedule.
- Note each fault on paper, and fix faults before the next watering day.
In my own yard, a monthly zone walk caught a sprinkler head tilted by a mower before the lawn over it dried out. The fix took one hand adjustment.
How Do You Clean Sprinkler Heads and Filters?
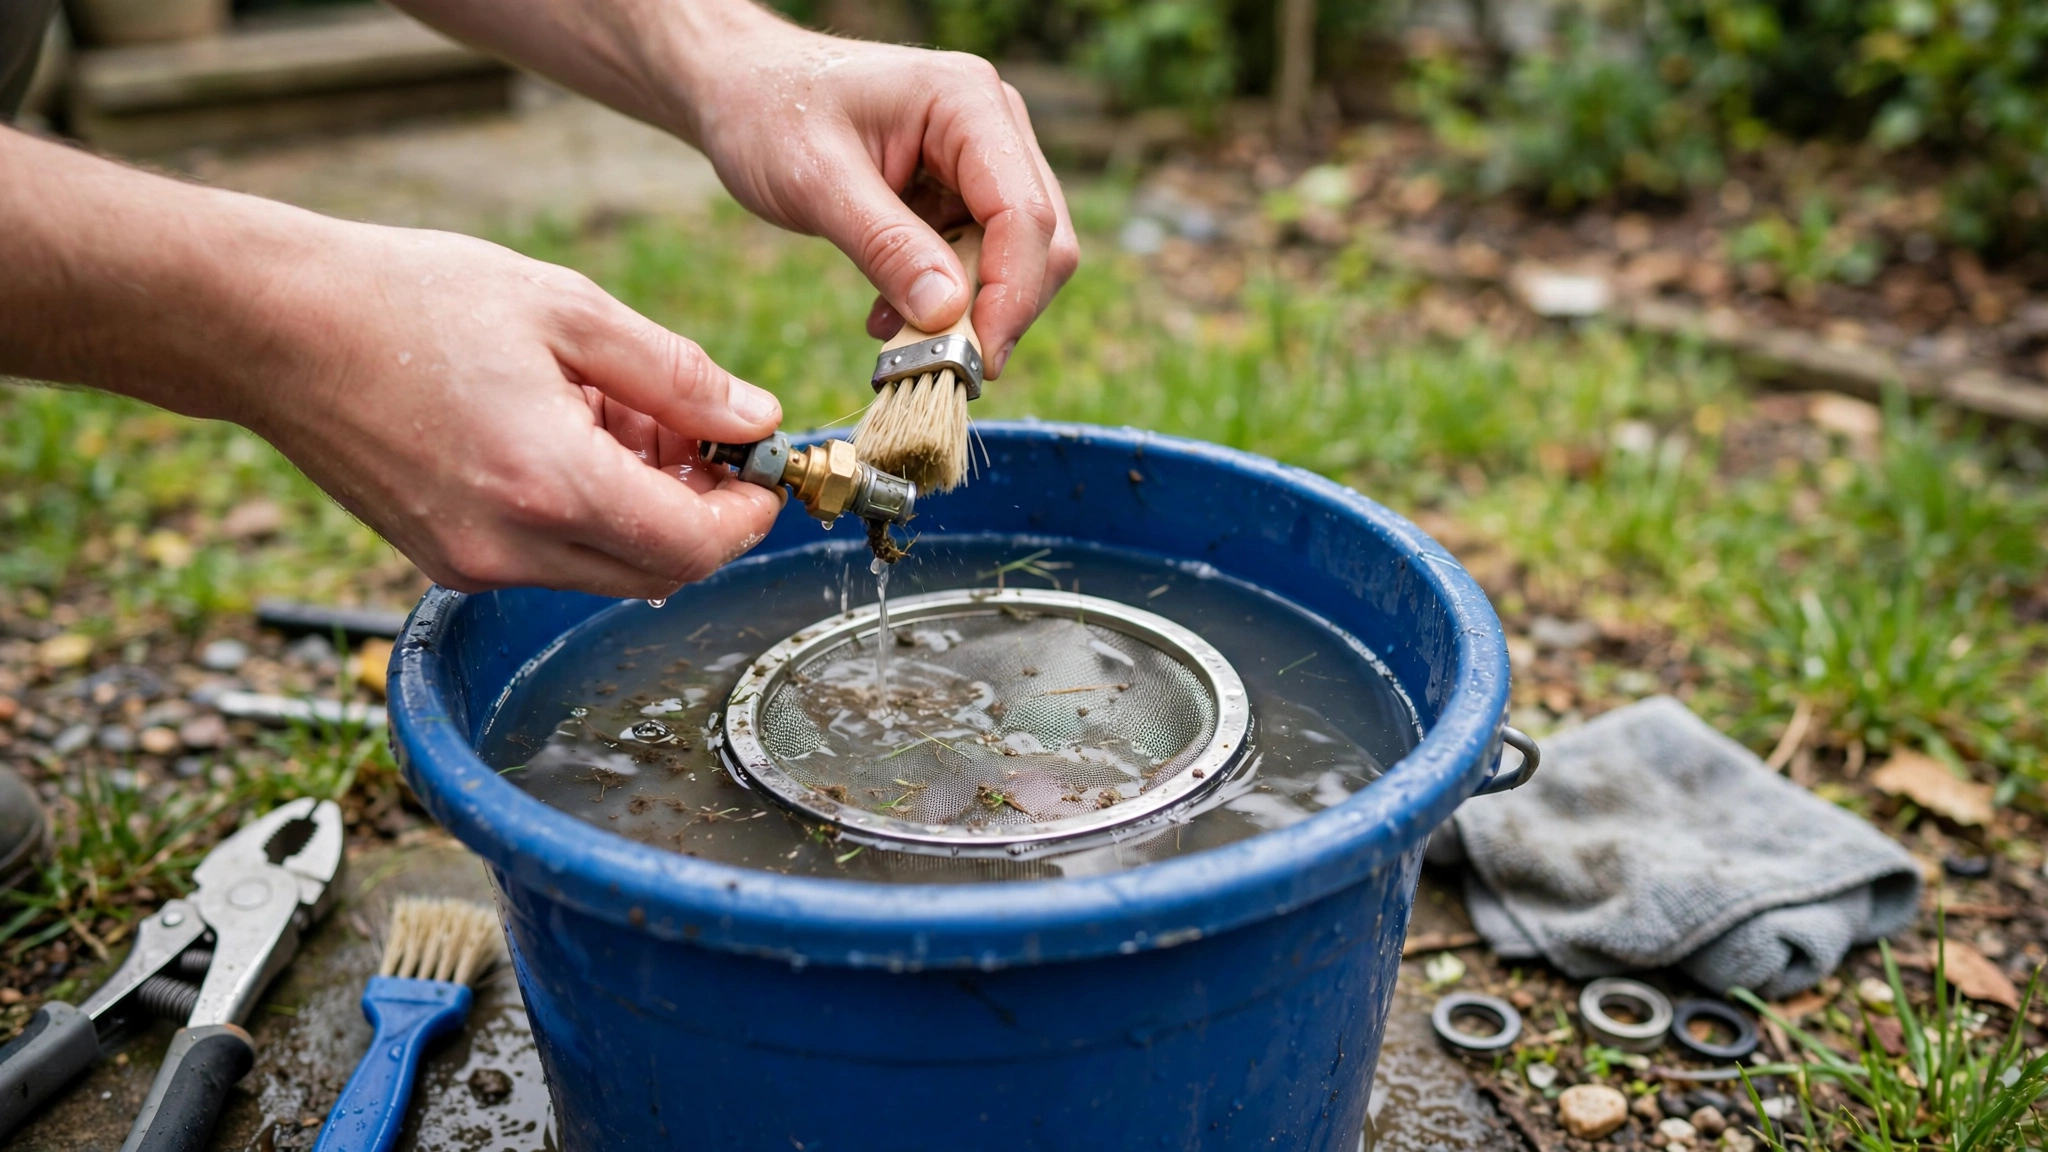
To clean sprinkler heads and filters, remove each head and filter screen, soak the parts in clean water, scrub away mineral scale and debris, flush the line, and refit each part. Clean filters and sprinkler heads 2 times each year, in spring and in fall, and clean a single clogged head at once when a zone shows a weak or missing stream. Mineral scale, sand, algae, and grass clippings cause most clogs.
Clean a sprinkler head in 6 steps:
- Turn the zone off, and lift or unscrew the sprinkler head from the body.
- Remove the nozzle and the filter screen from the head.
- Soak the nozzle and screen in warm water for 30 minutes.
- Scrub remaining scale with a small brush or an old toothbrush.
- Turn the zone on briefly with heads removed, and flush sediment from the line.
- Refit the nozzle and screen, and check the spray pattern.
Clean a drip filter in 4 steps: shut off water, unscrew the filter housing, rinse the screen or disc stack under clean water, and refit the housing. Check the filter screen for tears before refitting, because a torn screen passes sediment into drip emitters and needs replacement. Flush drip lines after filter cleaning: open each line end cap, run water until the flow runs clear, and close each cap.
How Do You Check Water Pressure and Coverage?
To check water pressure and coverage, measure pressure at a hose bib or zone with a pressure gauge, then run a catch can test on each zone and adjust run times from the results. High pressure turns spray into fine mist that drifts in wind and evaporates before reaching soil. Low pressure gives short, weak spray that leaves dry edges. A pressure regulator holds pressure steady when household pressure runs high. Check pressure at startup and again when a zone shows misting or weak spray.
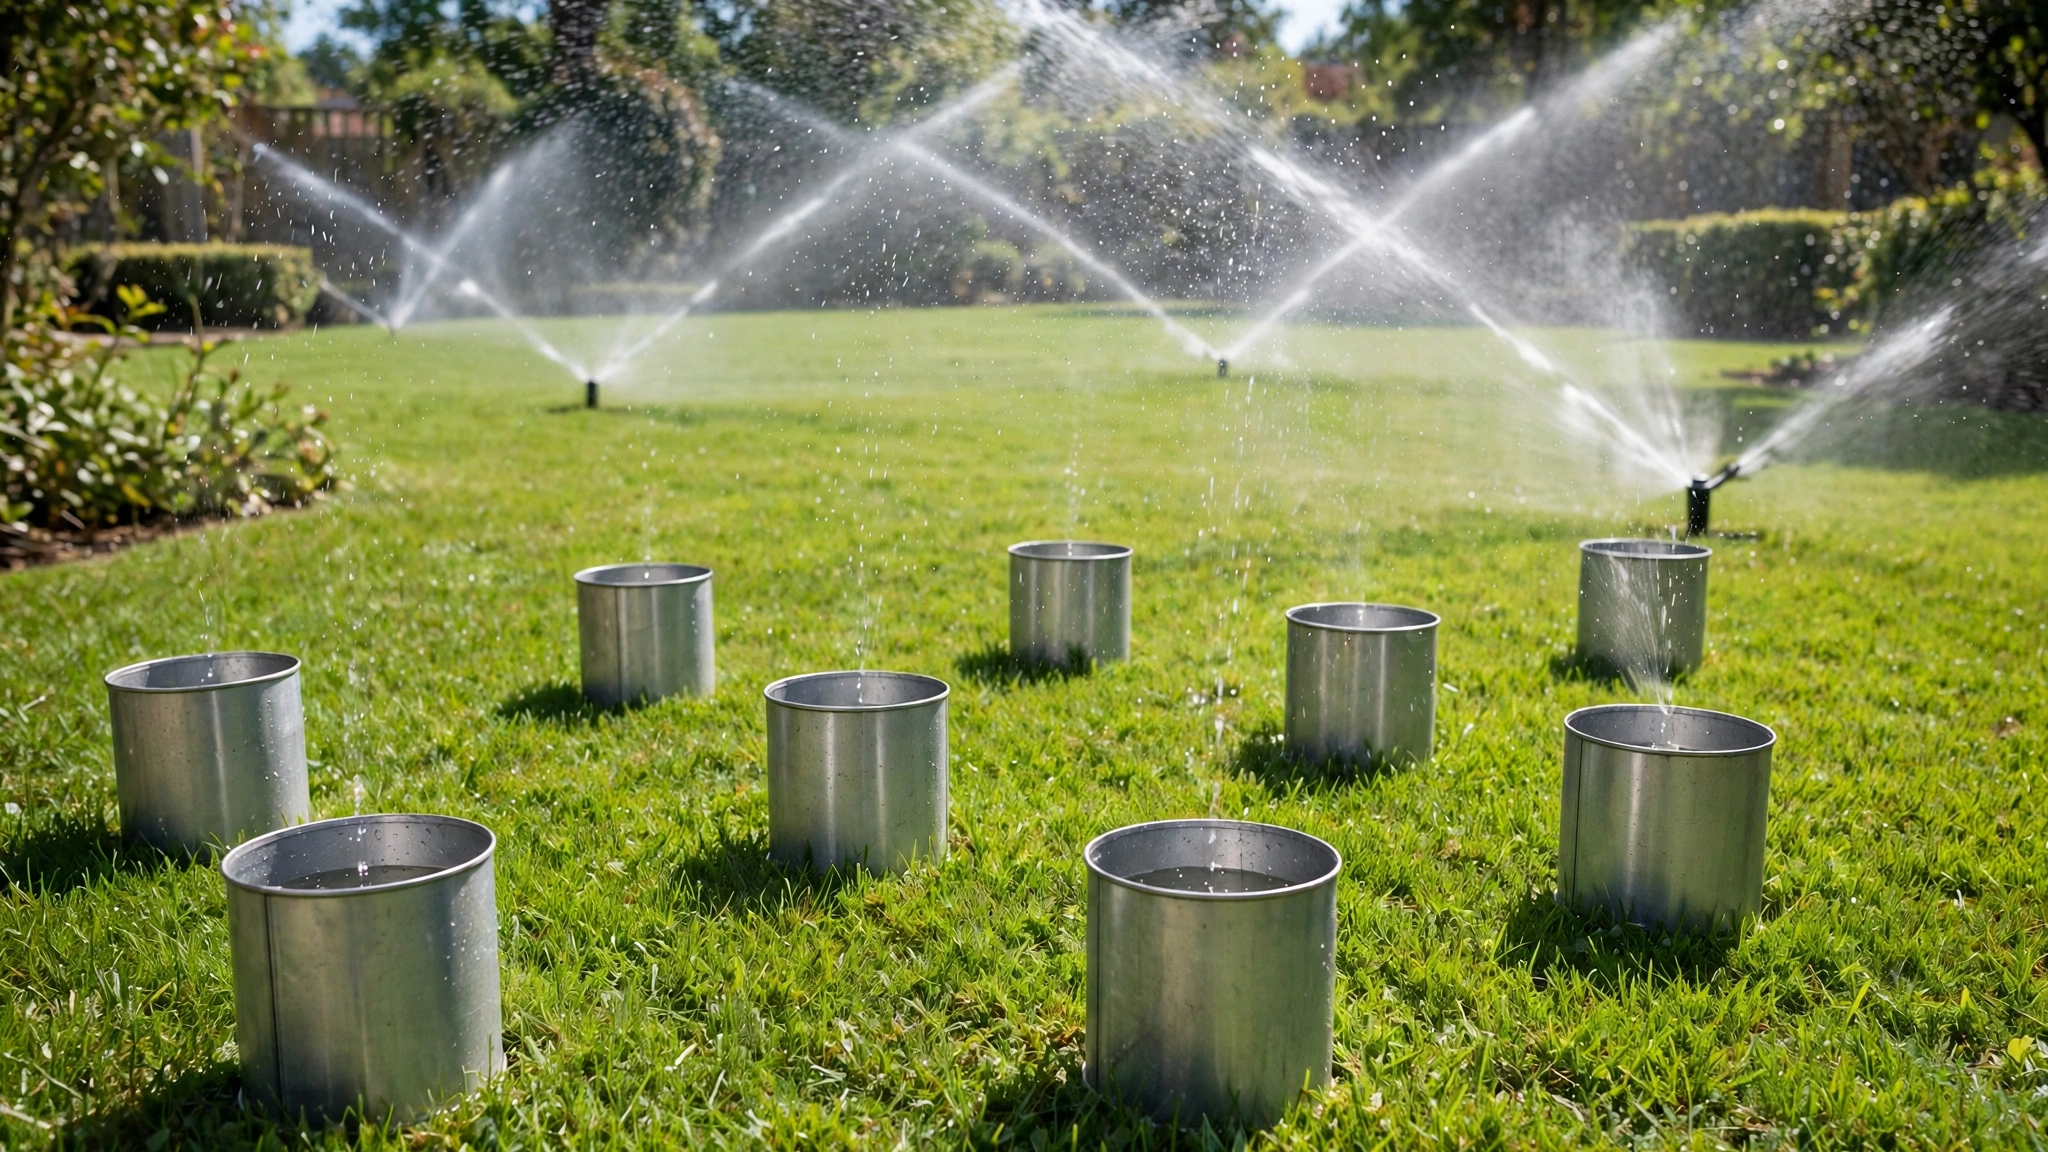
Run a catch can test in 6 steps:
- Place 6 straight-sided cans evenly across one zone.
- Run the zone for 15 minutes.
- Measure the water depth in each can.
- Compare depths across the zone for even coverage.
- Increase run time on zones with low average depth.
- Move or adjust heads on zones with large depth gaps.
A zone with even depths across all 6 cans waters evenly. A zone with one dry can and one full can needs a head adjustment, a nozzle change, or a clog fix. Repeat the catch can test after head changes. LawnLove (2026) reports that seasonal controller tweaks cut water consumption by 30%, and the catch can test gives the numbers that make those tweaks accurate instead of random.
Set the controller by season, not by one fixed schedule. Increase run times in hot, dry weather. Cut run times after rain, and pause watering when a rain sensor or soil moisture sensor signals wet soil. Water early in the morning to cut evaporation loss. Split long runs into 2 shorter cycles with a soak gap on slopes and clay soil, so water soaks in instead of running off.
Sprinkler Systems vs Drip Systems: Which Needs More Maintenance?
Drip systems need more frequent filter and emitter checks than sprinkler systems, while sprinkler systems need more head alignment and spray pattern checks than drip systems. Drip emitters clog faster than sprinkler nozzles because drip passages are smaller and drip water moves slowly. Sprinkler heads break, tilt, and clog with grass more often than drip lines because sprinkler heads sit in lawns where mowers, feet, and pets pass over them.
| Task | Sprinkler system | Drip system |
|---|---|---|
| Filter cleaning | 2 times each year | Each month in the growing season |
| Outlet cleaning | Heads 2 times each year | Emitters checked each month |
| Alignment checks | Each month, heads tilt often | Rare, lines sit in beds |
| Pressure checks | Each season, watch for misting | Each season, check the regulator |
| Winterizing | Blowout or drain before freeze | Drain lines, store head assembly indoors |
| Common fault | Broken or tilted heads | Clogged emitters and filters |
For yard safety checks around trees and roots before digging near lines, read Tree Safety: Complete Guide for Homeowners.
What Is the Seasonal Irrigation System Maintenance Checklist?
The seasonal irrigation system maintenance checklist is a 4 part routine: spring startup, monthly growing season checks, fall cleaning, and winter shutdown. Spring startup restores the irrigation system after winter. Monthly checks hold coverage steady through summer. Fall cleaning removes the sediment and scale of a full season. Winter shutdown protects pipes, valves, and backflow preventers from freezing weather. Homeowners in warm climates with no freezing weather skip the blowout step.
| Season | Tasks |
|---|---|
| Spring | Open the main valve slowly, inspect the backflow preventer, clean filters and heads, run each zone, adjust heads, test pressure, program the controller |
| Summer, each month | Run each zone, check for leaks and dry spots, trim growth over heads, clean drip filters, adjust run times for heat |
| Fall | Clean filters and heads a second time, flush valves and lines, replace worn nozzles, cut controller run times, book winterizing early |
| Winter, cold climates | Shut off water, drain or blow out lines, set the controller to off or rain mode, insulate exposed parts, store removable parts indoors |
Open the main valve slowly at spring startup. Fast pressurization shocks pipes and fittings, and fast pressurization pushes debris into emitters. Check the backflow preventer for cracks and leaks at startup, and book the annual backflow test where local rules require a test. Replace the controller backup battery at startup, because a dead battery loses the schedule after a power cut.
How Do You Winterize an Irrigation System?
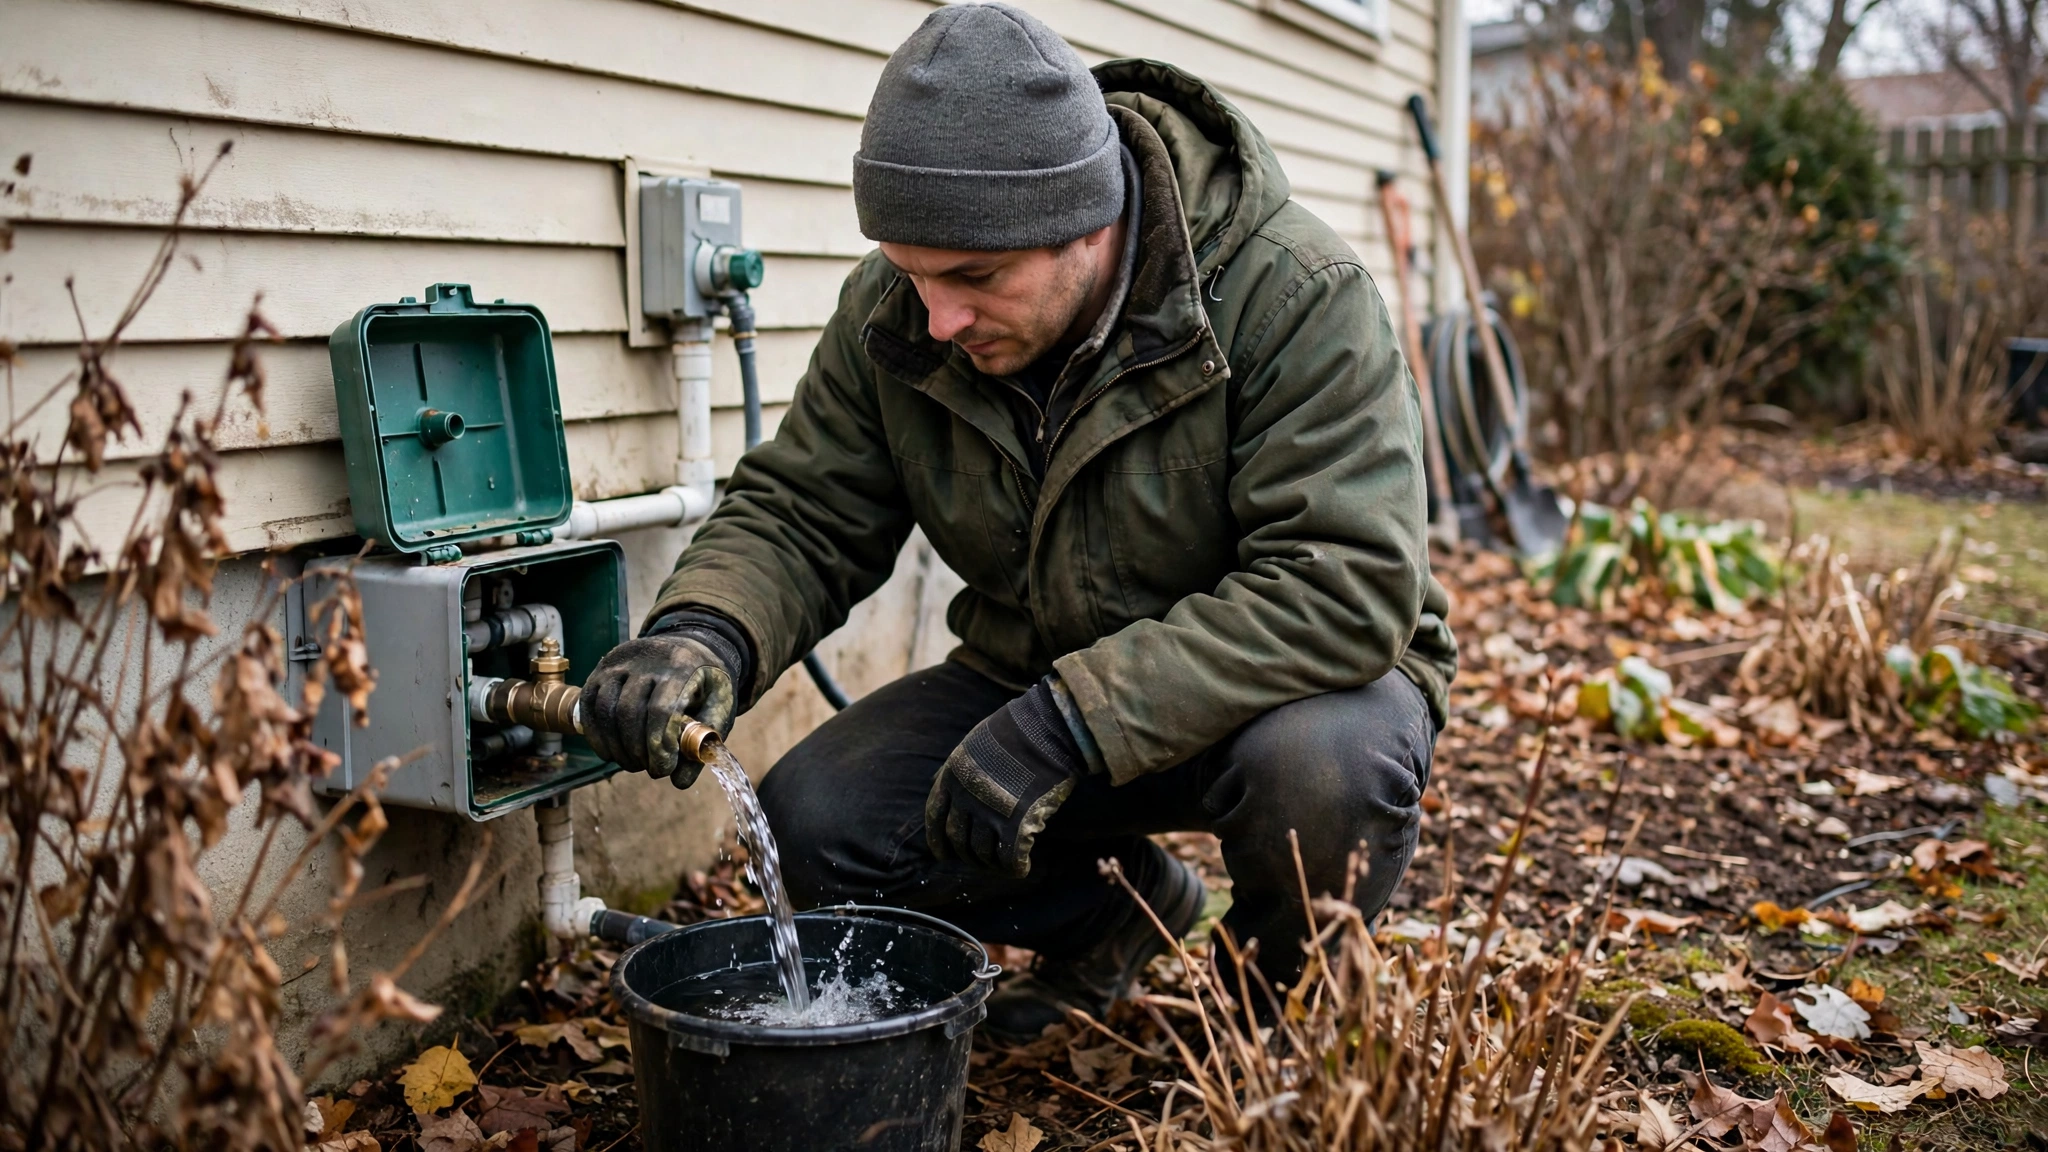
To winterize an irrigation system, shut off the water supply, drain or blow out every line, set the controller to off, and insulate exposed parts before the first hard freeze. Water expands by 9% when water freezes (Source: Rain Bird, 2025), and expanding ice cracks pipes, splits drip tubing, and breaks backflow preventers. Winterizing before the first freeze prevents that damage.
Winterize a sprinkler system in 6 steps:
- Shut off the main water supply to the irrigation system.
- Set the controller to off or rain mode, so no zone runs.
- Open manual drain valves where the irrigation system has drain valves.
- Blow out each zone with compressed air where the irrigation system needs a blowout.
- Insulate the backflow preventer and exposed pipes with foam covers.
- Leave zone valves partly open where the maker advises that step, so trapped water escapes.
Blowout work needs care. Compressed air at high pressure cracks pipes and fittings, and compressed air blown through a zone with closed valves damages valves. Homeowners who rent a compressor must follow the maker pressure limits for each zone, wear eye protection, and cycle zones one at a time. Homeowners who lack a compressor or a pressure gauge must hire a professional for the blowout, because a half-drained zone still freezes and cracks.
Winterize a drip system in 4 steps: shut off water, remove the head assembly parts from the faucet, drain and store the timer, filter, and pressure regulator indoors, and open line end caps to drain tubing. Flexible drip tubing handles cold better than rigid sprinkler pipe, and drip head assembly parts still crack because rigid plastic housings hold trapped water. Remove batteries from battery timers for winter storage.
How Do You Fix Common Irrigation Problems?
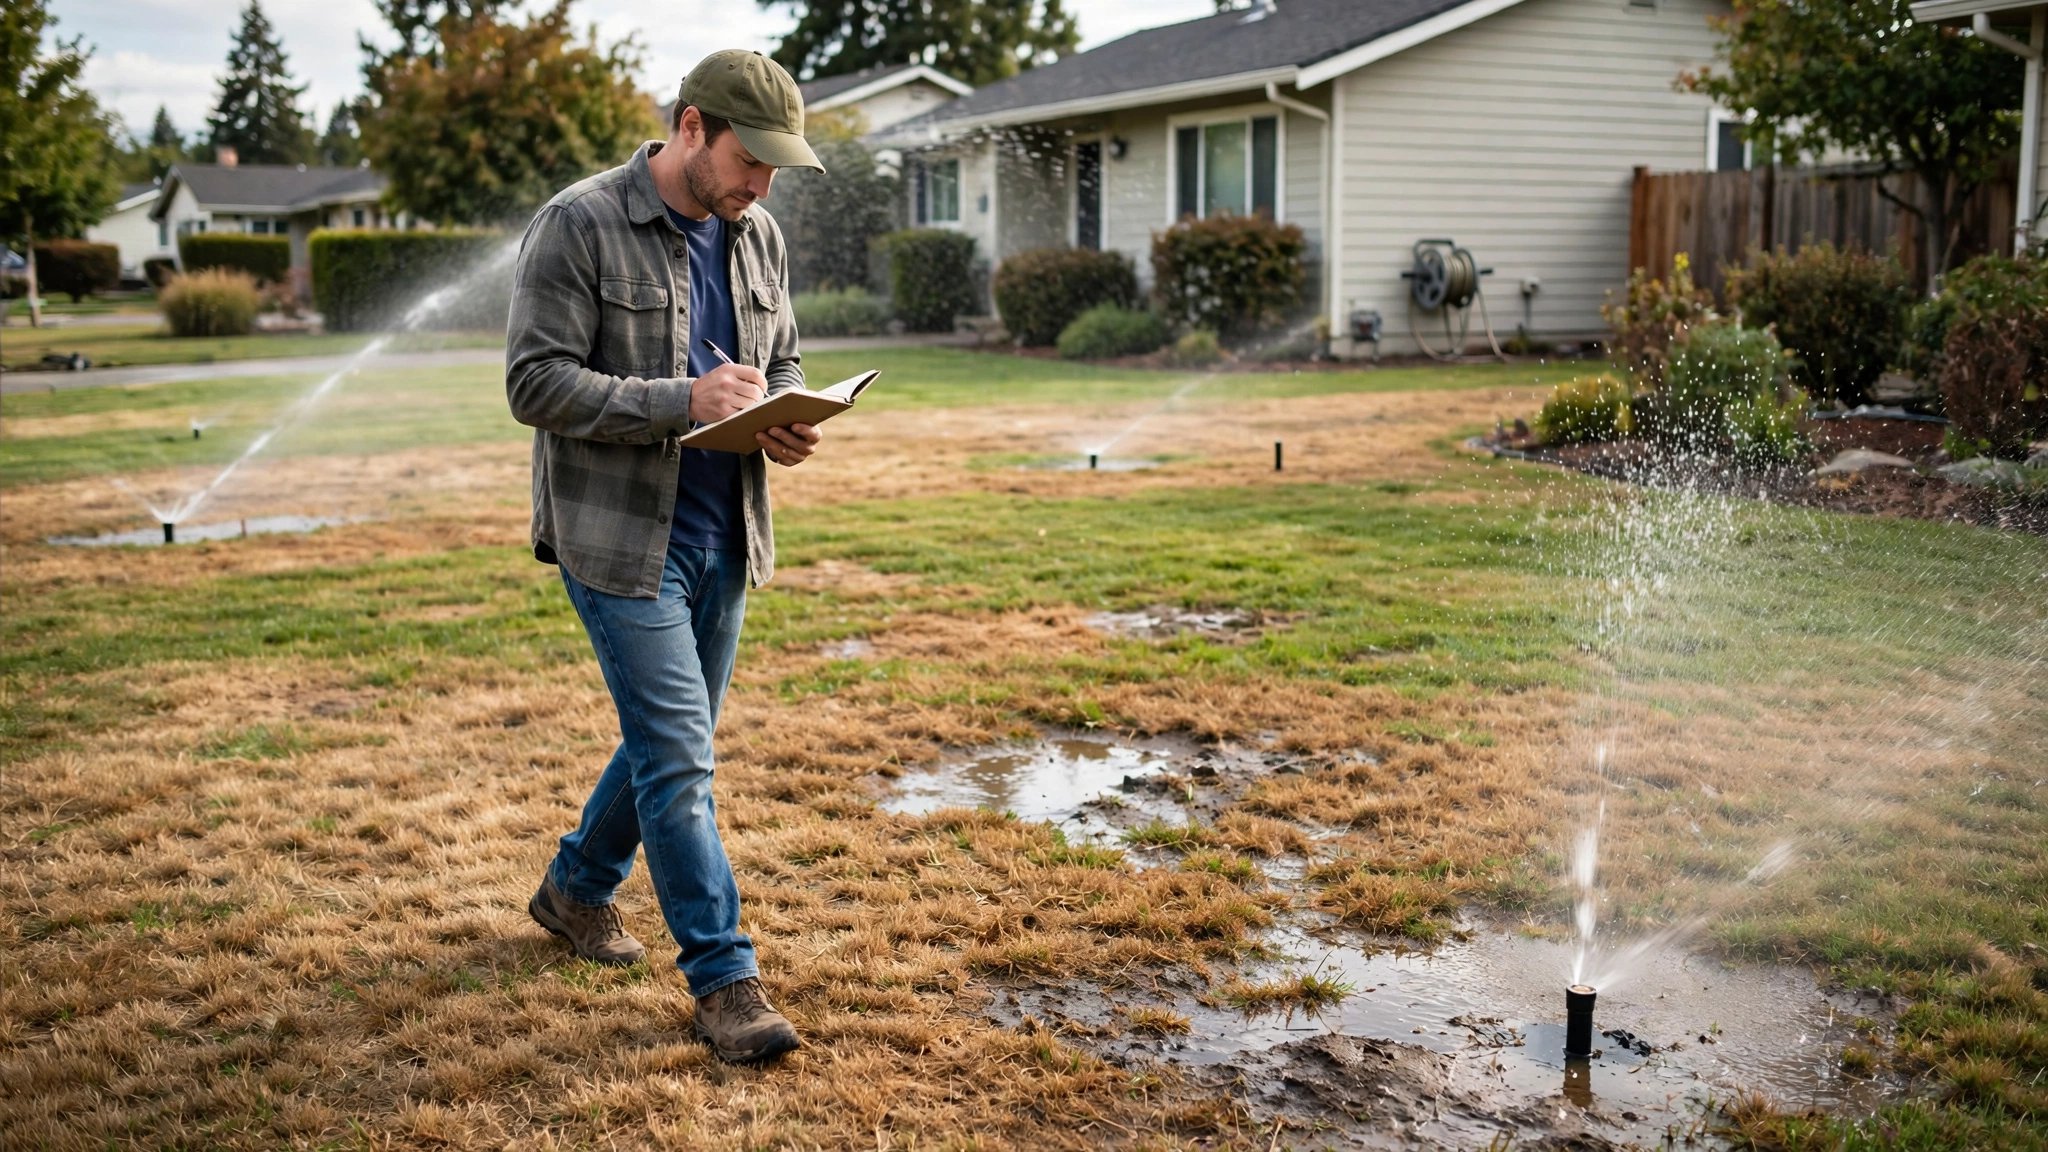
Fix common irrigation problems by matching each symptom to a cause: misting means high pressure, dry spots mean clogs or blocked heads, soggy spots mean leaks, and a dead zone means a valve or wiring fault. Work through one zone at a time, and fix the simplest cause first: a clog, a tilt, or a schedule error.
| Symptom | Likely cause | Fix |
|---|---|---|
| Fine mist from heads | Pressure too high | Fit or adjust a pressure regulator |
| Dry patch in a zone | Clogged nozzle, blocked head, tilted head | Clean the nozzle, trim growth, realign the head |
| Soggy patch or pooling | Broken head, cracked pipe, leaking fitting | Replace the head or fitting, repair the pipe section |
| Weak spray across a zone | Dirty filter, low pressure, stuck valve | Clean the filter, check pressure, test the valve |
| One zone never runs | Faulty solenoid, broken wire, controller error | Test the solenoid, check wiring, reset the program |
| Water runs after rain | Failed rain sensor, wrong schedule | Clean or replace the sensor, check the schedule |
| Drip emitters dry | Clogged filter, clogged emitter, air lock | Clean the filter, replace the emitter, flush the line |
Check the water meter for hidden leaks. Turn off all household water use and all irrigation zones, then watch the meter. A moving meter with no water use points to a leak. Isolate the irrigation system at the main shut-off valve, and watch the meter again. A meter that stops points to an irrigation leak. A meter that keeps moving points to a household leak, and a household leak needs a plumber.
When Should You Call a Professional for Irrigation System Maintenance?
Call a professional for irrigation system maintenance when the fault involves a backflow test, a main line break, a buried pipe repair, a compressor blowout, or an electrical valve fault. Professional work covers faults where a wrong step damages the drinking water supply, floods a yard, or risks injury, and faults where diagnosis needs tools most homeowners lack, such as wire tracers.
Call a professional for 6 faults:
- Backflow preventer testing and repair, where local rules require a licensed tester.
- Main line breaks and buried pipe repairs that need trenching.
- Compressor blowouts where the homeowner lacks a compressor or gauge.
- Solenoid and wiring faults that persist after a controller reset.
- Low pressure across all zones, which can point to a supply fault.
- Repeated clogs that point to a water quality fault needing filtration changes.
Get 2 written quotes for repair work that costs more than a basic service visit. Each quote must list parts, labor, and warranty terms. Ask each contractor for license proof and insurance proof where local rules require those documents. Voice of Wave publishes practical home guides for general readers.
Conclusion
Irrigation system maintenance is a monthly zone check, a spring and fall clean, a catch can test, a seasonal controller change, and a winter shutdown before freezing weather. Irrigation system maintenance keeps coverage even, keeps filters and emitters clear, and keeps small faults small. Start with the monthly zone walk, add the spring and fall deep clean, test coverage with cans, and winterize on time in cold climates. Keep a written log of faults, fixes, and filter changes, because a log turns next season startup into a short job.
Browse the latest articles for more home care guides.
Frequently Asked Questions
How often should I maintain my irrigation system?
Inspect the irrigation system once a month during the growing season, and run a full clean in spring and in fall. Monthly zone checks catch clogs, leaks, and tilted heads early. Spring startup adds filter cleaning and controller programming, and fall cleaning prepares the irrigation system for winter shutdown.
Do I need to winterize my irrigation system every year?
Yes, winterize the irrigation system every year in any climate with freezing weather, and winterize before the first hard freeze. Water expands when water freezes, and expanding ice cracks pipes, valves, and backflow preventers. Warm climates with no freezing weather skip the blowout step and still run seasonal checks.
How do I know if my sprinkler heads need cleaning?
Clean sprinkler heads when spray turns weak, broken, misty, or uneven, or when a zone shows a dry patch. Mineral scale, sand, and grass clippings block nozzles and screens. Soak the nozzle and screen in warm water, scrub away scale, flush the line, and check the spray pattern after refitting.
What is the catch can test for irrigation systems?
The catch can test measures how evenly a zone waters by placing 6 cans across the zone, running the zone for 15 minutes, and comparing water depths. Even depths mean even coverage. Large depth gaps mean a head needs moving, a nozzle needs changing, or a clog needs clearing before run times change.
Why is one zone weaker than the other zones?
One weak zone usually means a dirty filter, a stuck valve, low pressure, or a clogged outlet in that zone. Clean the filter first, then check outlets in the weak zone, then test the zone valve. Low pressure across all zones points to a supply fault, and a supply fault needs a professional check.
Can I blow out my irrigation system myself?
Yes, homeowners can blow out an irrigation system with a compressor when they follow maker pressure limits, cycle one zone at a time, and wear eye protection. High air pressure cracks pipes and fittings. Homeowners without a compressor or pressure gauge must hire a professional, because a half-drained zone still freezes and cracks.