
Introduction
Screen recording is the capture of everything shown on a device screen into a video file, and screen recording works with free tools already built into Windows, Mac, iPhone, Android, and Chromebook. A screen recording saves moving images plus optional audio, and the file plays back like any video. People record screens for tutorials, bug reports, lessons, meetings, and game clips. The main benefits are speed, clarity, and proof: a short video shows a process better than a long written note. The main uses cover teaching, support, work demos, and personal records. The main parts are capture area, audio source, frame rate, and export format. This guide gives steps for each device, a free tool comparison, settings for clear video, audio setup, editing, fixes, and privacy rules.
Key Takeaways
- Screen recording is free on every major device.
- Windows uses Xbox Game Bar, and Mac uses Shift plus Command plus 5.
- Record at 1080p and 30 frames per second.
- Test microphone and system audio first.
- OBS Studio is the best free recorder with no watermark.
- Ask permission before recording a call.
Table of Contents
- What Is Screen Recording?
- How Do You Record Your Screen on Windows?
- How Do You Record Your Screen on Mac?
- How Do You Record Your Screen on iPhone and Android?
- How Do You Record Your Screen on Chromebook and in a Browser?
- Which Free Screen Recorder Fits Your Needs?
- What Settings Give You a Clear Recording?
- How Do You Record Audio With Your Screen?
- How Do You Edit and Share a Screen Recording?
- Common Screen Recording Problems and Fixes
- Screen Recording Privacy and Permission Rules
- Conclusion
What Is Screen Recording?
Screen recording is a video capture of a computer screen, phone screen, or tablet screen, and screen recording saves the moving picture as a video file with optional sound. A screen recording differs from a screenshot: a screenshot saves one still image, while a screen recording saves motion over time. The older term for the same job is screencast, and columnist Jon Udell selected the term screencast in 2004 (Source: Wikipedia, 2026). The screencast page on Wikipedia traces the term and lists common uses for teaching, software demos, and bug reports.
Screen recording serves 4 jobs: lessons, bug reports, work demos, and game clips. Tools fall into 3 groups: built-in recorders, free apps such as OBS Studio, and paid apps such as Camtasia. Readers who want more technology explainers can explore the Tech section for guides on software, devices, and digital methods.
How Do You Record Your Screen on Windows?
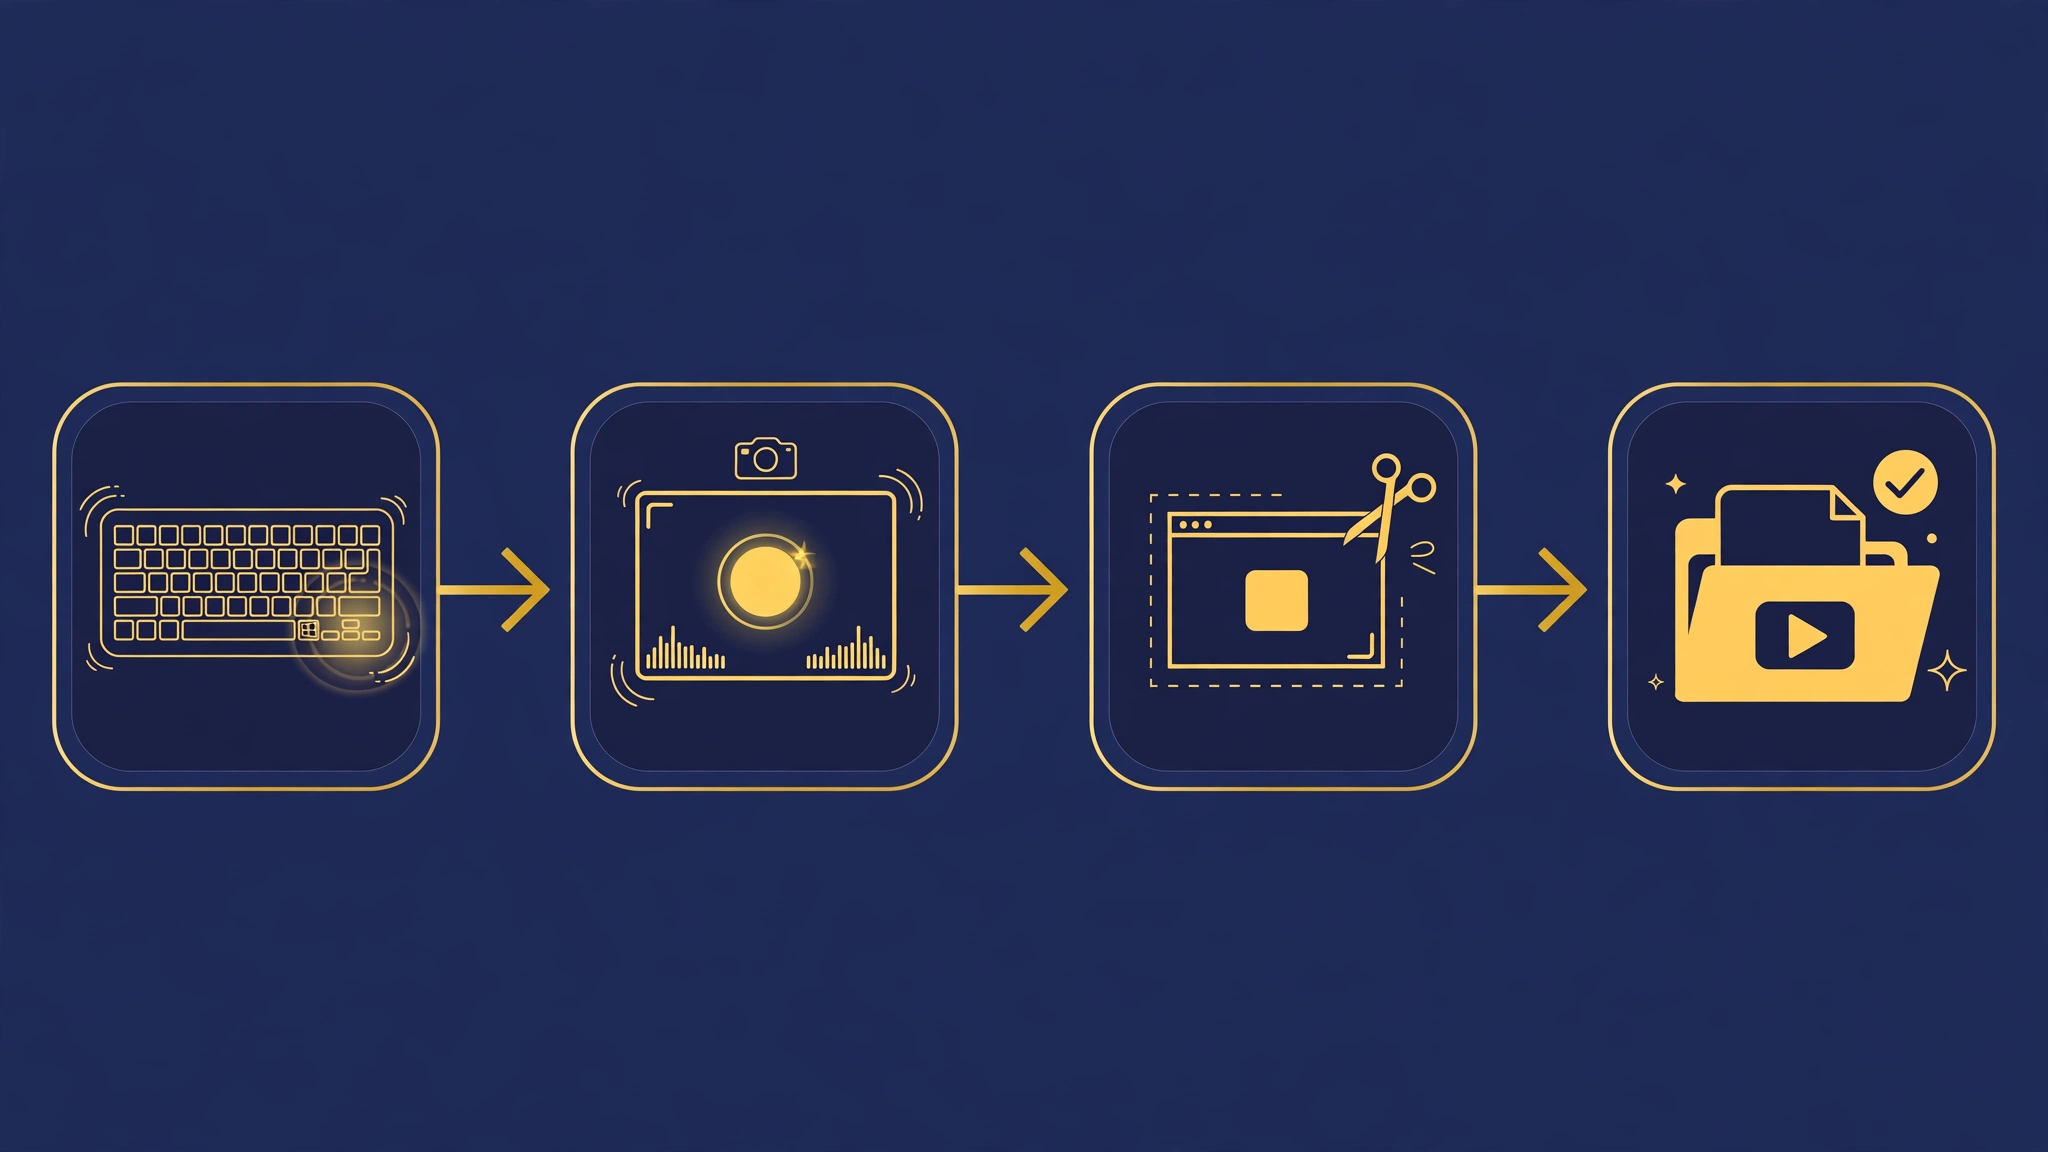
To record your screen on Windows, press Windows plus Alt plus R to start Xbox Game Bar recording, or open Snipping Tool on Windows 11 and pick video mode, and both methods save an MP4 file without a download. Windows includes 3 free methods: Xbox Game Bar for quick clips of one window, Snipping Tool for full-screen and region capture on Windows 11, and PowerPoint for recording inside slides.
Xbox Game Bar records in 4 steps. First, open the app or window to record. Second, press Windows plus Alt plus R to start. Third, press the same shortcut again to stop. Fourth, find the clip in Videos under Captures. Game Bar records the active window only, not the desktop or File Explorer.
Snipping Tool on Windows 11 records in 5 steps. First, open Snipping Tool. Second, click the video camera icon. Third, click New and drag a rectangle around the area. Fourth, click Start after the countdown. Fifth, click Stop and save with Control plus S. Snipping Tool saves MP4 files with microphone and system audio. Windows 10 users need Game Bar or a free app, since Snipping Tool video arrived on Windows 11 in late 2022. PowerPoint also records through Insert, then Screen Recording.
How Do You Record Your Screen on Mac?
To record your screen on Mac, press Shift plus Command plus 5 to open the screenshot toolbar, pick Record Entire Screen or Record Selected Portion, and click Record. The toolbar works on macOS Mojave and every version since. Pick the save location in Options first.
The Mac toolbar records in 5 steps: press Shift plus Command plus 5, pick entire screen or a selected portion, set microphone and save location in Options, click Record, then click the stop icon in the menu bar. A thumbnail appears in the corner for a quick trim.
QuickTime Player gives a second free method: open QuickTime Player, click File, then New Screen Recording, then the red record button. QuickTime saves MOV files. Mac built-in tools record microphone audio only, so system audio needs a separate audio routing app. Convert MOV files to MP4 for smaller files.
How Do You Record Your Screen on iPhone and Android?
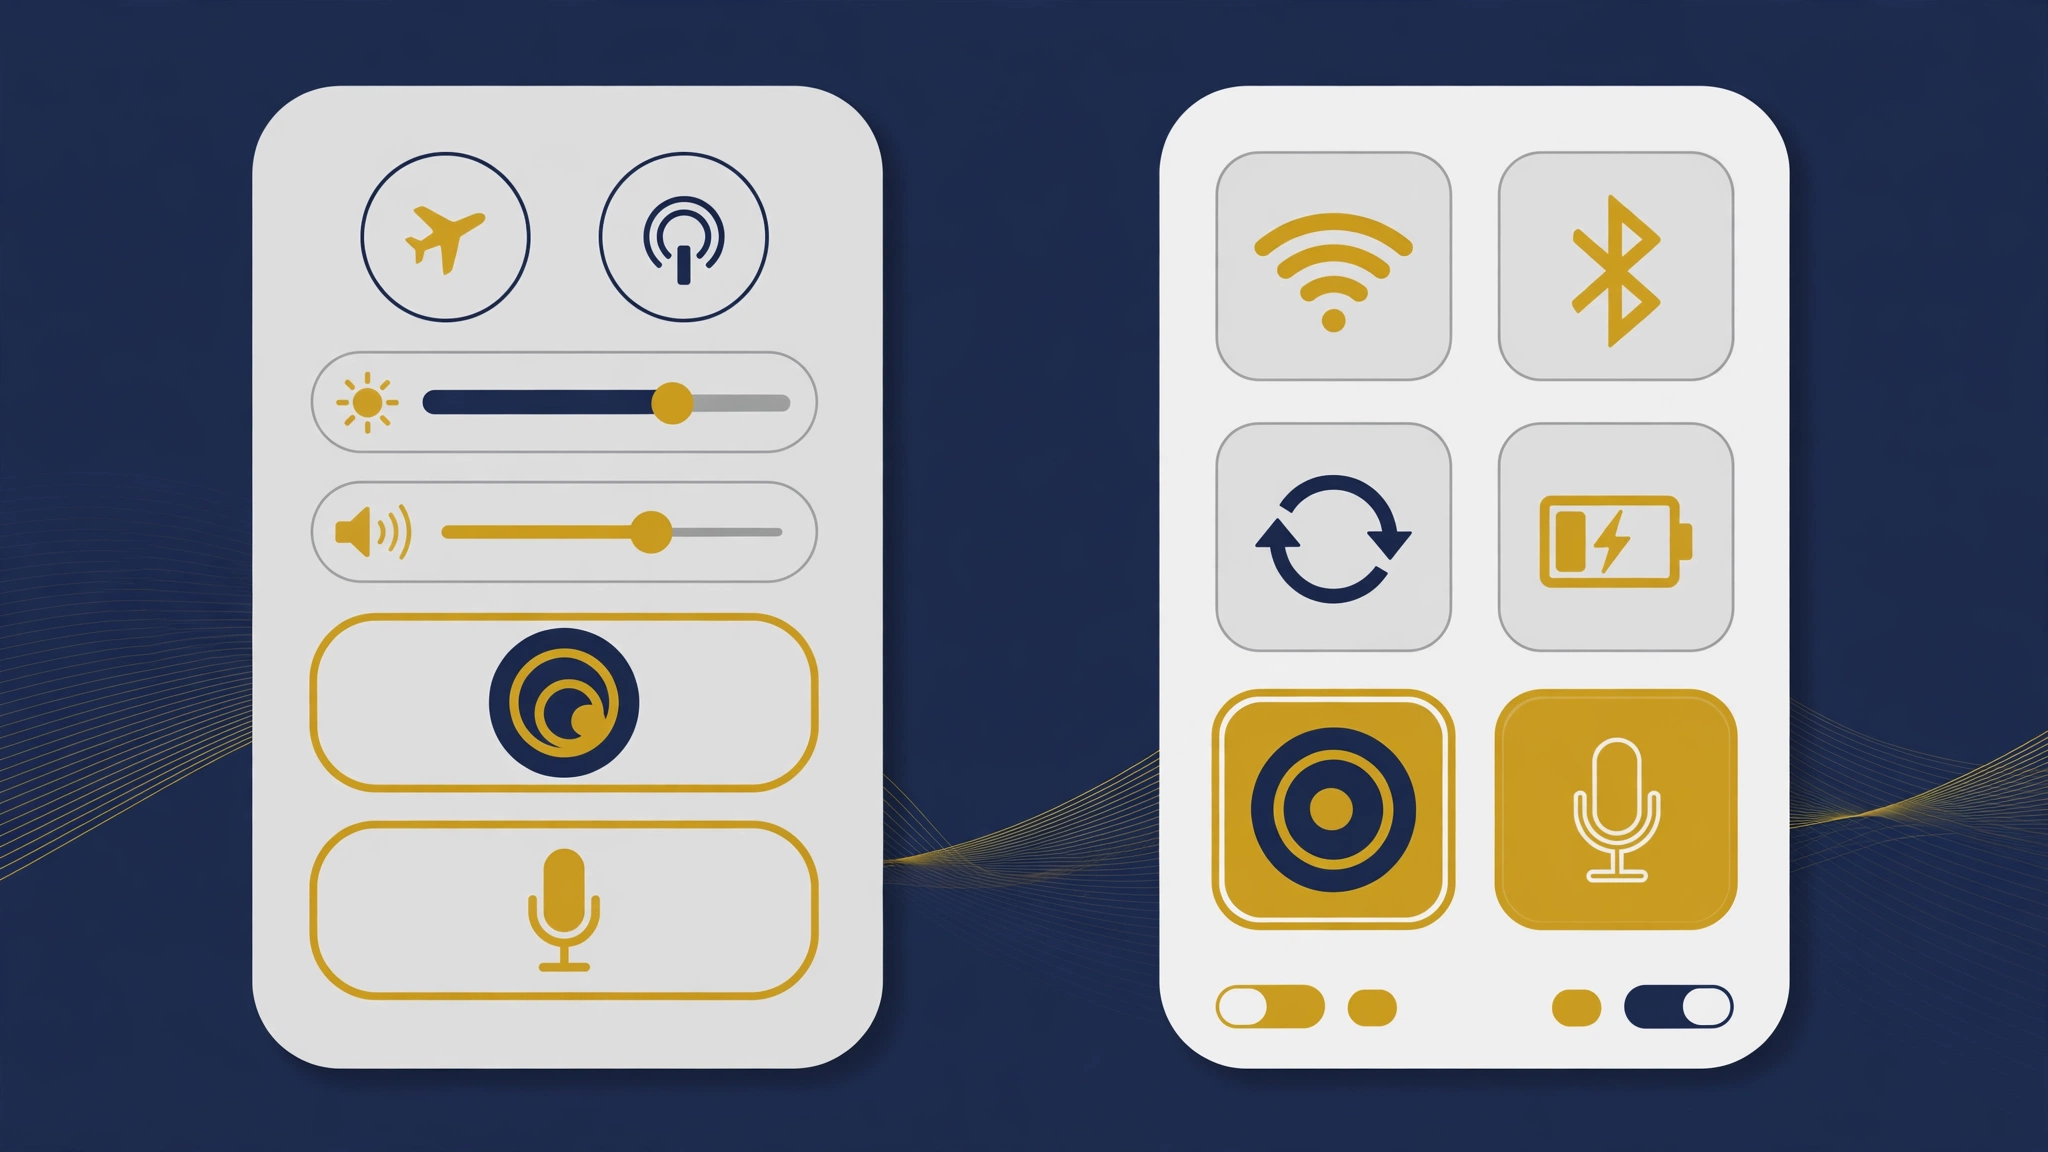
To record your screen on iPhone, add Screen Recording to Control Center, open Control Center, hold the record button, turn the microphone on or off, and tap Start Recording. To record your screen on Android 11 or later, swipe down twice for Quick Settings, tap Screen Record, pick sound settings, and tap Start. Both phones save the clip to the Photos or Gallery app.
iPhone recording needs one setup step first. Open Settings, tap Control Center, and add Screen Recording. After setup, swipe down from the top-right corner on newer iPhones, or swipe up from the bottom on older iPhones. Hold the record button for options, tap Start Recording, and wait for the countdown. Tap the red status bar to stop. iPhone records the full screen only.
Android recording differs by brand, but the core steps match. Swipe down twice to open Quick Settings, tap Screen Record, and pick sound: no sound, media sounds, or media plus microphone. Tap Start, wait for the countdown, and record. Tap Stop in the notification shade to end the clip. Android 11 and later include a built-in recorder, while older phones need a free app. Turn on Do Not Disturb first.
How Do You Record Your Screen on Chromebook and in a Browser?
To record your screen on a Chromebook, press Shift plus Control plus Show windows, pick Screen record, choose full screen, partial screen, or window, and click Record. Chromebook recordings save to Downloads as WebM files, and the toolbar picks audio: microphone, system audio, or both.
Browser recording works on any device with Chrome, Edge, or Firefox. Open a browser recorder site, grant screen permission, pick a tab, a window, or the full screen, and press Start. System audio works best in Chrome and Edge. A browser recorder needs a secure HTTPS page for camera and microphone access.
Which Free Screen Recorder Fits Your Needs?
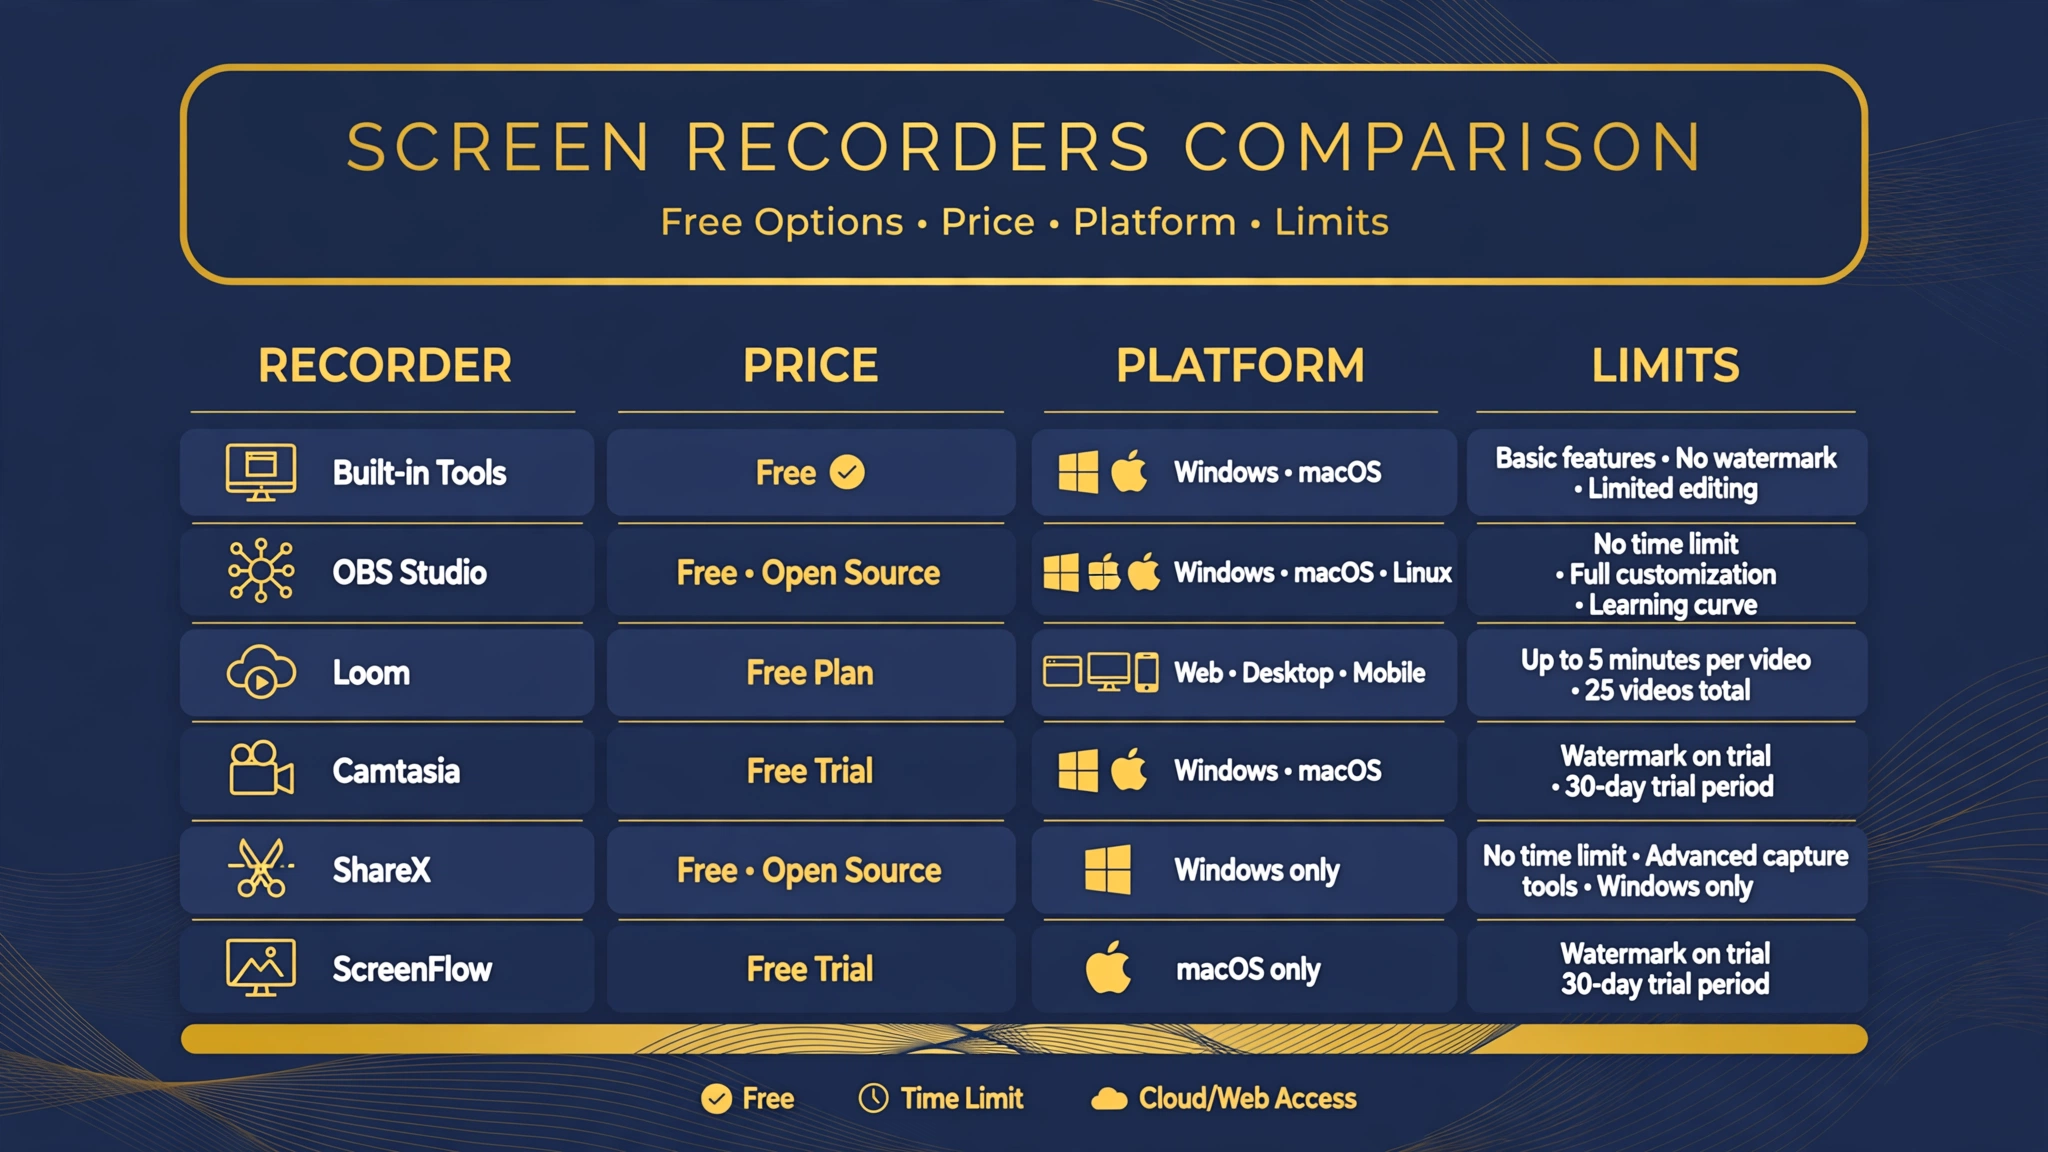
The best free screen recorder depends on the job: OBS Studio fits free unlimited recording with no watermark, Loom fits fast sharing by link, built-in tools fit quick clips, and Camtasia fits polished edited courses. The table below maps each option to its strongest use, price, and limit, from vendor pages checked in 2026.
| Tool | Best for | Price | Free plan limit | Platforms |
|---|---|---|---|---|
| Built-in recorders | Quick clips | Free | None | Windows, Mac, iPhone, Android, Chromebook |
| OBS Studio | Free unlimited recording | Free | None, no watermark | Windows, Mac, Linux |
| Loom | Fast team videos by link | Free tier, paid from 15 dollars per user per month | 5 minutes per video, 25 videos, 720p | Web, Mac, Windows, iOS, Android |
| Camtasia | Polished tutorials | 299 dollars one-time | Free trial only, exports watermarked | Windows, Mac |
| ShareX | Free Windows capture | Free | None, no watermark | Windows only |
| ScreenFlow | Polished Mac demos | Paid, 169 dollars | Trial only | Mac only |
OBS Studio is free and open source, and OBS Studio records up to 4K, streams to major platforms, and mixes screen, webcam, images, and text in scenes. OBS Studio version 32.1.0 was released on 8 March 2026 (Source: Wikipedia, 2026). OBS Studio has no built-in editor. The comparison of screencasting software page lists these tools with versions, licences, and output formats.
Loom fits work messages: record, get a link, and send it in chat or email. Loom free Starter allows 25 videos at 5 minutes each and 720p resolution (Source: Online Tech Tips, 2026). Camtasia costs 299 dollars one-time (Source: Rankite, 2026). ShareX fits Windows power users, and ScreenFlow fits Mac creators at 169 dollars (Source: SharedTutor, 2026).
Learn how AI tools create visuals from text in AI Image Generator: Complete Guide.
What Settings Give You a Clear Recording?
Clear screen recording settings are 1920 by 1080 resolution, 30 frames per second, a video bitrate near 8 megabits per second, and a clean desktop with large text, and those 4 settings give sharp video at a fair file size. Resolution sets the frame size, frame rate sets smoothness, and bitrate sets the quality ceiling: a low bitrate blurs text even at high resolution. Match the recording resolution to the screen resolution for the sharpest text.
Use 30 frames per second for tutorials, demos, and meetings, since 30 frames per second looks smooth and keeps files small. Use 60 frames per second for games and fast scrolling. File size follows a simple rule: at 8 megabits per second, one minute of video uses about 60 megabytes, so a 10-minute tutorial uses about 600 megabytes. MP4 with H.264 video is the safest export choice. Before recording, close extra tabs, turn off notifications, and set browser zoom to 125 percent.
How Do You Record Audio With Your Screen?
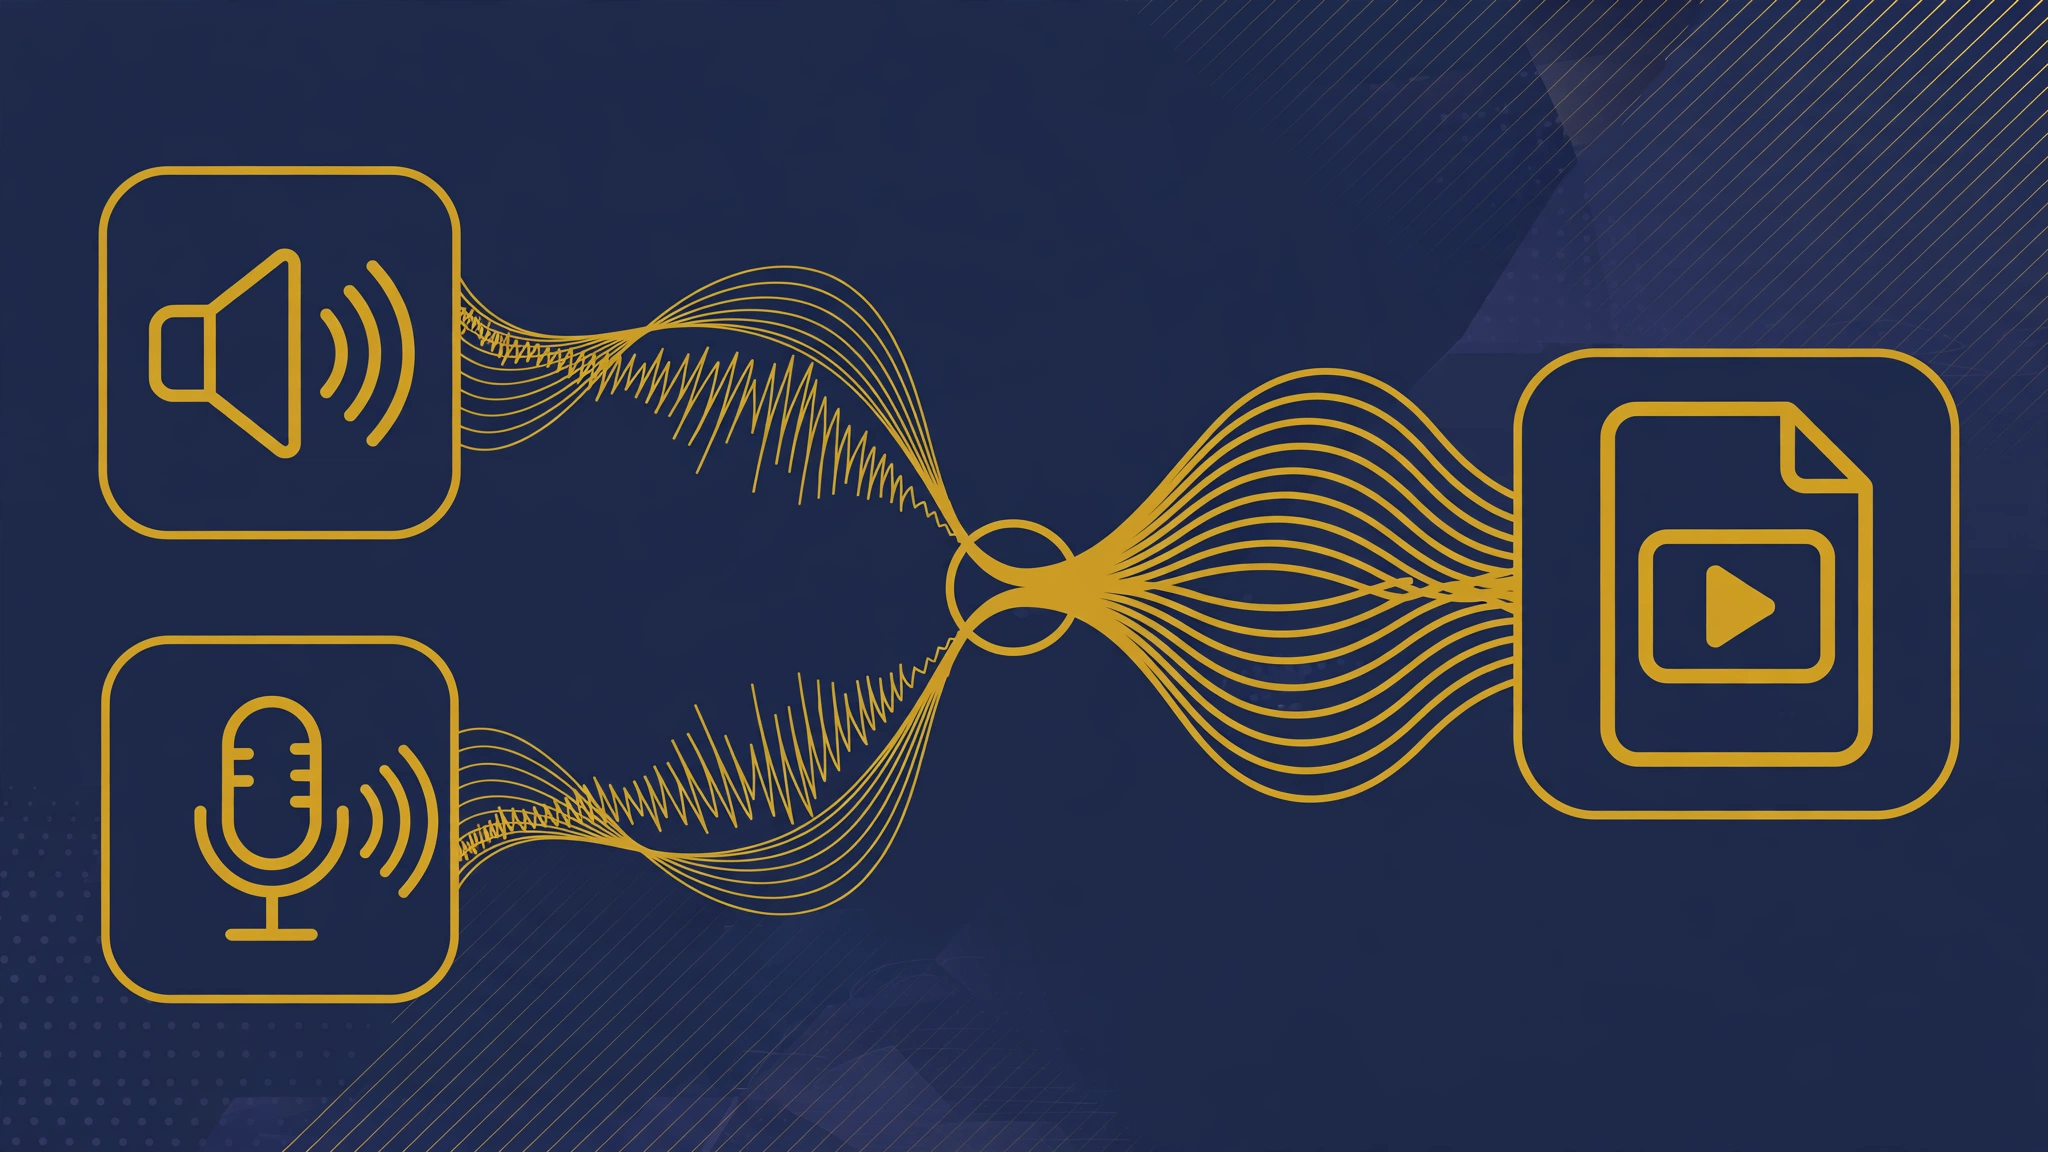
To record audio with your screen, pick the audio source before recording: system audio captures app sounds and calls, microphone audio captures voice, and both sources together capture a call with your narration. System audio and microphone audio are the 2 sources, and many recorders add both.
The wrong source is the most common screen recording failure. Test audio with a 10-second clip and play it back before a long take.
System audio works by default on Windows and Chromebook tools. Mac built-in tools record microphone audio only: to capture system audio, add a third-party audio routing tool and pick it as the output, or record on a browser with system audio on.
Microphone audio needs 3 checks. First, pick the right microphone: a headset mic beats a laptop mic for clear voice. Second, set the level below the red zone and sit about 15 centimetres from the mic. Third, record in a quiet room and close noisy apps.
How Do You Edit and Share a Screen Recording?
To edit a screen recording, trim the start and end, cut mistakes and long pauses, add captions or callouts, and export as MP4 at 1080p. Keep the finished video under the platform limit for the channel.
Editing turns a raw take into a video people finish watching. Most built-in tools trim only, so long edits need a free editor such as Shotcut or DaVinci Resolve. OBS Studio has no built-in editor.
Edit in 5 steps. First, watch the full clip once and note time codes for cuts. Second, trim dead air at the start and end. Third, cut mistakes and repeats. Fourth, add a title card and captions. Fifth, export as MP4 at 1080p and 30 frames per second.
Send a link through Loom, YouTube, or Google Drive, since a link plays on any device. Send the MP4 file itself when the viewer needs offline access. Keep the file name short and clear: screen-recording-windows.mp4 is easier to find than Clip0001.mp4. The Voice of Wave blog covers practical technology guides of this kind for general readers.
Common Screen Recording Problems and Fixes
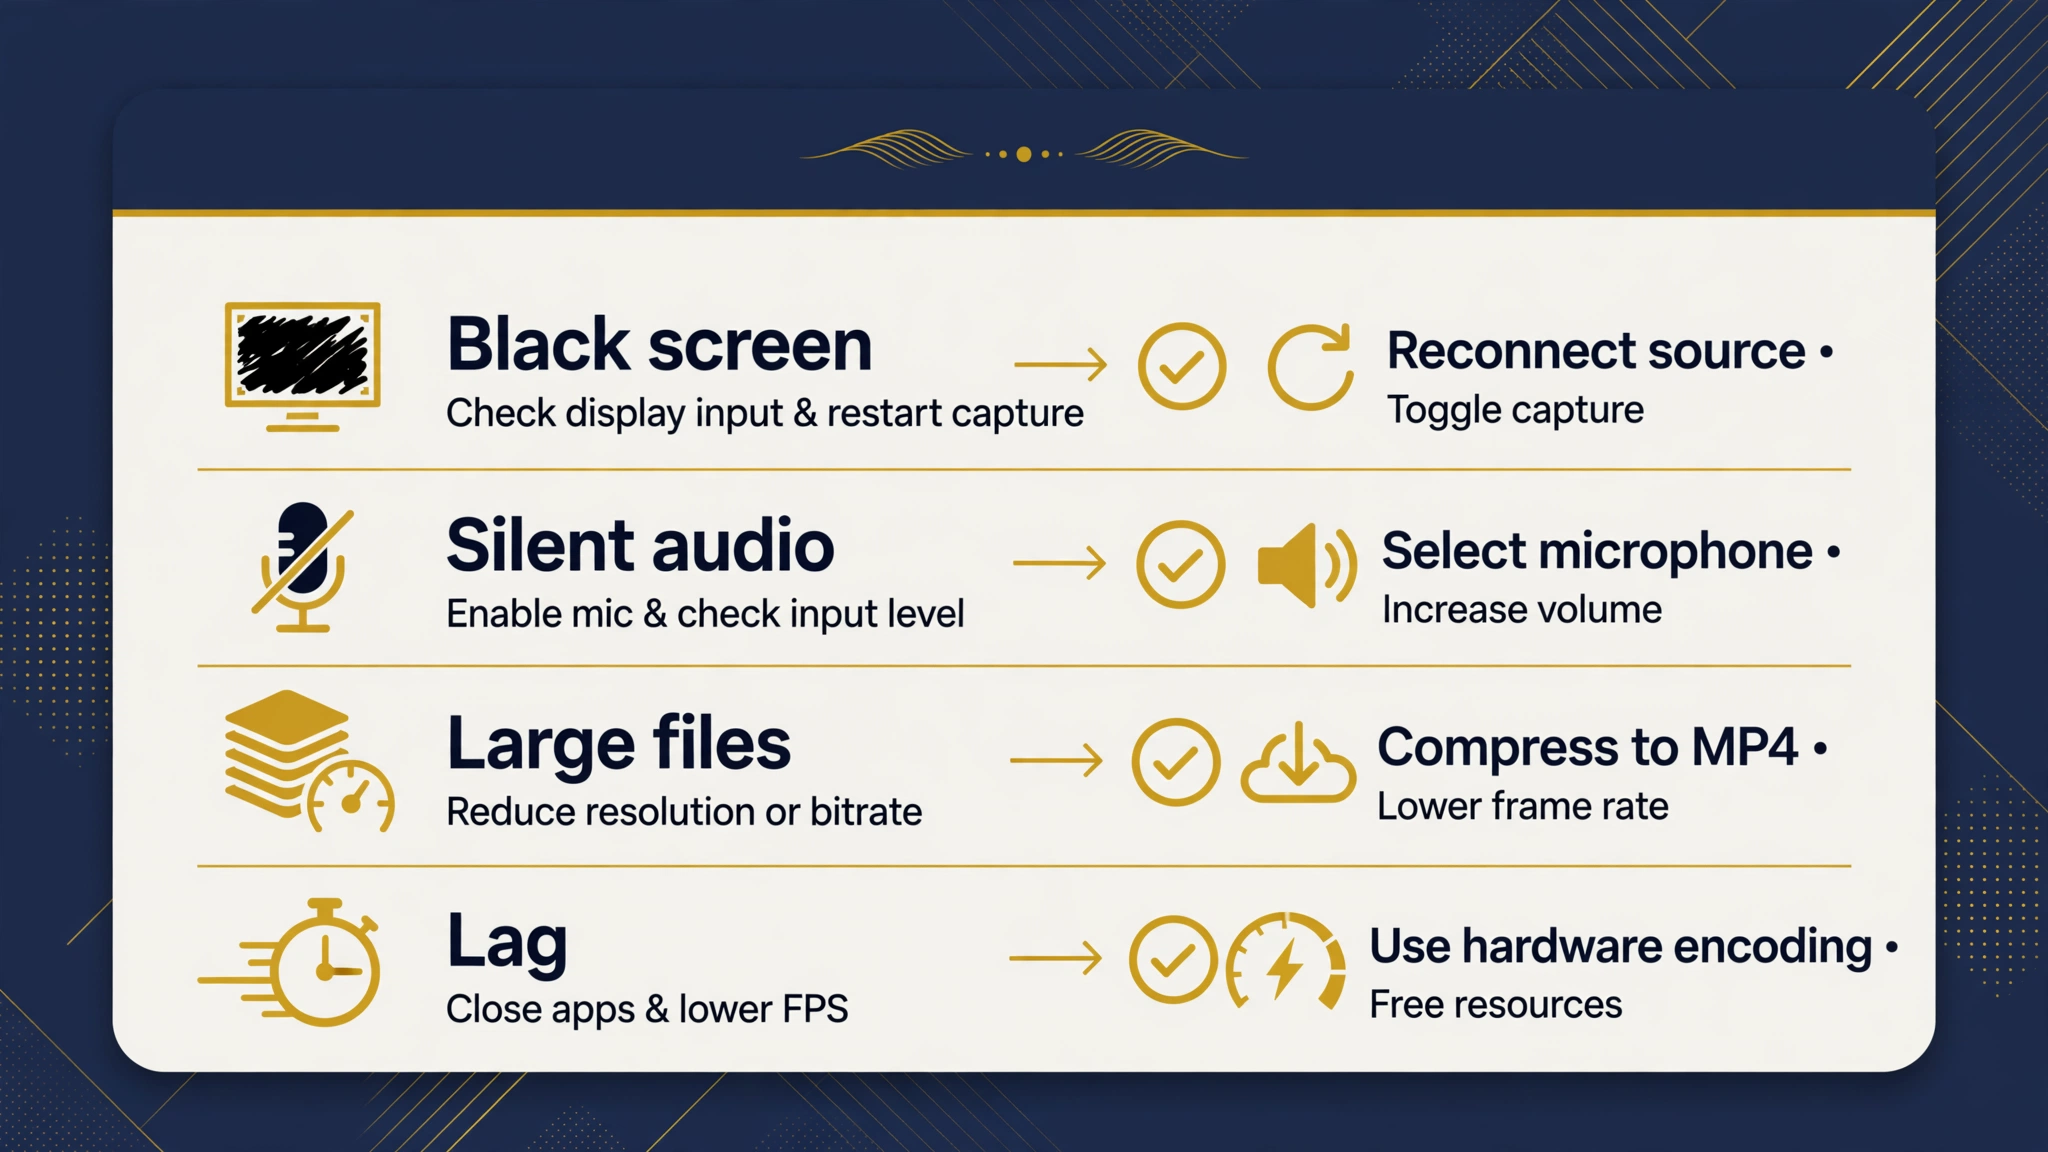
Common screen recording problems are black screens, missing audio, huge files, and lag, and each problem has a clear fix in the table below.
The table below lists each problem with its fix.
| Problem | Likely cause | Fix |
|---|---|---|
| Black screen | Protected app or wrong window | Record a different app or use full-screen capture |
| No audio | Wrong source or missing permission | Pick the audio source first, and grant mic permission |
| Audio out of sync | High CPU load or variable frame rate | Close heavy apps and record at 30 frames per second |
| Huge file size | High bitrate or 4K | Record at 1080p and 8 megabits per second |
| Lag or dropped frames | Weak hardware or full disk | Close apps and lower the resolution |
| Recorder will not start | Missing permission | Grant screen recording permission and close other recorders |
| Text looks blurry | Low resolution or low bitrate | Record at 1920 by 1080 and zoom the browser to 125 percent |
A black screen often comes from protected video, and no setting overrides that block. Lag often comes from a full disk or many open tabs, so free 10 gigabytes before a long session.
Screen Recording Privacy and Permission Rules
Screen recording privacy rules are simple: ask permission before recording a person or a meeting, hide private data before pressing record, and store clips with the same care as any private document. A screen recording can capture passwords, bank details, private messages, and faces, so the check happens before recording, not after. Recording a work call without telling the other people can break company policy, so announce the recording at the start of the call.
Follow 5 privacy checks: tell everyone recording is on, close email, chat, and banking tabs, hide the password manager, blur any name or account number that appears, and delete test clips that show private data. Consent rules differ by place. Readers who record work meetings should also read How to Keep Your Computer Secure for settings that protect files, accounts, and backups.
Conclusion
Screen recording is free on every major device, and screen recording works best when the user picks the right built-in tool, sets 1080p and 30 frames per second, tests audio first, and edits out dead air before sharing. Windows users start with Xbox Game Bar, Mac users start with Shift plus Command plus 5, and phone users start with Control Center or Quick Settings. OBS Studio covers long free recording, and Loom covers fast sharing. Record a 10-second test first, and keep the final file as MP4.
Explore the latest guides on the Voice of Wave blog.
Frequently Asked Questions
Can I record my screen for free?
Yes, you can record your screen for free on every major device. Windows, Mac, iPhone, Android, and Chromebook all include a built-in recorder at no cost. OBS Studio and ShareX are also free with no watermark and no time limit. Paid tools add editing and sharing features, but free tools cover most recording jobs well.
How do I record my screen with audio?
Pick the audio source before you press record. Turn on system audio for app sounds and call audio, and turn on the microphone for voice narration. Windows and Chromebook tools capture both sources by default, while Mac built-in tools record microphone audio only. Test audio with a 10-second clip and play it back first.
Why is my screen recording black or blank?
A black recording usually means the recorder captured a protected app or the wrong window. Streaming apps and some banking apps block capture by design. Record a different app, use full-screen capture, or turn off hardware acceleration in the browser. If the whole screen is black, grant screen recording permission in system settings first.
How long can I record my screen?
Recording length depends on the tool and disk space. Built-in tools and OBS Studio have no set time limit, so a 30-minute lesson is fine with enough storage. Loom free Starter caps each video at 5 minutes, and some browser tools cap clips too. At 1080p and 8 megabits per second, one hour of video uses about 3.6 gigabytes.
What is the best free screen recorder with no watermark?
OBS Studio is the best free screen recorder with no watermark and no time limit, and it runs on Windows, Mac, and Linux. ShareX is the best free Windows-only option with no watermark, and it adds GIF capture and automation. Built-in recorders also add no watermark, so most readers need nothing else for quick clips.
Is it legal to record my screen?
Yes, recording your own screen is legal in most cases, but recording other people needs care. Tell everyone in a call or meeting that recording is on, and follow local consent rules for calls and classrooms. Do not share clips that show passwords, bank details, or private messages, and follow your employer or school recording policy where one exists.