

A wall bed, better known as a Murphy bed, is a bed frame on a pivot or piston system that folds vertically into a cabinet or against the wall when not in use. Installed correctly, it gives you a full bedroom at night and your floor space back during the day, which is why wall bed installation is one of the most popular weekend projects for small-space living. Wall bed installation involves securing the bed cabinet to wall studs with heavy-duty lag bolts or a supplied hardware kit, assembling the frame and piston mechanism, and testing the fold-down action before adding a mattress. This guide walks you through the whole process: choosing the right kit, checking your wall, gathering tools, following the 12 installation steps, and avoiding the mistakes that cause wobbly or unsafe beds.
Key Takeaways
- Wall bed installation means anchoring a fold-down bed cabinet to wall studs so it can safely hold the mattress and sleeper’s weight.
- You need a complete hardware kit, basic power tools, a reliable stud finder, a long level, and ideally a second person for the heavy lifting.
- The critical safety step is confirming solid wood or metal studs behind every mounting point; drywall alone will not hold a wall bed.
- Most DIY installs take 4 to 8 hours; professional installation typically costs $300 to $800 on top of the bed kit.
- After installation, test the fold-down mechanism multiple times and re-tighten all bolts after the first week of use.
Table of Contents
- What Is a Wall Bed and How Does It Work?
- What Tools and Materials Do You Need?
- How Do You Check Your Wall Before Installation?
- What Are the 12 Steps of Wall Bed Installation?
- What Safety Tips Should You Follow?
- Should You DIY or Hire a Professional?
- Frequently Asked Questions
- Conclusion
What Is a Wall Bed and How Does It Work?
A wall bed is a bed that pivots up into a vertical storage cabinet, freeing the floor underneath. The idea dates back to the early 1900s, when William Murphy patented a folding bed for his small San Francisco apartment, which is why Americans still call them Murphy beds. Modern versions use piston or spring mechanisms that counterbalance the bed’s weight, so lifting and lowering takes modest effort.
There are three common types. Vertical-mount wall beds fold straight up against the wall and suit rooms with standard 8-foot ceilings. Horizontal-mount wall beds fold sideways, fitting under low ceilings or windows. Panel and cabinet beds look like ordinary furniture, a dresser or bookshelf, until the front pulls down into a bed. All types share one installation truth: the cabinet must be bolted to structural studs, because the mechanism multiplies the forces on the wall when the bed moves.
What Tools and Materials Do You Need?
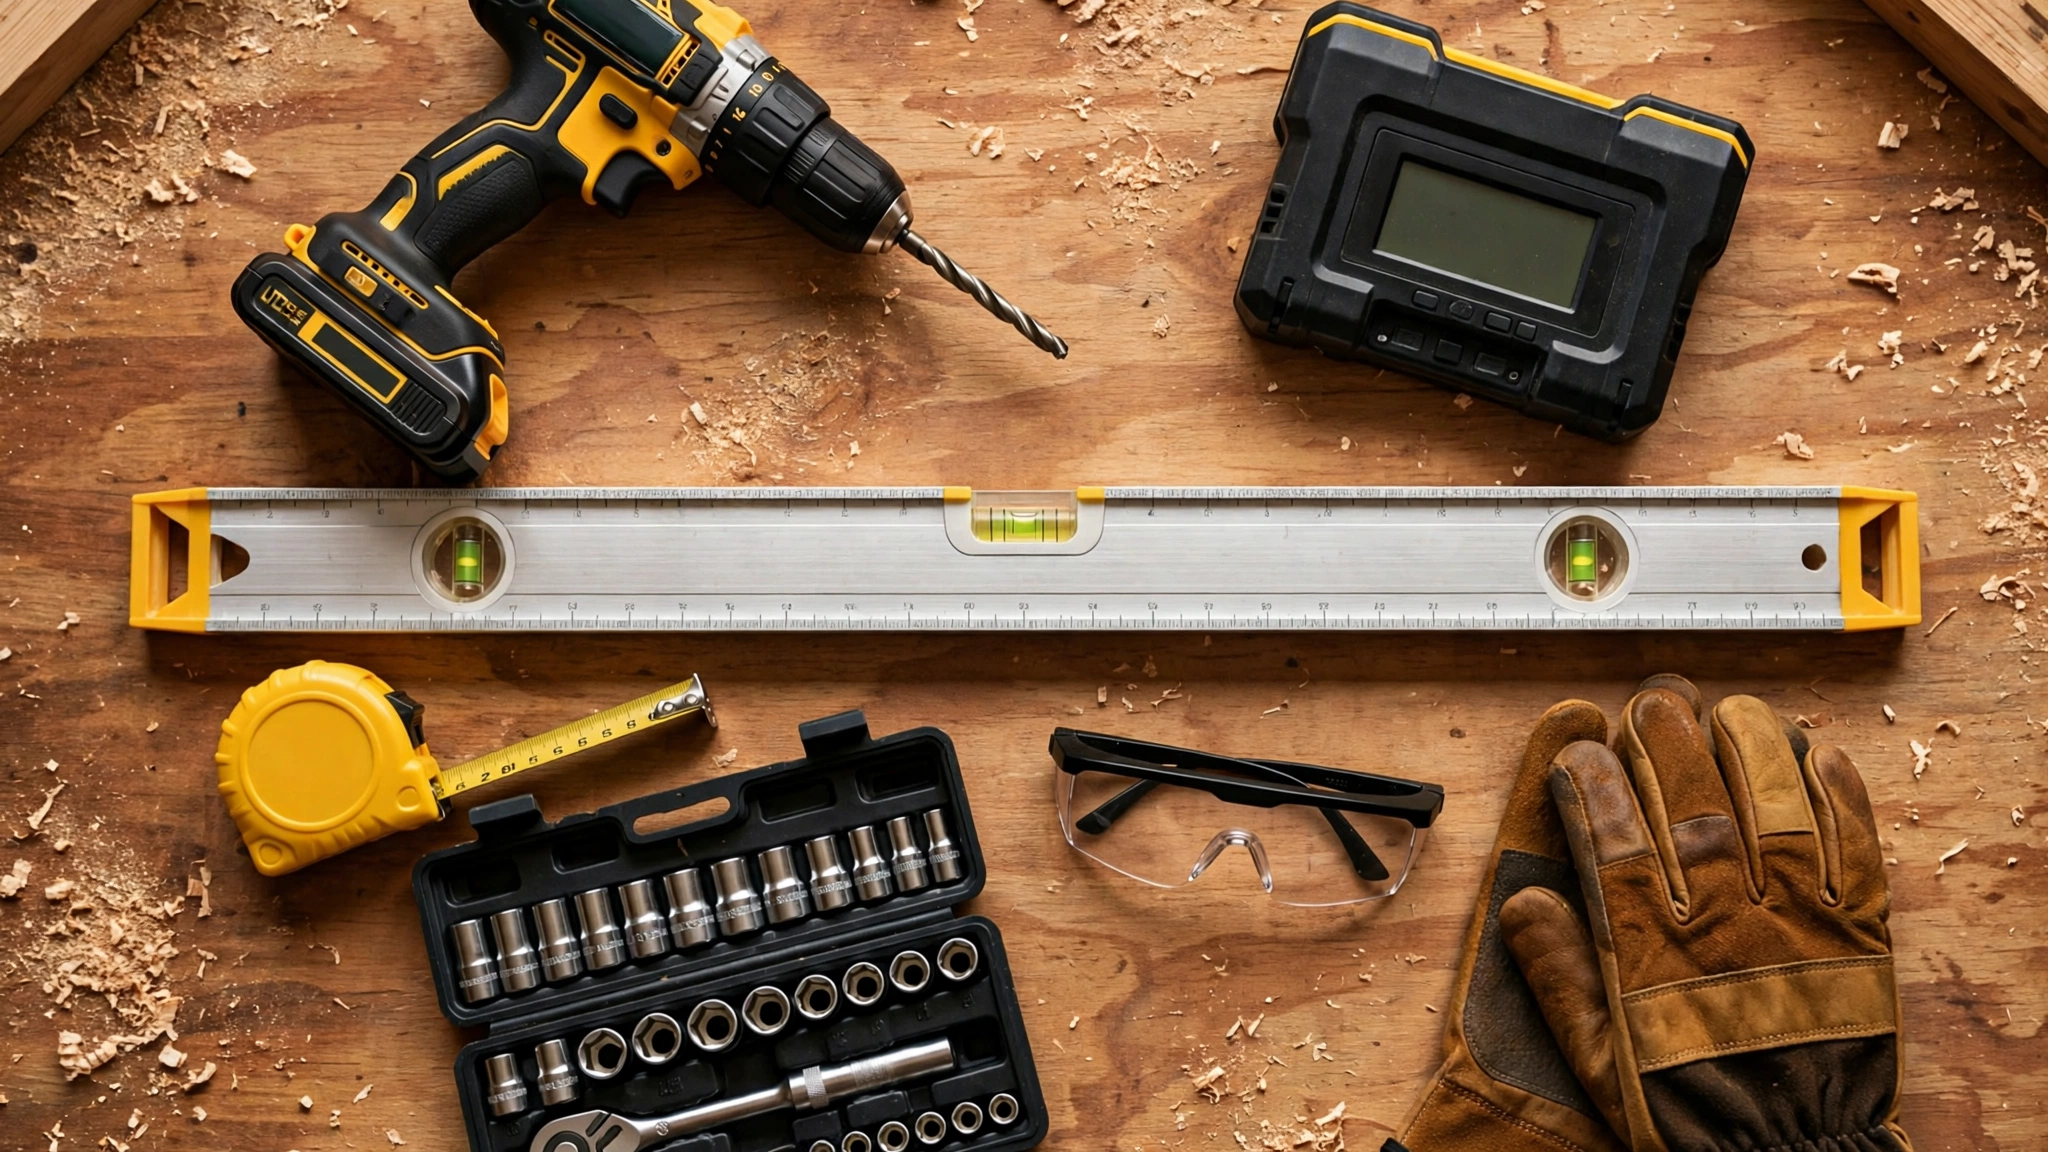
Gather everything before you start, because a mid-install hardware-store run is how weekend projects become two-weekend projects.
- Wall bed hardware kit: includes the pivot mechanism, pistons or springs, leg supports, and mounting brackets. Buy the kit matched to your bed size (twin, full, queen).
- Lag bolts and washers: usually supplied with the kit, typically 3/8-inch diameter and at least 3 inches long for wood studs.
- Power drill with bits: for pilot holes and driving lag bolts; an impact driver makes this much easier.
- Stud finder: electronic is best, but the knock-and-probe method works as a backup.
- 4-foot level: a long level keeps the cabinet plumb; a short torpedo level is a poor substitute.
- Tape measure and pencil: for layout marks and confirming clearances.
- Socket wrench set: for tightening lag bolts and mechanism hardware to spec.
- Safety gear: glasses, gloves, and a dust mask for drilling.
- A helper: wall bed cabinets are heavy and awkward; plan for two people on lifting day.
How Do You Check Your Wall Before Installation?
Your wall check decides whether the project is safe, so do not skip it. Start by locating studs with an electronic stud finder, sweeping slowly across the full width where the cabinet will sit. Mark every stud edge with painter’s tape, then confirm by drilling a small pilot hole and checking for wood shavings, which prove you hit solid lumber rather than just drywall.
Verify the stud spacing matches your cabinet’s mounting holes, ideally 16 inches on center for standard framing. If studs land in awkward spots, most kits allow the mounting rail to shift a few inches, but never mount to drywall alone, even with heavy-duty anchors, because a wall bed’s dynamic load will pull them out over time. For metal-stud or masonry walls, use the fasteners rated for that material, and when in doubt, consult a contractor before drilling.
What Are the 12 Steps of Wall Bed Installation?
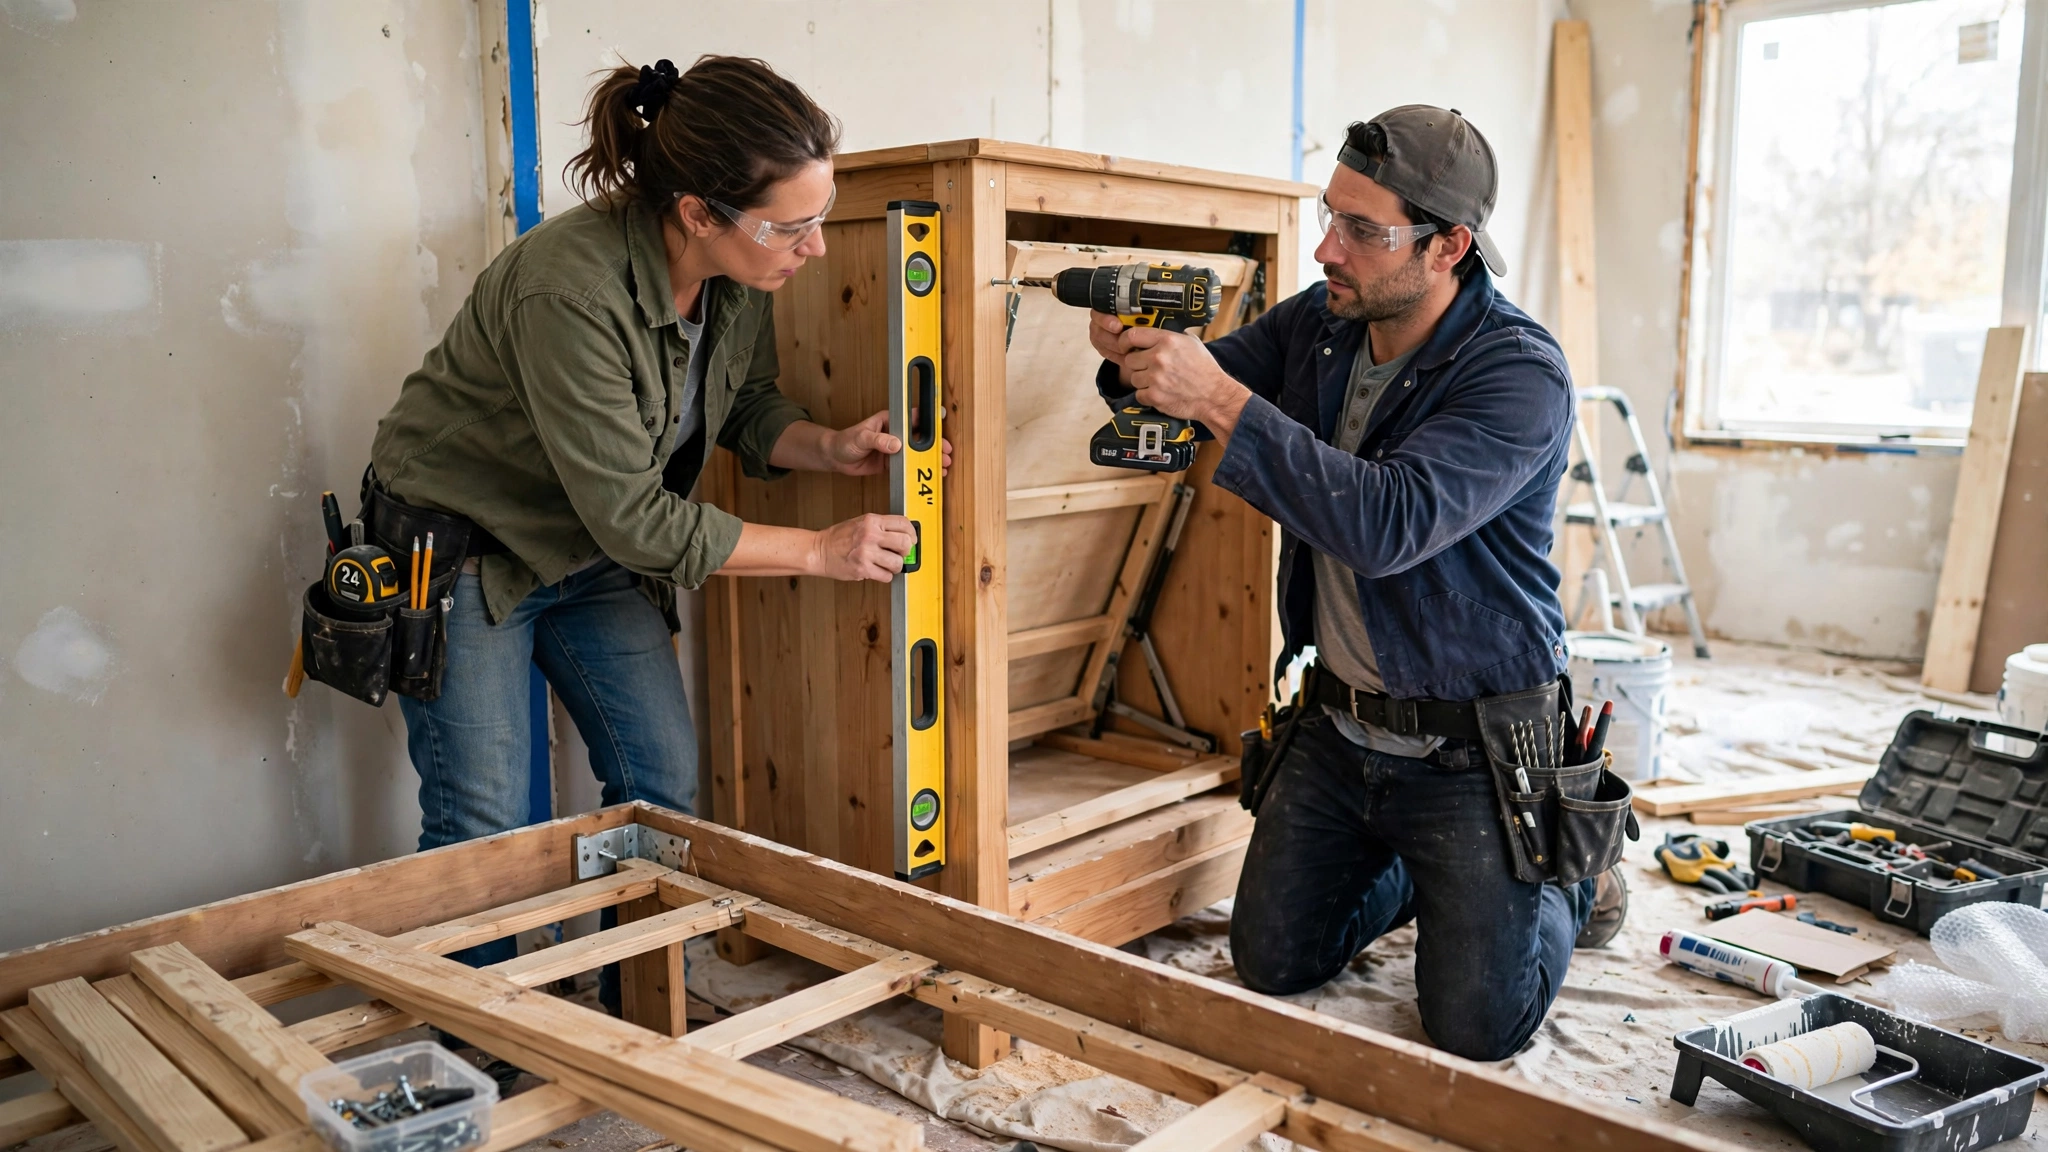
Step 1: Clear the room and measure. Move furniture out and confirm the floor space: you need the cabinet footprint plus the full bed length extending into the room, plus walking clearance. Mark the cabinet outline on the floor with tape.
Step 2: Locate and mark the studs. Use the stud finder to map every stud across the cabinet width. Mark centers clearly; these marks are your lifeline for the rest of the install.
Step 3: Assemble the cabinet frame. Following the kit manual, join the cabinet sides, top, and back panels on the floor. Do not fully tighten fasteners yet; leave them snug so panels can shift slightly during squaring.
Step 4: Stand the cabinet upright. With your helper, lift the cabinet into position against the wall. This is the heaviest single move, so lift with legs, not backs, and keep fingers clear of pinch points.
Step 5: Level and plumb the cabinet. Place the 4-foot level on the cabinet sides and top. Shim behind the cabinet as needed until it is perfectly plumb in both directions; a tilted cabinet makes the mechanism bind.
Step 6: Mark the mounting holes. Through the cabinet’s pre-drilled mounting holes, mark the wall at each stud location. Double-check that every mark lands on a stud center, not an edge.
Step 7: Drill pilot holes. Move the cabinet aside slightly or drill through the holes with a long bit. Pilot holes should be slightly smaller than the lag bolt shank so the threads bite firmly.
Step 8: Drive the lag bolts. Reposition the cabinet and drive each lag bolt with a washer through the cabinet into the stud. Tighten in a star pattern, like lug nuts, so the cabinet seats evenly.
Step 9: Install the pivot mechanism. Bolt the pivot plates and piston or spring hardware to the cabinet sides per the manual. Torque to the specified values; over-tightening can deform the mechanism.
Step 10: Attach the bed frame and legs. Connect the bed frame to the pivot arms, then install the folding leg supports. Confirm the legs lock firmly in both the up and down positions.
Step 11: Test the fold-down action. Slowly lower and raise the bed several times without a mattress. Watch for binding, listen for grinding, and confirm the pistons assist smoothly in both directions.
Step 12: Add the mattress and final-check. Place the mattress, retainer straps, and any bedding. Cycle the bed fully loaded, re-check level, and tighten every bolt one final time. For related upgrades once your small space is sorted, this site’s DIY home renovation on a budget guide covers affordable next projects, and the room-by-room house cleaning checklist helps you keep the reclaimed space spotless.
What Safety Tips Should You Follow?

A wall bed is safe when it is installed correctly and dangerous when it is not, so treat these rules as non-negotiable. Never let children play with the folding mechanism, and always use the supplied locking hardware to secure the bed in the upright position. Keep the area under a lowering bed clear of people, pets, and objects every single time.
Respect the weight limits in your kit manual: the mechanism is engineered for a specific mattress weight, and a heavier luxury mattress can overpower the pistons. Re-tighten all mounting bolts after the first week of use and every six months after that, because wood framing settles and bolts loosen. If the bed ever feels wobbly, makes new noises, or resists folding, stop using it and inspect every mounting point before sleeping in it again.
Should You DIY or Hire a Professional?
DIY installation saves $300 to $800 in labor and is realistic for anyone comfortable with a drill and a level, provided the wall has standard wood studs in the right places. You will need a full day, a helper, and patience with the manual. Hire a professional if your wall has metal studs, masonry, or plaster-and-lath, if studs do not align with the mounting holes, or if the ceiling is too low for safe cabinet handling. A handyman with wall-bed experience typically charges less than a specialized installer, and many furniture retailers offer installation as an add-on at checkout.
Frequently Asked Questions
Q: How long does wall bed installation take? A: Most DIY installations take 4 to 8 hours with two people, including cabinet assembly. Add time if you need to locate tricky studs or paint the cabinet first. Professionals usually finish in 2 to 4 hours.
Q: Can I install a wall bed on any wall? A: No. The wall must have structural studs (wood or metal) positioned to accept the mounting bolts. Drywall alone, plaster alone, or hollow-core partitions cannot safely hold a wall bed. Masonry walls work with the right anchors.
Q: How much does professional wall bed installation cost? A: Expect $300 to $800 for labor on top of the bed kit, depending on your region and wall complexity. Retailer add-on installation is often at the lower end of that range.
Q: What size mattress fits a wall bed? A: Match the mattress to the kit: twin, full, and queen kits are standard. Keep the mattress within the kit’s thickness and weight limits, usually 10 to 12 inches thick, so the pistons balance correctly and the bed closes fully.
Q: Are wall beds safe for everyday sleeping? A: Yes, when installed to the manual’s specifications and anchored into studs. Use the locking mechanism every time the bed is upright, respect weight limits, and re-tighten hardware periodically.
Q: Can I install a wall bed by myself? A: The cabinet is heavy and awkward, and holding it plumb while marking holes really needs two people. Plan for a helper on lifting day even if you do everything else solo.
Q: Do wall beds damage walls? A: Installation leaves lag-bolt holes in the studs, which are easy to patch with filler if you ever remove the bed. The cabinet itself protects the surrounding wall from scuffs during normal use.
Conclusion
Wall bed installation is a very doable weekend project when you respect the fundamentals: confirm solid studs, level the cabinet carefully, drive the lag bolts into real structure, and test the mechanism before trusting it with a mattress. The reward is a room that works twice as hard, a guest bed that disappears by morning. Your next step is concrete: measure your wall, order the hardware kit matched to your bed size, and book a helper for installation day. For more small-space wins, browse the rest of the guides at Voice of Wave, where new DIY projects land every day.