
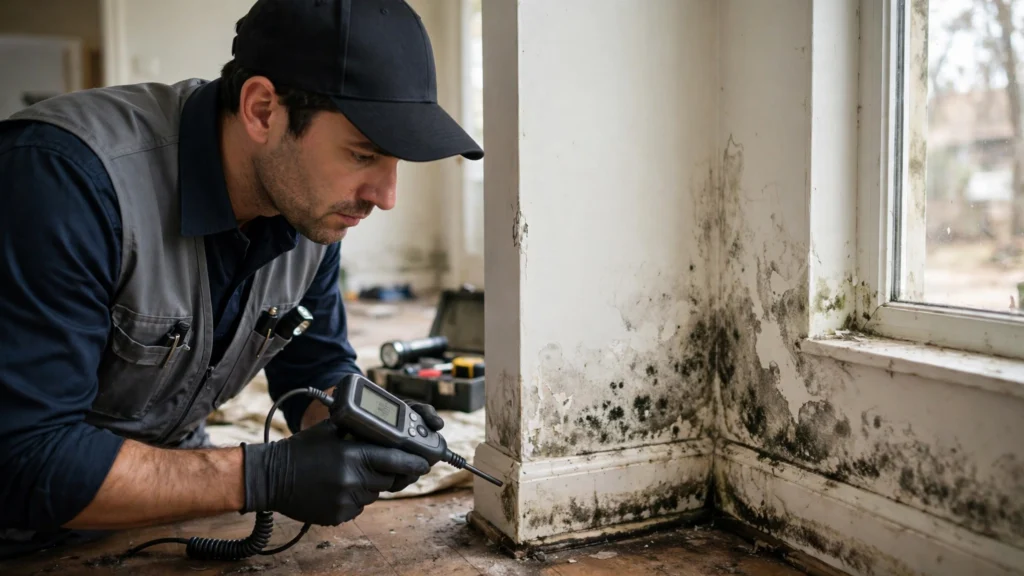
Mold testing helps homeowners find out whether mold is growing inside a home, how much is present, and whether indoor air carries more mold spores than outdoor air. Testing does not replace fixing leaks or cleaning visible mold, but it gives clear data when mold is hidden, when symptoms persist, or when a home sale or insurance claim needs proof. This guide explains how mold testing works, the main methods, what results mean, typical costs, and when testing is worth the money.
Key Takeaways
- Mold testing measures mold spores in air, on surfaces, or in bulk samples.
- Air testing compares indoor and outdoor spore levels to spot hidden growth.
- Surface and bulk tests confirm the type of mold on a specific spot.
- Professional testing costs more but gives reliable sampling and lab analysis.
- DIY kits are cheaper but often lack outdoor controls and clear interpretation.
- Fix the moisture source first, because testing alone does not remove mold.
Table of Contents
- What Is Mold Testing?
- Types of Mold Tests
- How Mold Testing Works
- Mold Testing Cost
- How to Read Mold Test Results
- DIY vs. Professional Mold Testing
- When to Get Mold Testing
- Mold Prevention After Testing
- Frequently Asked Questions
What Is Mold Testing?
Mold testing is the process of collecting air, surface, or bulk samples from a home and analyzing them in a lab to identify mold types and spore levels. Mold is a type of fungus that grows in damp places, and its spores travel through air and settle on surfaces. Small amounts of mold spores are normal outdoors, but high indoor levels or growth on walls, ceilings, or HVAC parts can signal a moisture problem that needs attention.
Testing is useful when mold is suspected but not visible, such as behind walls, under floors, or inside ductwork. It is also useful after water damage, before buying a home, or when occupants report musty odors, allergy symptoms, or recurring damp spots. Testing does not diagnose health conditions, and it does not replace a visual inspection, but it adds objective data to the inspection findings.
Types of Mold Tests
The main mold tests are air sampling, surface sampling, bulk sampling, and ERMI dust testing, and each answers a different question. Air sampling captures spores floating in indoor air and compares them with an outdoor control sample taken at the same time. Surface sampling uses swabs, tape lifts, or contact plates to test a visible spot. Bulk sampling removes a small piece of material, such as drywall or carpet, for lab analysis. ERMI testing analyzes dust for mold DNA and gives a relative moldiness score, often used in research or complex cases.
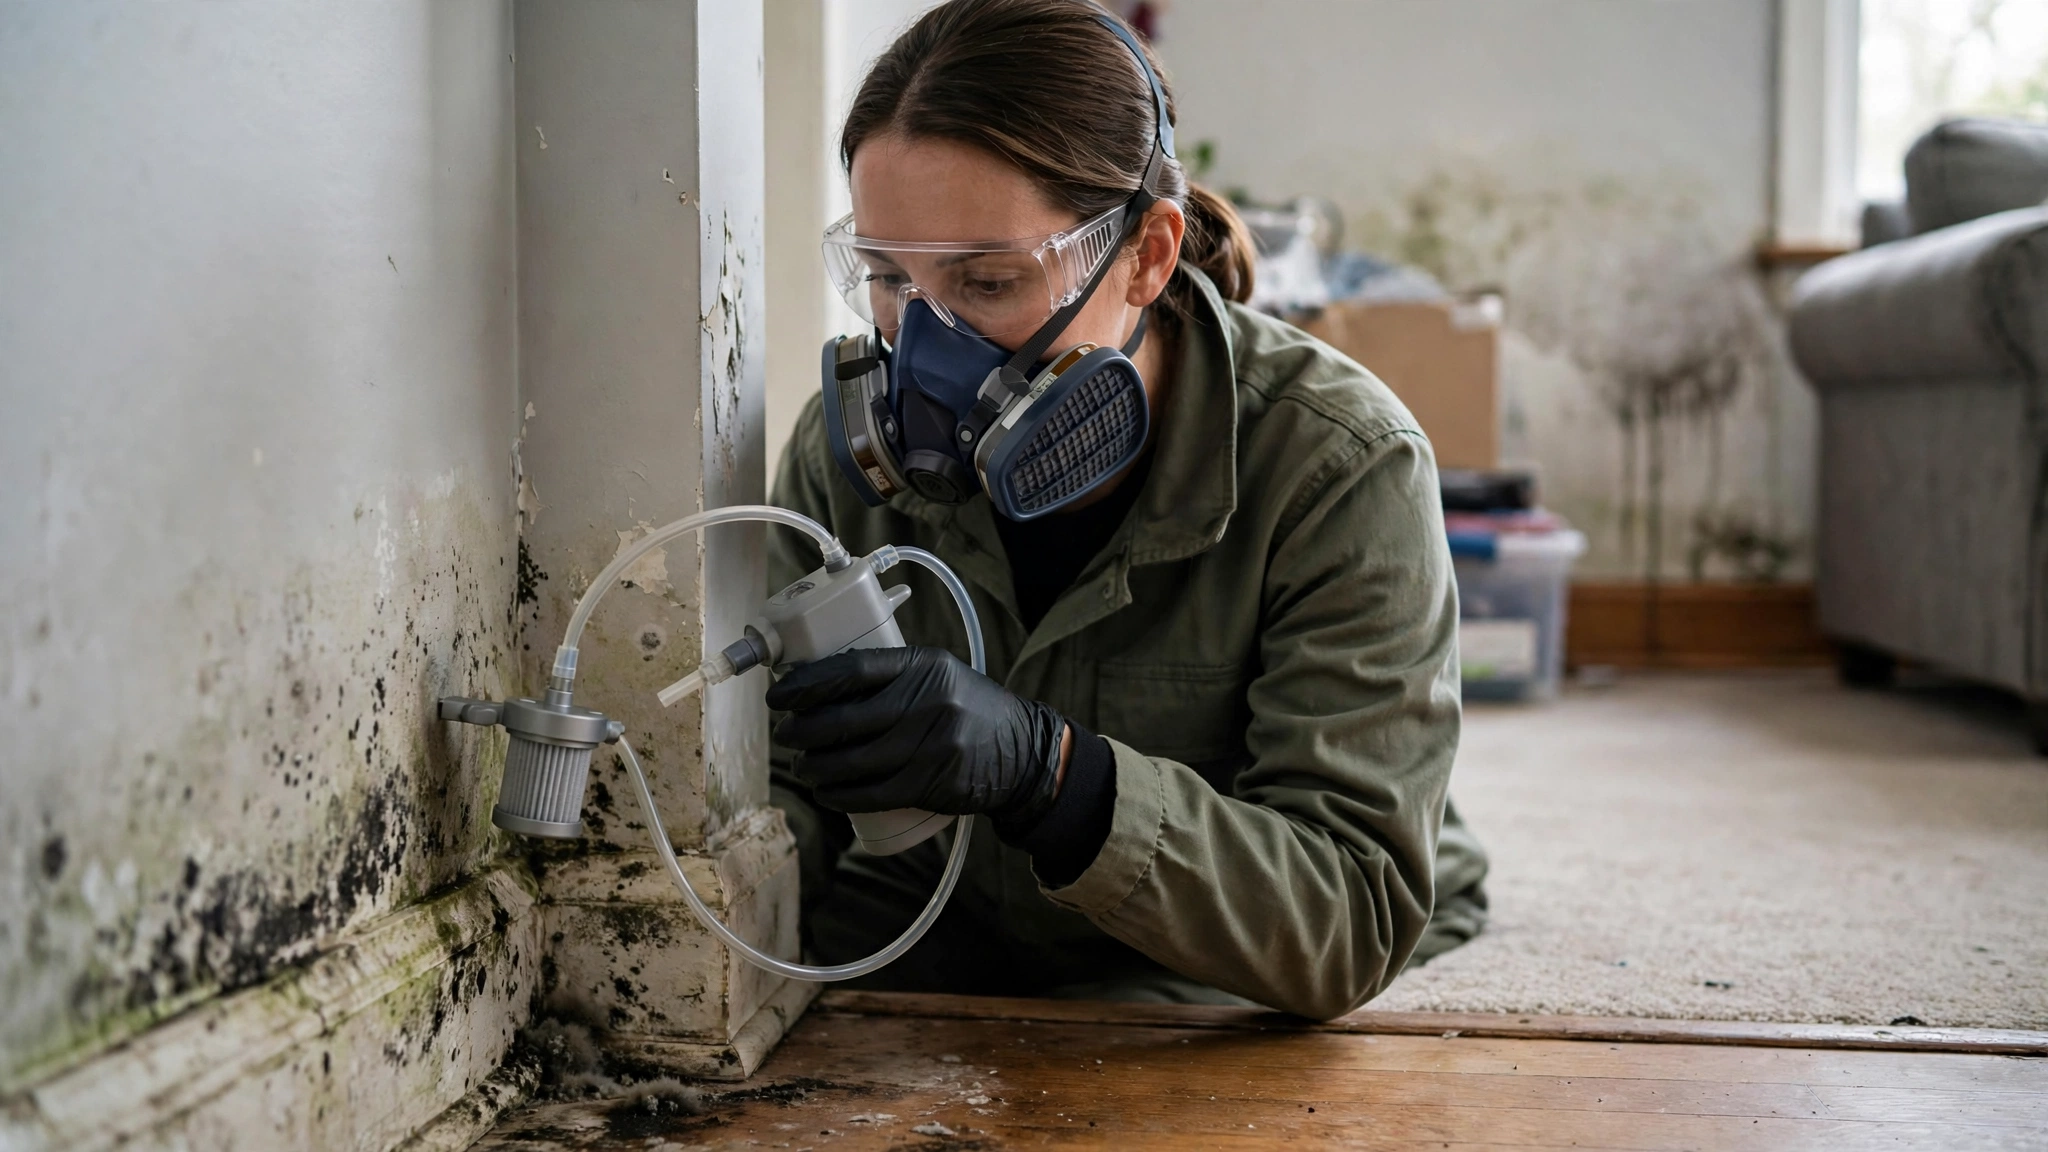
Air testing is best for hidden mold, because spores can travel from a hidden colony into living spaces. Surface testing is best for confirming what is growing on a specific stain or spot. Bulk testing is best when the material itself needs to be checked, such as insulation or wood framing. A professional inspector often combines air and surface tests to get a fuller picture, rather than relying on one sample alone.
How Mold Testing Works
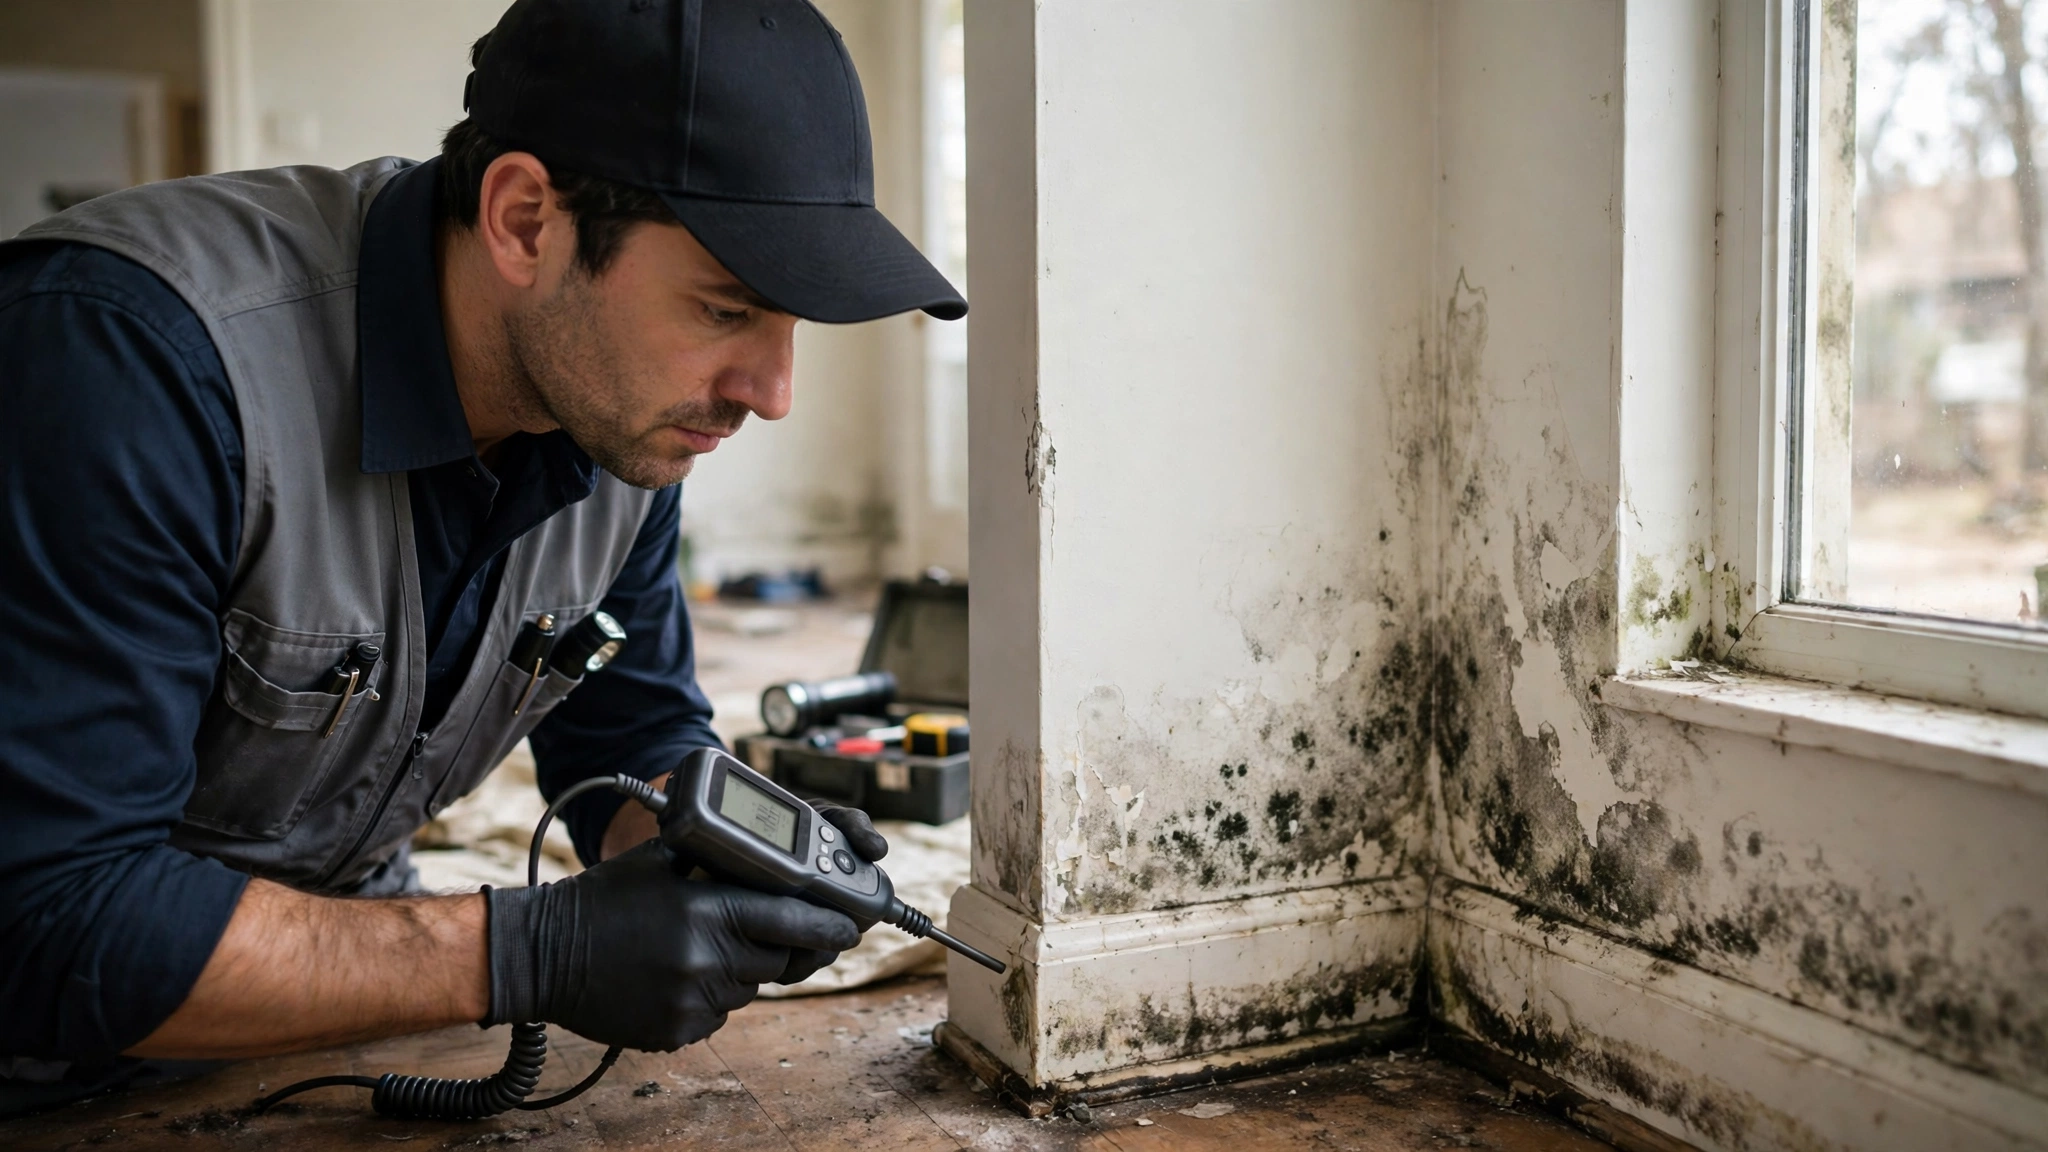
Mold testing works in 4 steps: visual inspection, sample collection, lab analysis, and a written report with findings and recommendations. First, the inspector walks through the home, looks for water stains, musty odors, and visible growth, and checks moisture with meters or thermal imaging. Next, the inspector collects samples in the rooms of concern and at least one outdoor control sample, using pumps for air samples and swabs or tape for surface samples. Then, samples go to an accredited lab, where analysts count spores, identify genera, and compare indoor and outdoor levels. Finally, the inspector sends a report that lists the mold types found, the spore counts, and whether the results suggest hidden growth or a moisture source that needs repair.
Homeowners should ask the inspector about lab accreditation, sample locations, and whether the report includes both indoor and outdoor counts. Without an outdoor control, indoor counts are hard to interpret, because outdoor spore levels change with season and weather. A good report also explains limits, such as the fact that a single air sample is a snapshot in time and may miss intermittent mold release.
Mold Testing Cost
Professional mold testing usually costs $300 to $800 for a standard home visit with air and surface samples, while DIY kits cost $30 to $100 plus lab fees. The final price depends on the number of samples, the size of the home, travel distance, and whether the inspector also does a full moisture inspection. Each extra air sample often adds $75 to $150, and lab rush fees can add more. ERMI testing usually costs $200 to $400 as a standalone dust test.
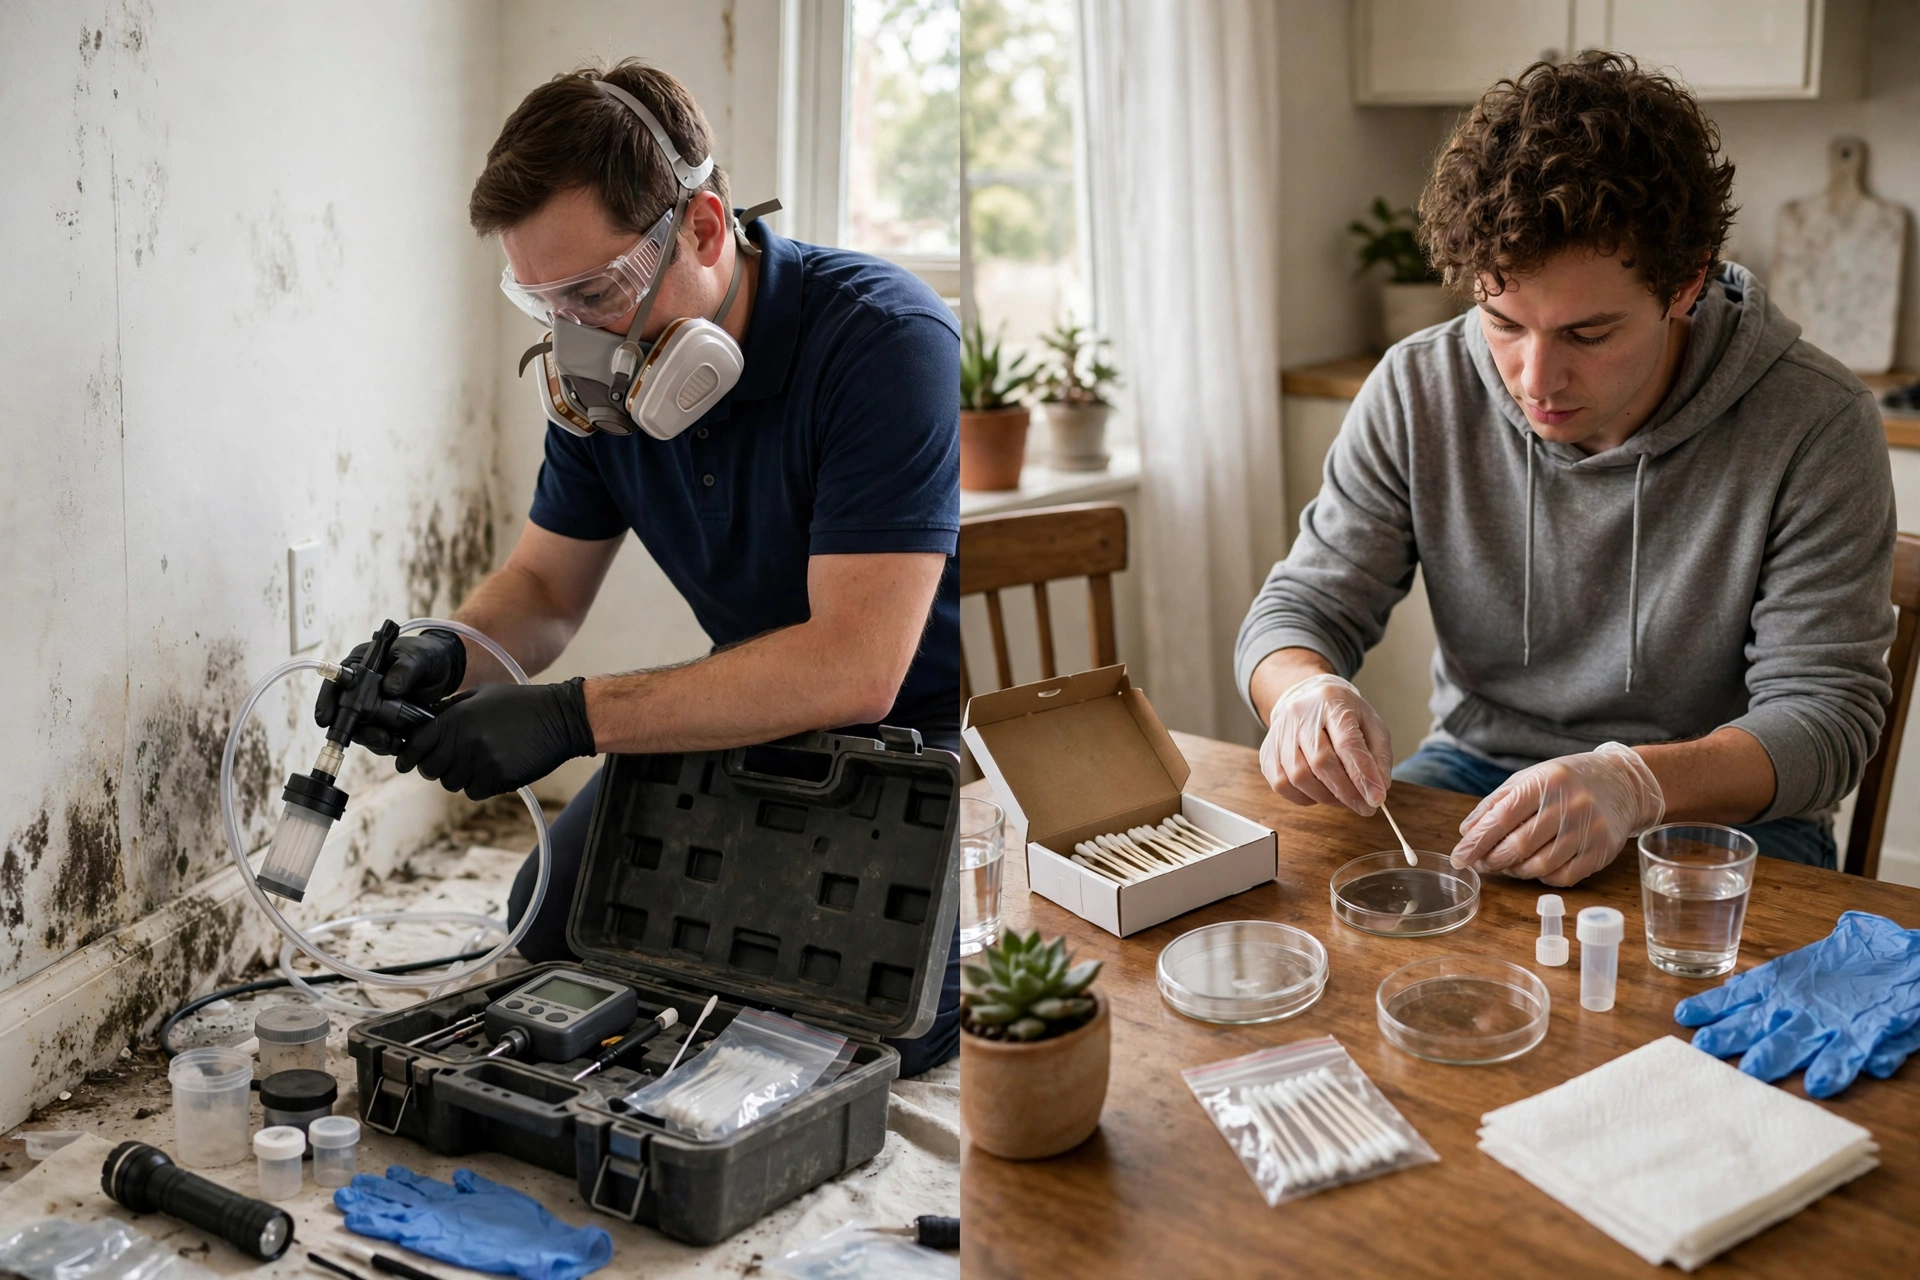
DIY kits look cheaper at first, but many kits charge $40 to $80 per sample for lab analysis, and a home may need several samples to be useful. Without an outdoor control or a trained inspector to choose sample locations, DIY results can be misleading. For a home purchase, insurance claim, or persistent symptoms, professional testing is usually the better value, because the report carries more weight and the sampling is more reliable.
How to Read Mold Test Results
To read mold test results, compare indoor spore counts with the outdoor control, look for mold types that are higher indoors, and check whether the report notes water-damage indicators. Indoor counts that are similar to or lower than outdoor counts, with a similar mix of mold types, usually suggest no major indoor source. Indoor counts that are much higher than outdoor counts, or that show a dominant type indoors that is rare outdoors, often point to indoor growth. Types such as Stachybotrys, Chaetomium, or Aspergillus in high indoor numbers can signal a moisture problem, but the lab report should be read with the inspection notes, not alone.

Results are usually reported in spores per cubic meter for air samples, and as counts or colony-forming units for surface samples. Homeowners should not panic over a single high number, because spore levels vary by time of day, activity, and HVAC use. The key questions are: Is indoor higher than outdoor? Is the mix different? Does the inspector link the result to a moisture source? If the answer to all 3 is yes, remediation and moisture repair are the next steps.
DIY vs. Professional Mold Testing
Professional mold testing gives trained sampling, outdoor controls, accredited labs, and a clear report, while DIY kits give low cost and convenience but weaker sampling and interpretation. Professionals know where to sample, how long to run pumps, and how to avoid contamination, and they can link results to moisture readings from the inspection. DIY kits let homeowners collect a sample at home and mail it to a lab, but the user must choose locations, follow timing instructions, and interpret the report without inspection data.
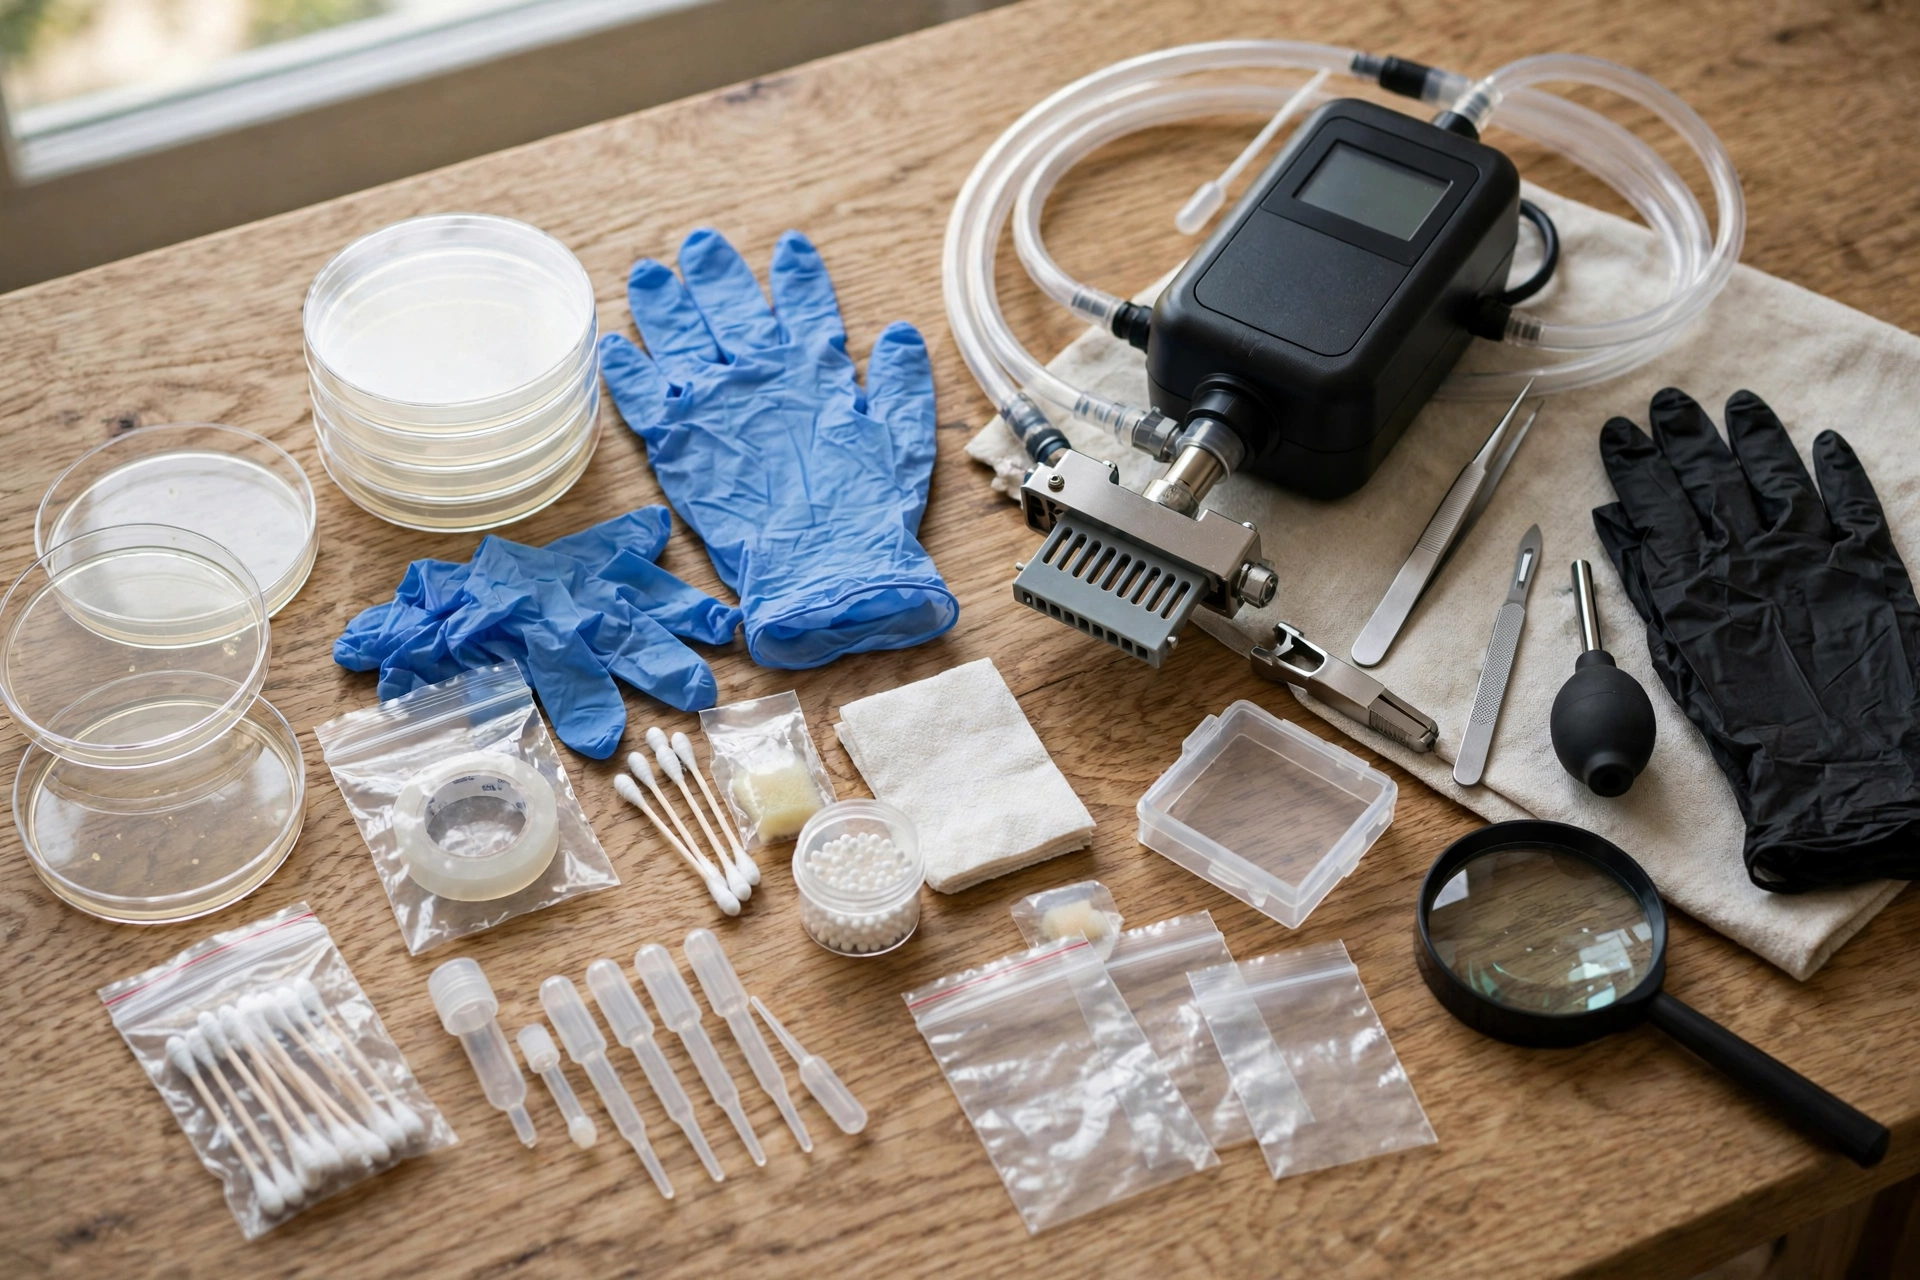
DIY testing can be a starting point for a small, visible spot, or for a homeowner who wants a rough check before calling a pro. It is less useful for hidden mold, for a home sale, or for a dispute, because the sampling method may not hold up to scrutiny. In those cases, a professional visit is worth the extra cost, because the report is more complete and the inspector can recommend next steps on the spot.
When to Get Mold Testing
Get mold testing after water damage, when mold is suspected but hidden, before buying a home with damp history, or when musty odors or symptoms persist after cleaning. Testing is also useful after remediation, to confirm that spore levels have returned to normal, a step often called clearance testing. Testing is less useful when visible mold is already obvious and the moisture source is known, because the priority is to fix the leak and clean the mold, not to spend money on a test that confirms what is already clear.
Other triggers include a history of leaks, condensation on windows, a damp basement or crawl space, or a previous mold problem that returns. In rental homes, testing can help document a problem for a landlord or housing authority, but tenants should also report leaks in writing and keep copies of any reports.
Mold Prevention After Testing
After testing, prevent mold by fixing leaks, keeping indoor humidity below 50%, ventilating bathrooms and kitchens, and drying wet areas within 24 to 48 hours. Use a dehumidifier in damp basements, run exhaust fans during showers and cooking, and check under sinks, around windows, and near water heaters for slow leaks. Clean visible mold on hard surfaces with soap and water, and replace porous materials that stay wet, such as soaked drywall or carpet padding.
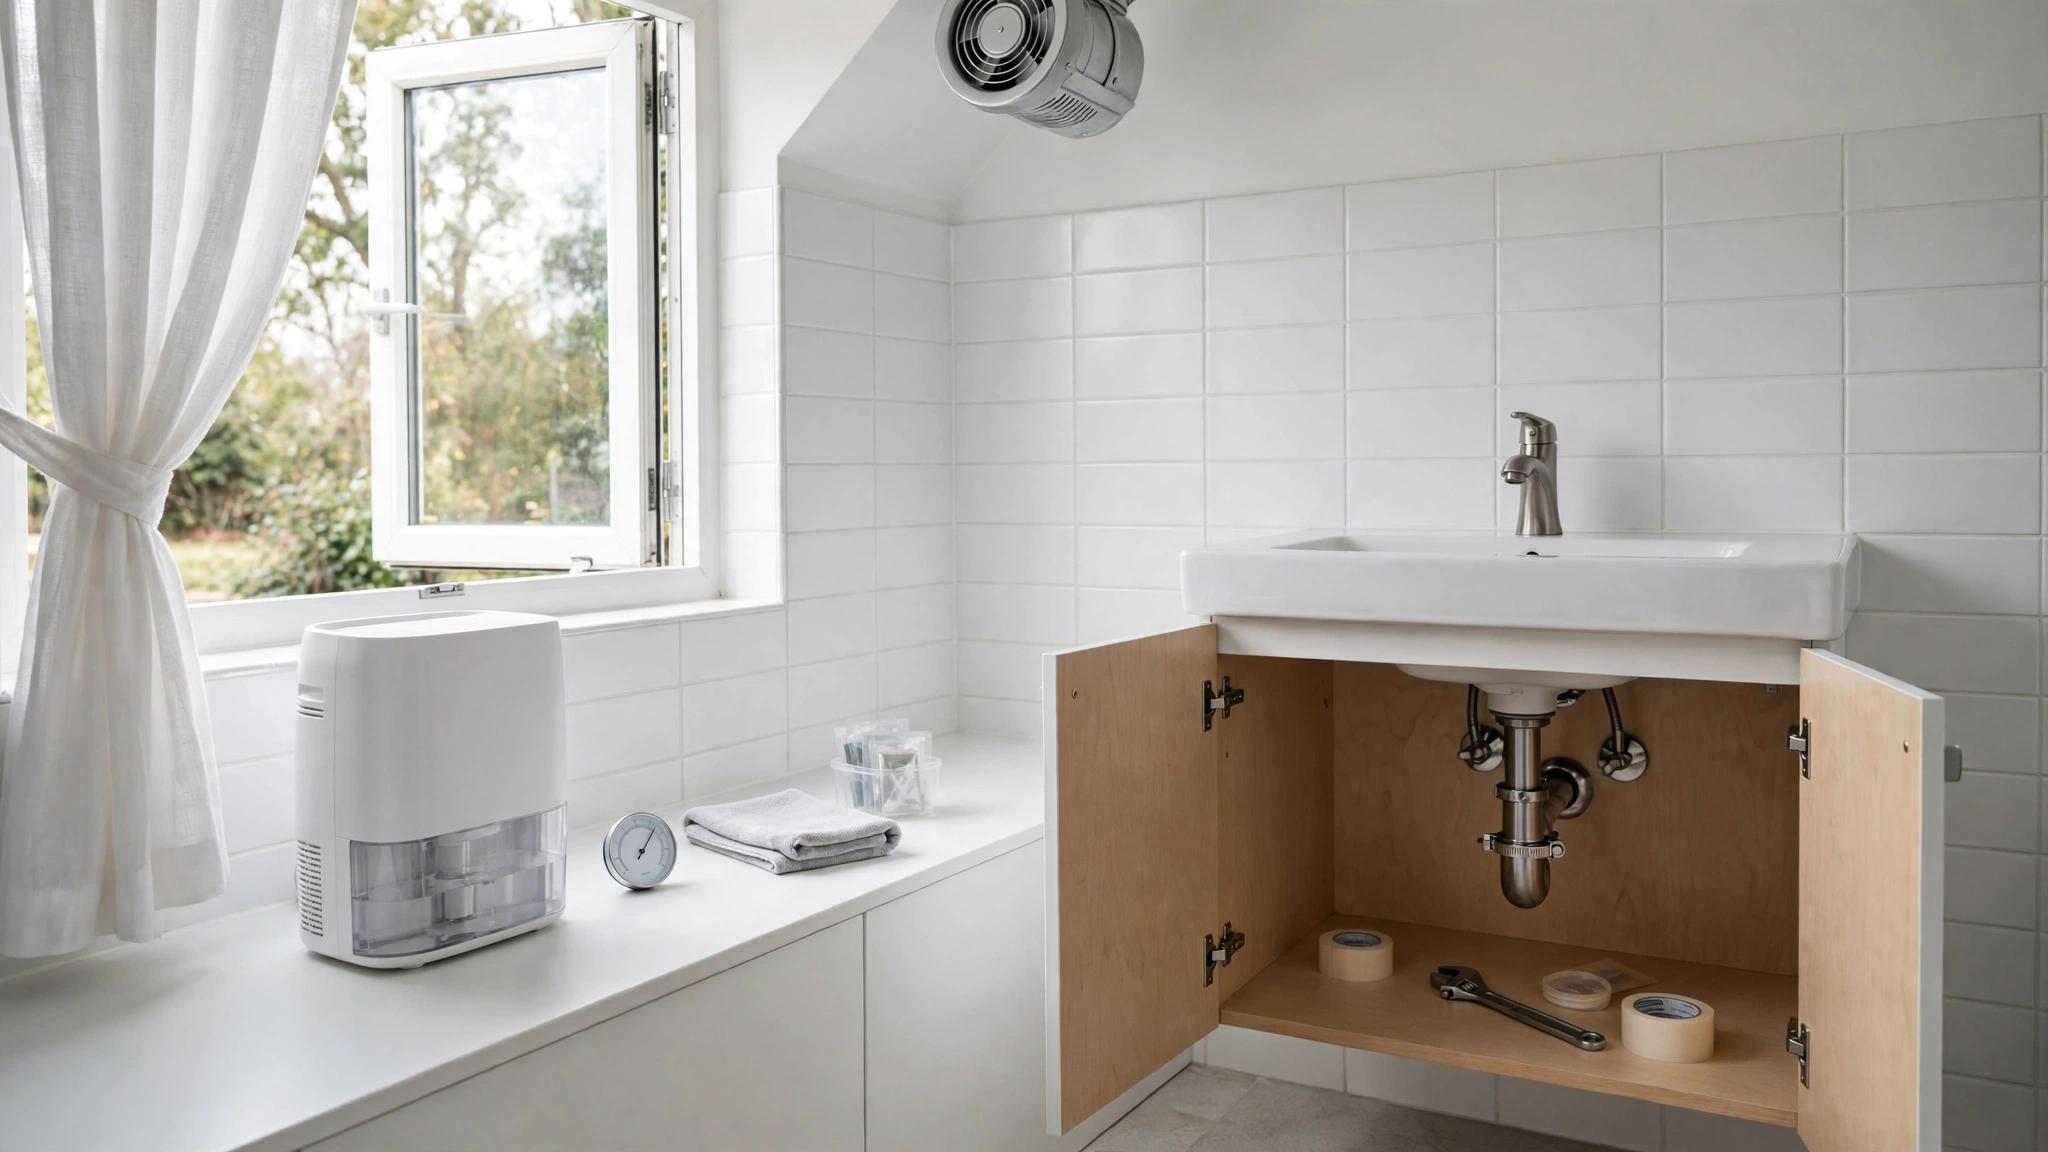
Regular checks help: inspect the attic and crawl space seasonally, clean gutters so water drains away from the foundation, and keep HVAC filters clean. If mold returns in the same spot, the moisture source was not fully fixed, and a follow-up inspection is needed rather than repeated cleaning alone.
Conclusion
Mold testing gives homeowners data, not a cure. Air, surface, and bulk tests each answer a different question, and the best results come from combining a visual inspection with outdoor controls and an accredited lab. Professional testing costs more than DIY kits, but it gives more reliable sampling and a report that holds up for sales, claims, and remediation plans. Whatever the results show, the next step is the same: fix the moisture, clean or remove the mold, and keep humidity low so it does not return.
For more home guidance, visit the Voice of Wave blog.
Frequently Asked Questions
What does mold testing detect?
Mold testing detects mold spores in air, on surfaces, or in materials, and identifies the mold genera present and their levels. It does not diagnose health conditions or prove a specific cause of symptoms.
How much does mold testing cost?
Professional mold testing usually costs $300 to $800 for a standard visit with air and surface samples, while DIY kits cost $30 to $100 plus lab fees. Extra samples, ERMI testing, and rush lab fees can raise the total.
Is air sampling better than surface sampling?
Air sampling is better for hidden mold because it captures spores in indoor air and compares them with outdoor air. Surface sampling is better for confirming what is growing on a specific visible spot. Many inspections use both.
Do I need mold testing if I can see mold?
You usually do not need testing if mold is visible and the moisture source is known, because the priority is to fix the leak and clean the mold. Testing is more useful for hidden mold, home purchases, insurance claims, or clearance after remediation.
Can DIY mold test kits be trusted?
DIY kits can give a rough indication, but they are less reliable than professional testing because sample locations, outdoor controls, and interpretation are harder without training. For sales, claims, or persistent problems, professional testing is recommended.
What should I do after a positive mold test?
After a positive test, fix the moisture source, clean or remove moldy materials, ventilate the area, and keep humidity below 50%. A follow-up or clearance test can confirm that levels have returned to normal.