
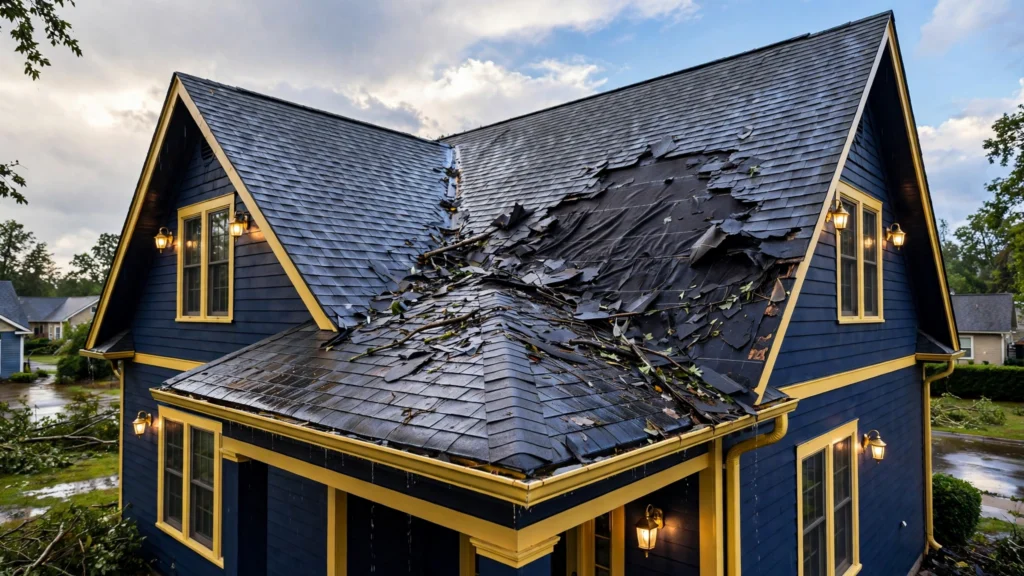
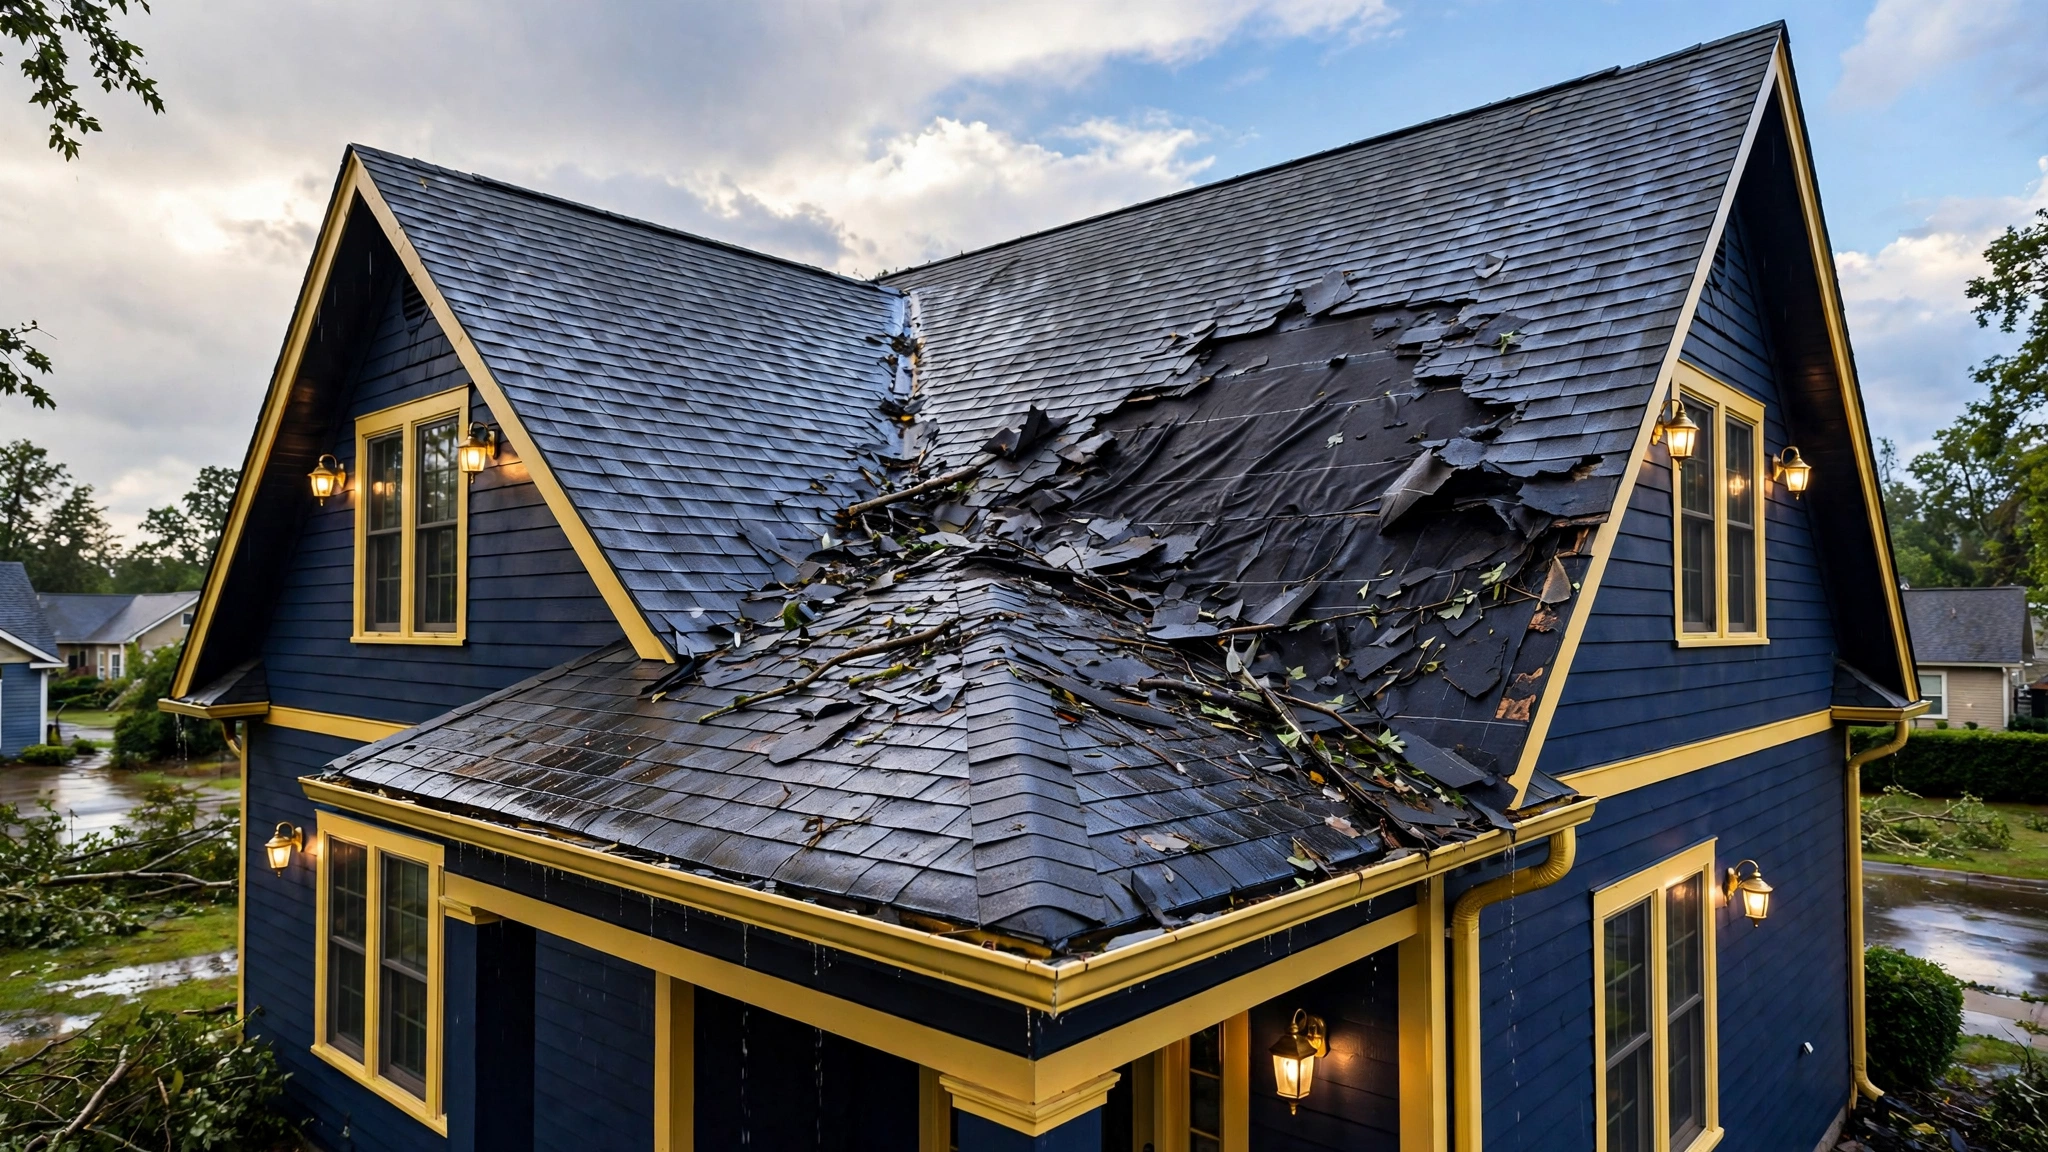
Roof storm damage repair is the process of finding and fixing damage that wind, hail, or falling debris caused to a roof. The work usually follows four stages: inspection, emergency protection, insurance documentation, and permanent repair or replacement. Fast action matters: repairs started within 48 hours limit interior damage and keep insurance claims valid.
This guide starts with the first steps to take once a storm passes, then shows how to spot damage safely from the ground. It covers emergency tarping to stop active leaks, walks through the insurance claim process, and gives a clear repair-versus-replacement decision table. You will also find repair methods by roofing material, a contractor vetting checklist for the post-storm period, and maintenance steps that reduce damage in future storms.
Key Takeaways
- Start safe: stay off the roof; inspect from the ground and the attic first.
- Document before you clean: date-stamped photos of every damaged area strengthen your insurance claim.
- Tarp fast: a secured tarp stops active leaks and prevents further interior damage while you wait for repairs.
- Know the decision point: localized damage on a younger roof usually means repair; widespread damage or an aging roof points to replacement.
- Vet every contractor: local license, insurance certificates, and three written estimates keep storm-chaser scams out.
Table of Contents
- What Are the First Steps After Storm Damage to a Roof?
- How Do You Spot Storm Damage on a Roof?
- How Do You Tarp a Damaged Roof Safely?
- How Does a Roof Storm Damage Insurance Claim Work?
- Roof Storm Damage Repair vs Replacement: Which Does Your Roof Need?
- How Do Repair Methods Differ by Roofing Material?
- How Do You Choose a Roofing Contractor After a Storm?
- How Can You Protect Your Roof Against Future Storms?
- Frequently Asked Questions
- Conclusion
What Are the First Steps After Storm Damage to a Roof?
The first steps after storm damage are to stay off the roof, check for hazards, photograph damage, and call your insurer. Wait until the storm fully passes before going outside. Check for downed power lines first. Then document damage from the ground, stop active leaks with tarps if safe, and report the loss to your insurer within 24 hours.
To take these steps, start with hazards. Treat every downed power line as live, keep people and pets well away, and call your utility company before anything else. Look for fallen limbs, broken glass, and unstable structures around the house. A sagging ceiling indoors can collapse without warning, so keep people out of rooms where the ceiling bulges or drips heavily.
Inside the house, control the water. Place buckets under drips, move furniture and electronics away from the wet area, and lay towels to stop water from spreading across floors. Switch off the breaker for any circuit, if water is near light fixtures or outlets. Water and electricity together are the one combination you never work around.
Call your insurer the same day you find the damage, since most policies require prompt notice. Note the storm date and time, your policy number, and the claim number you receive, and keep a written log of every call from this point on.
A damaged roof that waits through the next rainstorm turns a repair bill into a mold and drywall bill. For more step-by-step walkthroughs on keeping your home in shape, browse our Home Improvement guides.
How Do You Spot Storm Damage on a Roof?
Spot storm damage on a roof by inspecting from the ground with binoculars, not by climbing up. Look for missing or lifted shingles, dented gutters and vents, piles of granules at downspouts, cracked or slipped tiles, and water stains on ceilings. Check the attic for daylight through the deck, damp insulation, and dark water marks on rafters.
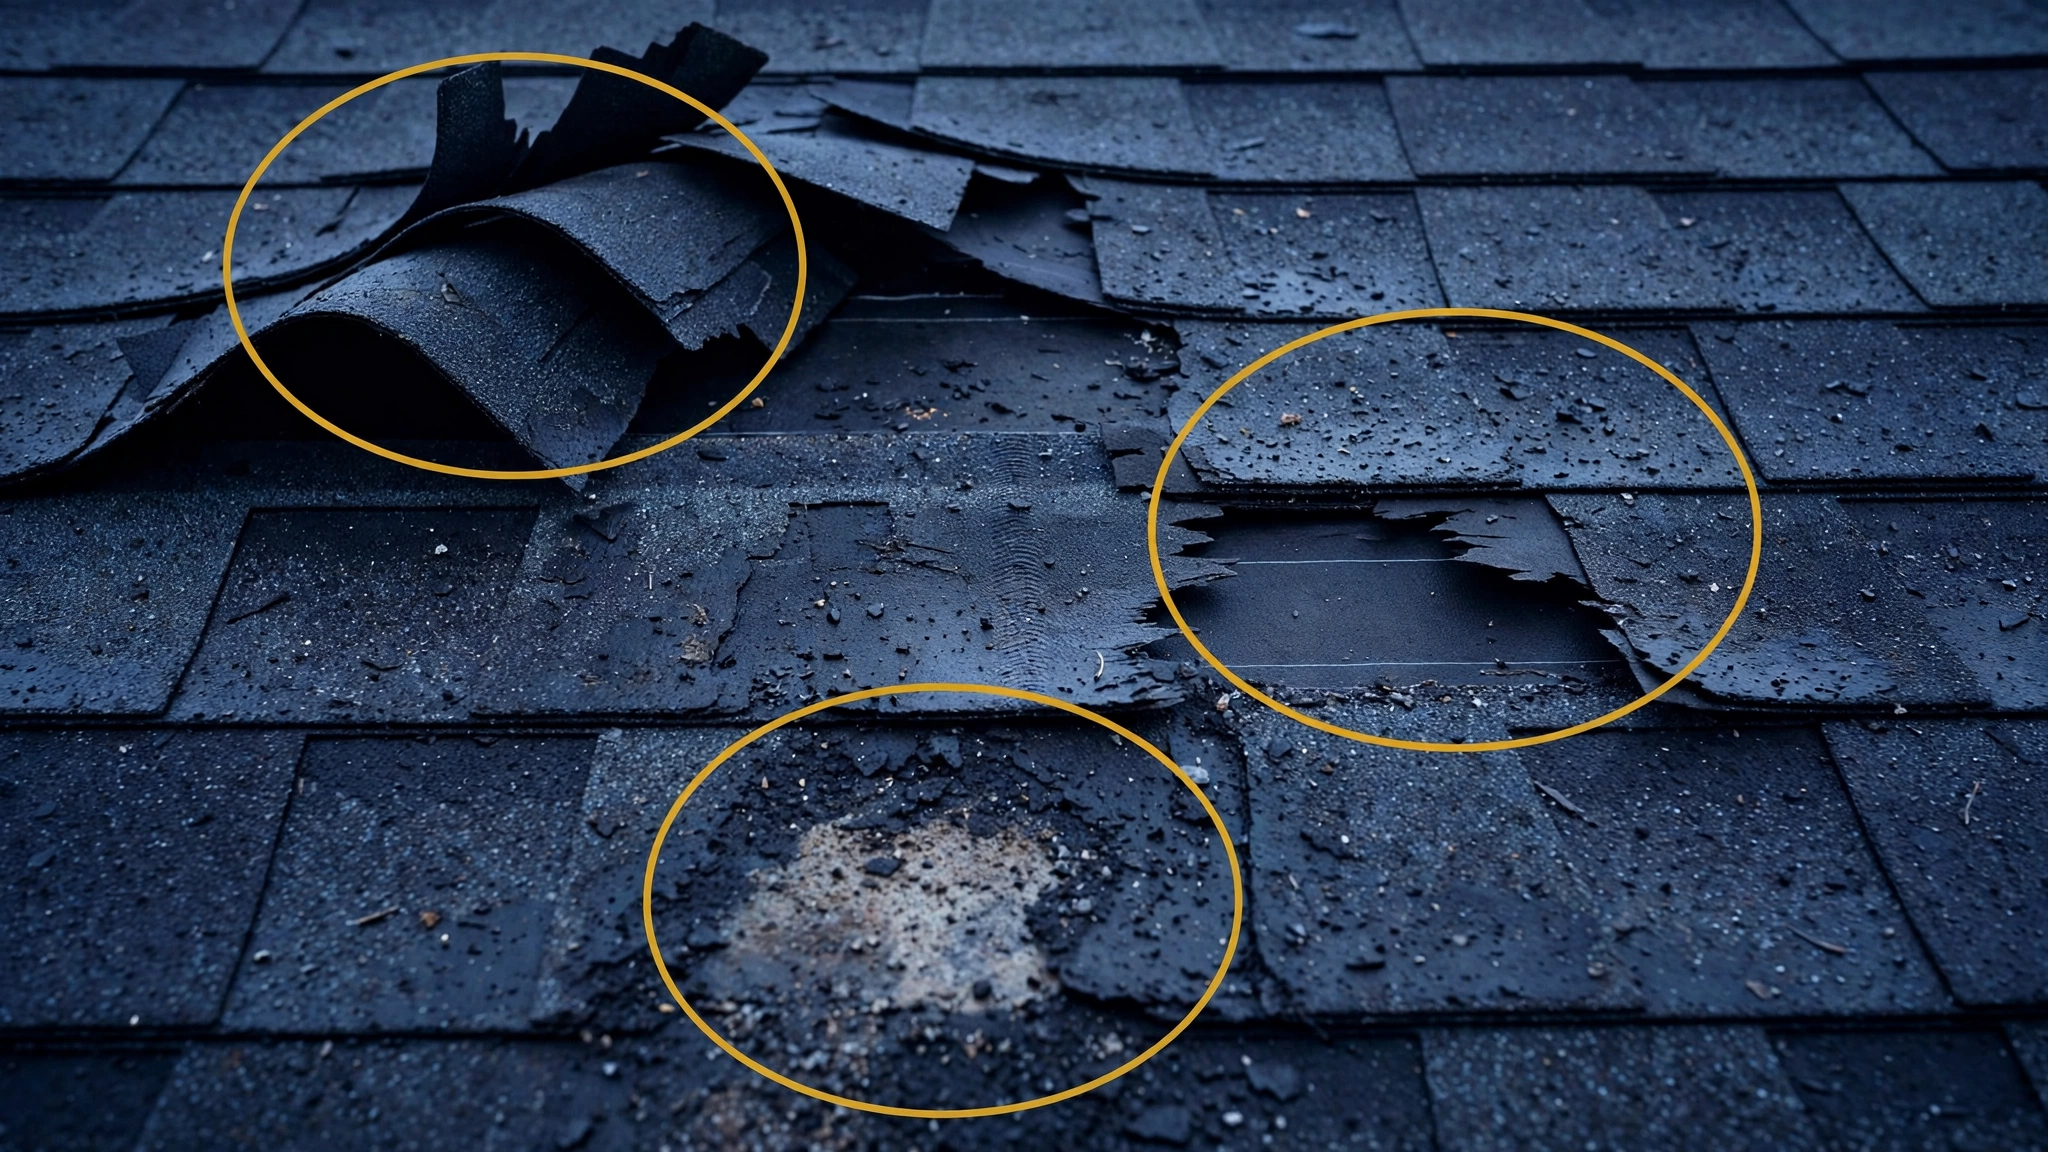
Wind damage has a clear signature: shingles lift at the corners and crease along the seal line, whole tabs tear off into the yard, and ridge caps go missing first because they sit at the roof’s highest edge. Flashing around chimneys and vents bends or pulls loose.
Hail damage is harder to see: start with soft metals, which dent first (gutters, downspouts, vent caps, flashing). On shingles, look for dark bruised spots, missing granules exposing the black mat, and cracked tabs. Hail that damages roofs usually measures 1 inch (2.5 cm) or more across; the U.S. National Weather Service uses that diameter as its severe-hail threshold (Source: Wikipedia, Hail, citing NWS criteria effective January 2010).
Falling debris leaves impact marks: cracked tiles, punctured shingles, and dents in metal panels. Check the roof directly below where large branches came down.
The attic check catches what the ground check misses. On a dry day, turn off the attic light and look for daylight showing through the deck. Feel insulation for dampness and look for dark water marks on rafters and the underside of the sheathing. Stains on bedroom ceilings usually appear days after the leak starts, so the attic often shows the damage first.
After a hailstorm passed over my own street last spring, the dented aluminum vent caps showed the damage clearly before I ever looked closely at the shingles. That is a practical habit worth keeping: dented soft metals are the fastest hail indicator, so check gutters, vents, and flashing before studying the shingles.
Not every mark is storm damage: black algae streaks, moss, and normal granule aging come from weather and time, not one storm, and insurers will not count them. Photograph everything anyway; the adjuster decides what qualifies.
How Do You Tarp a Damaged Roof Safely?
Tarp a damaged roof by covering the hole or missing section with a heavy-duty tarp that extends at least 4 feet past the damage in every direction. Secure the tarp with 2×4 boards nailed or screwed at the edges, never by nailing through the tarp into the roof alone. Work from a stable ladder, never walk on a damaged roof.
To tarp, choose a UV-resistant polyethylene tarp large enough to cover the damaged area plus the margin, and run it from below the damage up over the ridge when possible so water sheds over it. Sandwich each tarp edge between two 2×4 boards and screw through the boards into solid framing or the fascia, not just into shingles. Nails driven straight through a tarp tear out in the next gust; the board sandwich holds.
Work only from a stable ladder on dry, firm ground, and never step onto a wet or visibly damaged roof. A deck softened by water can give way underfoot with no warning. If the roof is steep, two stories up, structurally sagging, or the wind is still strong, stop and call a professional emergency tarping service instead. Most roofing companies offer this as a standalone service, and insurers usually reimburse reasonable emergency mitigation costs, so keep the receipt.
A tarp is temporary protection, not a repair: sunlight and wind wear it out within weeks to a few months. Schedule the permanent fix while the tarp goes up, and re-secure any loose edge after each storm.
How Does a Roof Storm Damage Insurance Claim Work?
File the claim by calling your insurer and reporting the storm date and the damage you found. An adjuster inspects the roof, often marking hail hits with chalk inside 10-by-10-foot test squares. The insurer issues a written estimate, you pay your deductible, and the contractor completes the approved scope of work.
To file, follow these steps in order:
- Read your policy’s storm coverage and deductible terms before calling.
- Photograph all damage before moving or cleaning anything.
- Call your insurer; note the claim number and the adjuster name.
- Have your contractor present during the adjuster inspection.
- Get the insurer’s written scope before authorizing work.
- Keep every receipt for emergency repairs and tarping.
Two payout types decide what you receive. Replacement Cost Value (RCV) covers new materials at current prices. Actual Cash Value (ACV) is RCV minus depreciation for the roof’s age. Under RCV policies, the insurer pays ACV first and releases the withheld depreciation after the work is complete. Older roofs increasingly carry ACV-only coverage, so check your declarations page.
Standard policies cover sudden damage from wind, hail, and falling trees or debris. They do not cover wear and tear, aging, neglected maintenance, or leaks that existed before the storm. The adjuster’s chalk marks decide the claim, so be present with your contractor when they are made; a roofer who knows storm damage spots hits an adjuster might walk past.
If a claim is denied or underpaid, ask for a re-inspection, submit your contractor’s line-item estimate, and use the insurer’s formal appeal process.
If water reached your rooms, our fire and water damage restoration guide covers the full indoor cleanup process.
Roof Storm Damage Repair vs Replacement: Which Does Your Roof Need?
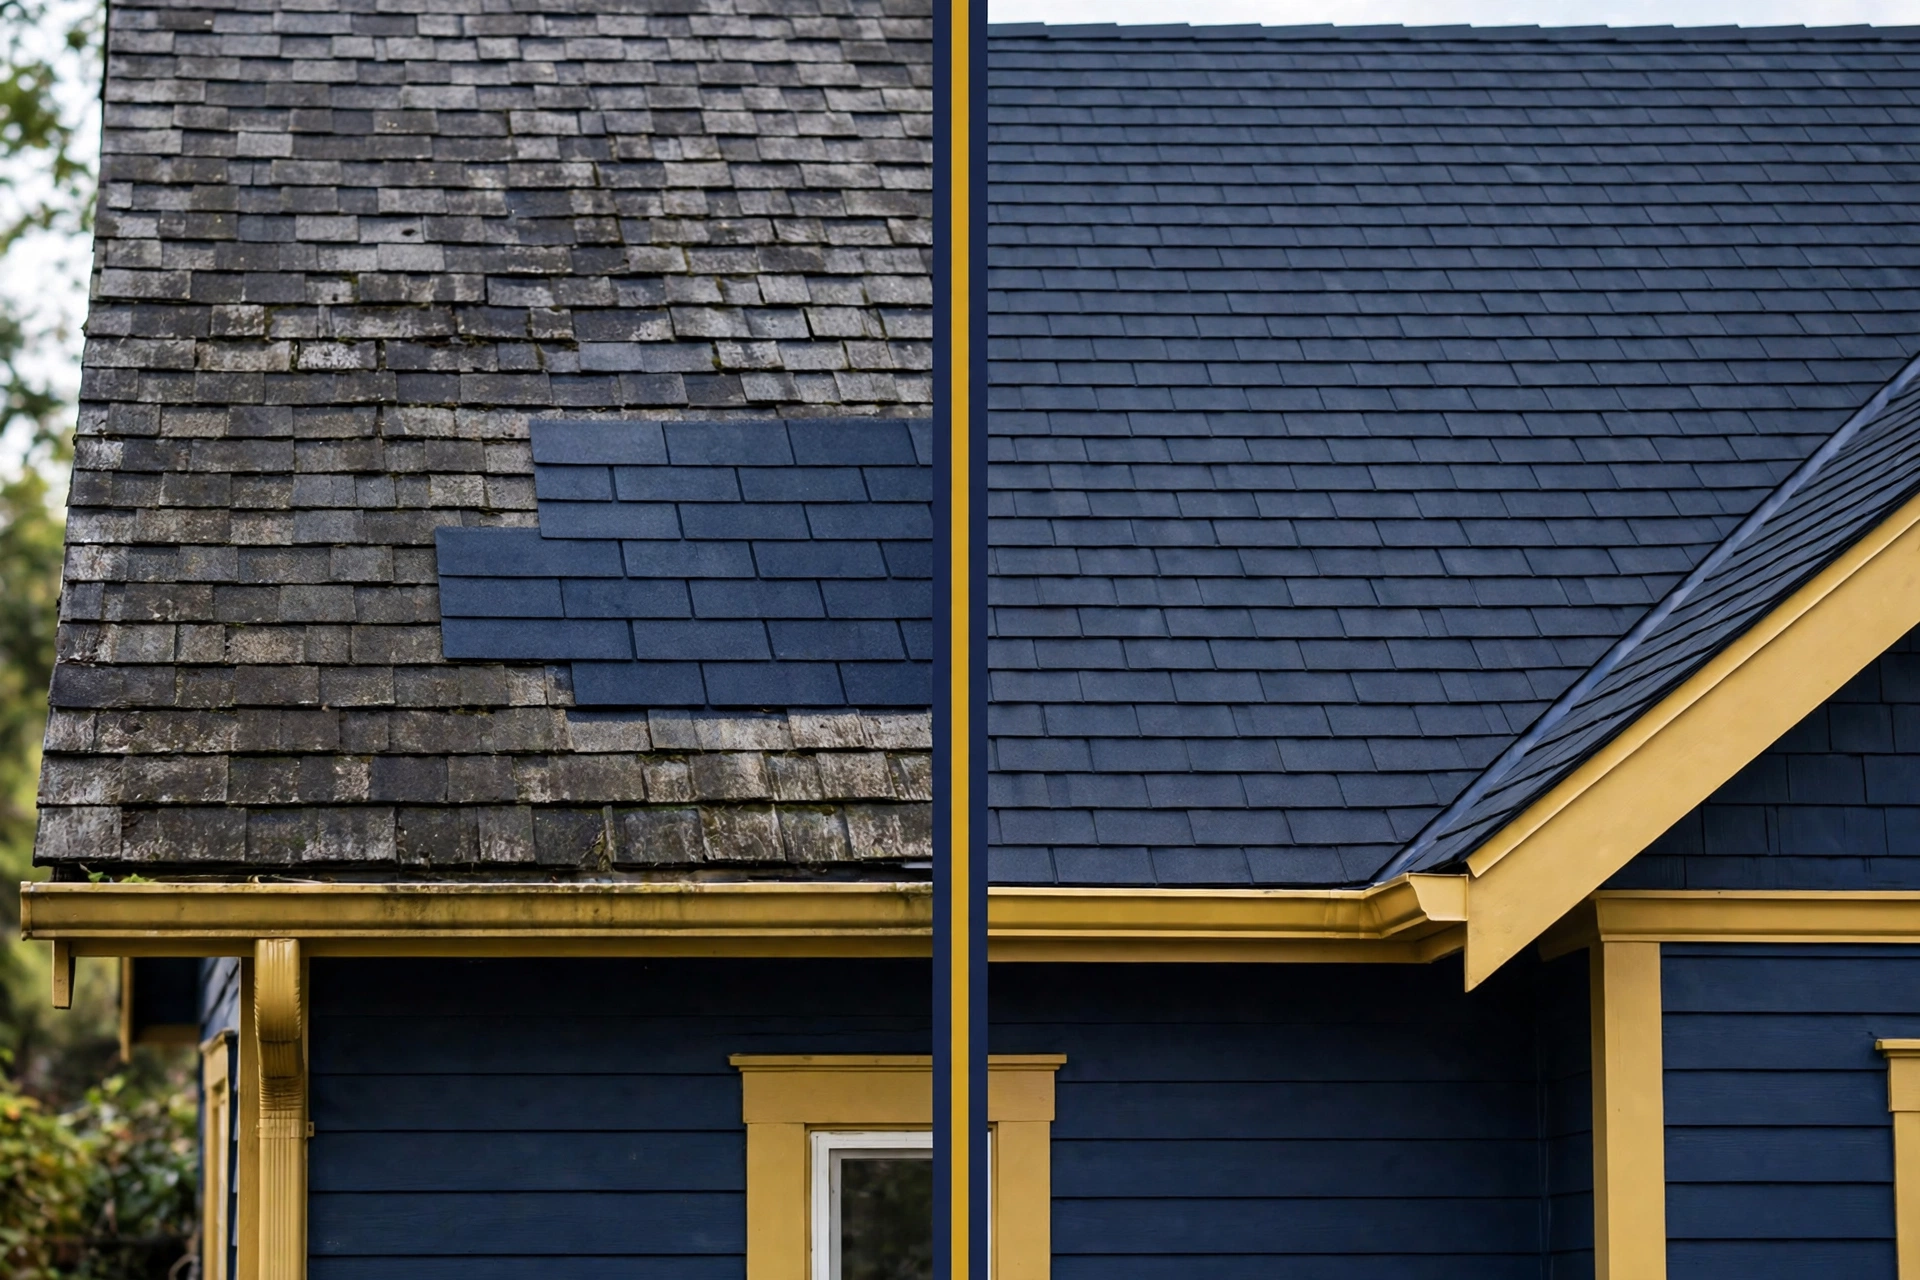
Choose repair when damage is limited to one slope and the roof is less than 15 years old. Choose replacement when damage covers multiple slopes, the deck is soft or sagging, or the roof is near the end of its service life. A new layer of shingles over two existing layers is not allowed under most building codes.
Signs that point to repair: a handful of missing or lifted shingles, one damaged slope, intact underlayment, and a roof well under its expected life.
Signs that point to replacement: mat exposure across large areas, brittle or curled shingles on several slopes, a soft or sagging deck, or two existing shingle layers. Age is the other decider: roofing materials have published service lives, with asphalt shingles typically lasting 30 to 50 years and metal roofs 50 years or more (Source: Wikipedia, Roof). The same patch lasts years on a 7-year-old roof and months on a 25-year-old one.
How Do Repair Methods Differ by Roofing Material?
Repair methods differ by roofing material because each material fails and seals differently. Asphalt shingles get individual replacement with matching tabs and sealant. Metal roofs get panel patching or full panel swaps with butyl tape at seams. Tile and slate get broken-piece replacement, and flat roofs get membrane patches welded or glued over the damaged area.
To repair asphalt shingles, lift the damaged tab, pull the nails, slide a matching shingle into place, and fasten it with four roofing nails under the overlapping course. A dab of roofing sealant under each tab keeps wind from lifting the repair. This is the most DIY-friendly storm repair, but only on low, walkable slopes.
To repair metal roofing, match the repair to the damage: small dents can stay if the coating is intact, while punctures and torn seams need patches cut from matching panels, sealed with butyl tape and fastened with screws that have rubber washers. Never mix metals at a repair; dissimilar metals corrode where they touch.
To repair tile and slate, replace broken pieces individually and inspect the underlayment beneath, since cracked tiles often hide torn felt. These materials are fragile underfoot, so pros use walk boards. Matching discontinued tile profiles can take weeks, so start the search early.
To repair flat and low-slope membrane roofs (EPDM, TPO, modified bitumen), clean the damaged area, prime it, and apply a patch of matching membrane welded or glued per the manufacturer’s method. Check every seam and flashing detail nearby, because wind lifts membranes at edges first.
Match the repair to the material: a shingle-style fix on a metal seam fails because the two systems move and seal differently.
How Do You Choose a Roofing Contractor After a Storm?
Choose a roofing contractor with a local address, a current license, and proof of liability and workers compensation insurance. Get three written estimates that list materials, scope, and timelines. Avoid door-to-door roofers who demand full payment upfront, offer to pay your deductible, or pressure you to sign the same day.
Storms bring out storm chasers: traveling crews that knock on doors within days of hail or wind events. Watch for these red flags: out-of-state license plates and no local office, demands for full payment before work starts, promises to handle or waive your deductible (deductible fraud in many states), pressure to sign a contract on the spot, and requests to sign over your insurance claim benefits.
Vet every candidate the same way: verify the license number with your state licensing board, ask for current liability and workers compensation certificates, and get three written estimates that spell out materials by brand, scope, dates, and milestone-based payment. Ask for local references with addresses you can drive past, and ask who supervises the crew.
Ask three questions before signing: what happens if you find rotted decking once shingles come off, what warranties cover materials versus labor, and how change orders are priced in writing. A straight roofer answers all three without hesitation.

How Can You Protect Your Roof Against Future Storms?
Protect your roof against future storms with twice-yearly inspections, clean gutters, trimmed branches, and secured flashing. Replace worn shingles before storm season and check that attic ventilation keeps the deck dry. In high-wind regions, ask a roofer about impact-rated shingles and six-nail fastening patterns for better wind resistance.
To protect the roof, set a simple calendar. Inspect from the ground each spring and fall, and check the attic for new stains at the same time. Clean gutters twice a year so water cannot back up under the eaves. Trim tree limbs back from the roof so branches cannot scrape shingles or fall on the deck in a storm.
Check flashing around chimneys, vents, and skylights once a year, and reseal cracked caulk or lifted edges. Keep attic vents clear and soffit vents unblocked so the deck stays dry.
Keep an annual photo record of your roof in good condition; date-stamped before photos make the next claim easier by proving what the storm changed.
When replacement time comes in a hail-prone area, ask about Class 4 impact-rated shingles, which are tested against larger hailstones. In high-wind regions, a six-nail fastening pattern per shingle holds better than the standard four. The cheapest storm repair is prevention: clean gutters, trimmed limbs, and a twice-yearly look from the ground cost almost nothing.
Frequently Asked Questions
How long does roof storm damage repair take?
Minor repairs like replacing a few shingles take a few hours to one day. Larger sectional repairs take one to three days. A full roof replacement takes three to seven days for most homes, longer for complex roofs or when decking needs replacement. Permit approvals and material delivery can add waiting time before work starts.
Will homeowners insurance cover storm damage to my roof?
Yes, standard homeowners policies cover sudden storm damage from wind, hail, and falling trees or debris. They do not cover wear and tear, aging, neglect, or pre-existing leaks. Coverage depends on your policy type: RCV policies pay full replacement cost, while ACV policies subtract depreciation. Read your declarations page before filing.
Can I repair a storm-damaged roof myself?
Yes, but only for small jobs on a low, easily reached roof, such as replacing a few asphalt shingles. Leave steep roofs, structural damage, large areas, and anything near power lines to licensed roofers. Falls cause serious DIY roofing injuries every year, so use a stable ladder, proper safety gear, and dry conditions, or hire a pro.
How do I know if hail damaged my roof?
Hail damage shows first on soft metals: look for dents on gutters, downspouts, vents, and flashing. On shingles, look for dark bruised spots, missing granules that expose the black mat, and cracked tabs. Hail that damages roofs usually measures 1 inch (2.5 cm) or more across, per the U.S. National Weather Service severe-hail threshold.
Should I repair or replace my storm-damaged roof?
Repair when damage is limited to one area and the roof is well within its service life. Replace when damage spans multiple slopes, the deck is soft or sagging, shingles are brittle with age, or repair costs approach half the price of a new roof. A roofer’s inspection plus your insurer’s scope usually settles the call.
What should I do if my roof is leaking during the storm?
Stay inside and manage the water: place buckets under drips, move furniture and electronics, and lay towels to stop spread. Switch off the breaker for any circuit, if water is near light fixtures or outlets. Never climb onto the roof during wind, rain, or lightning. Call a roofer for emergency tarping once the storm passes.
Conclusion
Roof storm damage repair rewards speed and order: stay safe, document everything, tarp the leaks, file the claim, then decide between repair and replacement with real information in hand. Vetting your contractor keeps post-storm scam crews out, and twice-yearly maintenance lowers the odds of a repeat visit. This guide is part of Voice of Wave’s homeowner maintenance series, built for steps you can act on the same day.
Read more practical homeowner guides on the Voice of Wave blog, from seasonal maintenance to full repair walkthroughs.