
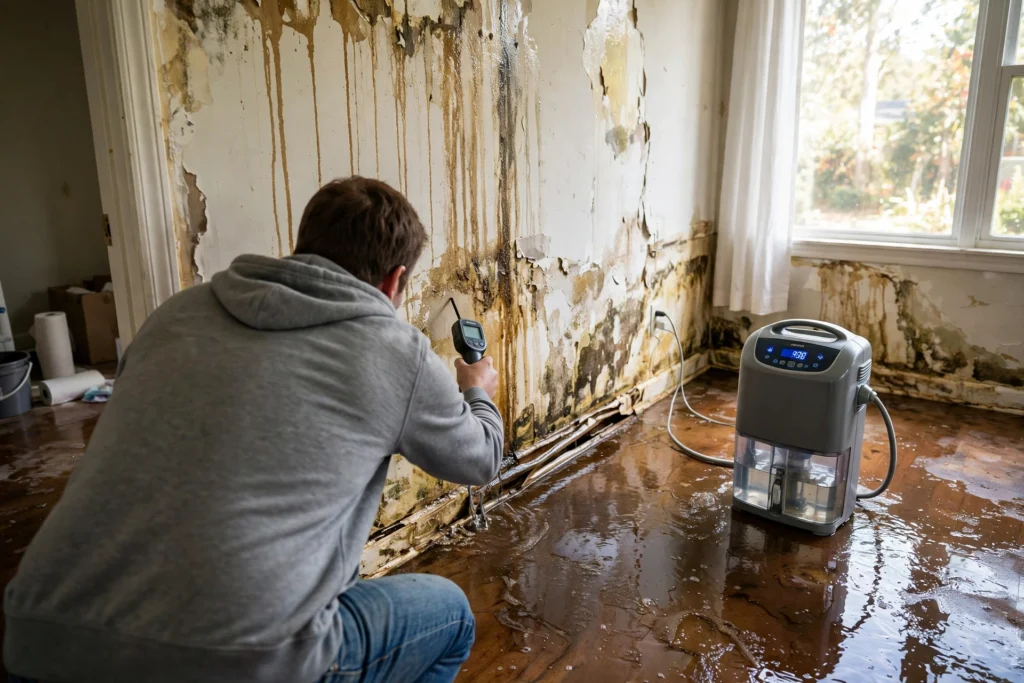
Water damage recovery is the process of stopping water, removing it, drying the structure, cleaning affected surfaces, and repairing the damage so a home returns to safe use. Water damage recovery takes 3 to 7 days for drying in most small cases and 2 to 6 weeks for full repairs after larger losses.
This guide from Voice of Wave covers the 3 water categories, the first 24 hours, water removal and drying, mold prevention, the choice between DIY work and a professional crew, insurance claims, costs, and prevention. Water damage recovery protects health, limits repair bills, and stops mold before it starts. The steps below work for burst pipes, appliance leaks, roof leaks, and floodwater, and each step states when a homeowner can act alone and when a professional is the right call.
Key Takeaways
- Act in the first 24 hours: shut off the water, cut power from a dry spot, photograph everything, and start drying.
- Know the 3 water categories: clean water, gray water, and black water set the safety rules for cleanup.
- Dry within 24 to 48 hours: mold can start in that window, so drying speed matters more than repair speed.
- Measure, do not guess: a moisture meter proves walls and floors are dry before repairs start.
- Check coverage early: sudden leaks are often covered, gradual leaks and floodwater usually are not.
- Prevent the next loss: annual hose checks, clean gutters, a tested sump pump, and leak sensors cut risk.
Table of Contents
- What Is Water Damage Recovery?
- What Are the 3 Categories of Water Damage?
- What Should You Do in the First 24 Hours After Water Damage?
- How Do You Remove Water and Dry Your Home?
- How Do You Prevent Mold After Water Damage?
- Water Damage Recovery: DIY or Hire a Professional?
- How Does a Water Damage Insurance Claim Work?
- How Much Does Water Damage Recovery Cost?
- How Do You Prevent Water Damage in the Future?
- Conclusion
- FAQs
What Is Water Damage Recovery?
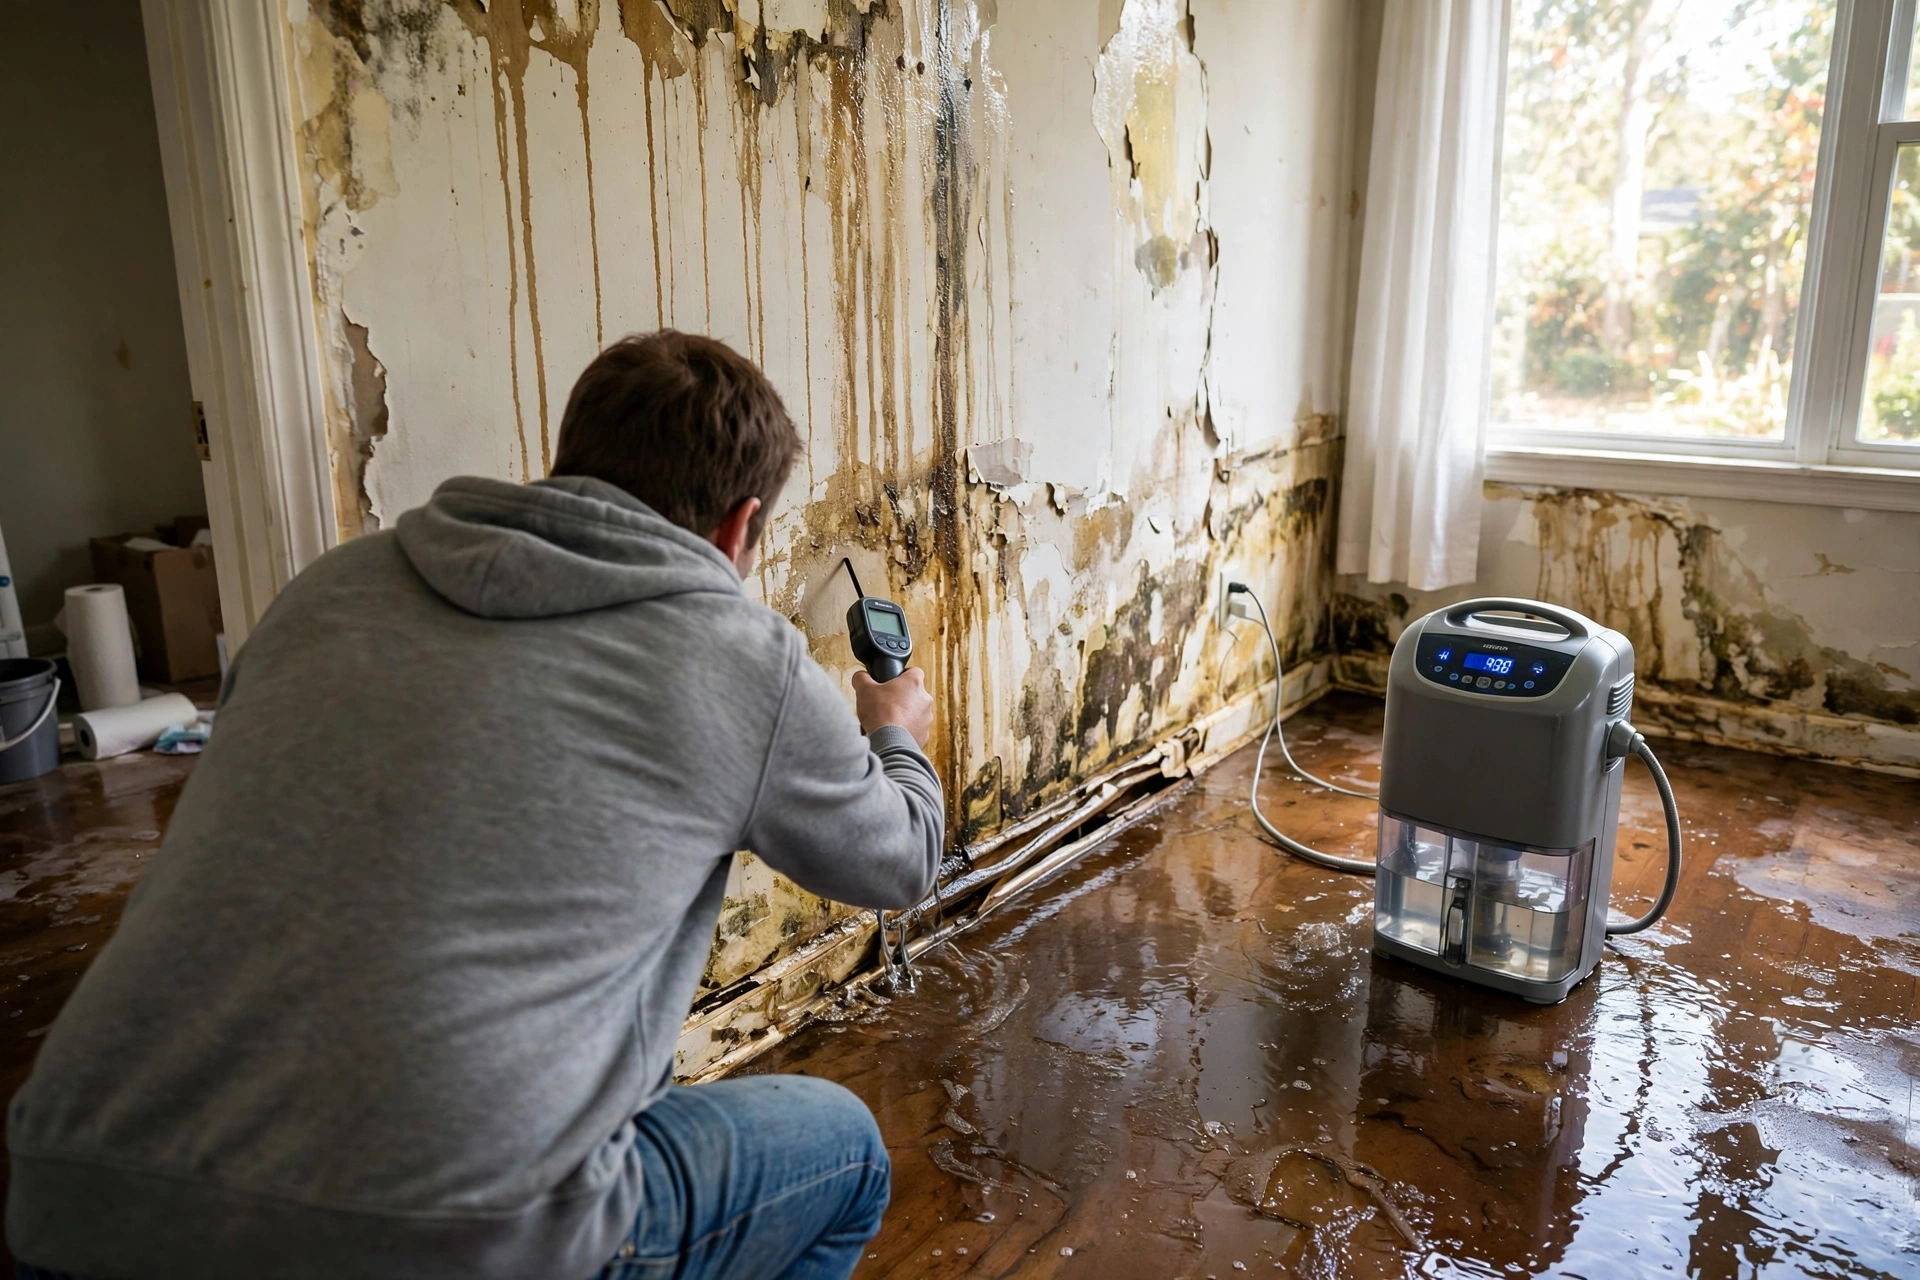
Water damage recovery is the planned sequence of safety checks, water removal, drying, cleaning, and repair that returns a wet home to safe use. Water damage recovery has 3 stages. Mitigation stops the damage from getting worse. Remediation cleans, dries, and sanitizes what can be saved. Restoration repairs or replaces what cannot be saved.
Mitigation starts at once: stop the water source, remove standing water, and protect dry rooms. Remediation follows: dry the structure, remove ruined materials, and clean surfaces. Restoration comes last: replace drywall, flooring, trim, and paint after moisture readings show the structure is dry. Skipping a stage causes repeat damage, because repairs over wet framing trap moisture and support mold growth.
Water damage is common. One in every 67 insured homes files a claim for water damage or freezing each year, and the average claim totals about $15,400 (Source: Insurance Information Institute, 2026). Browse more Home Improvement guides for related repair and maintenance topics on this site.
What Are the 3 Categories of Water Damage?
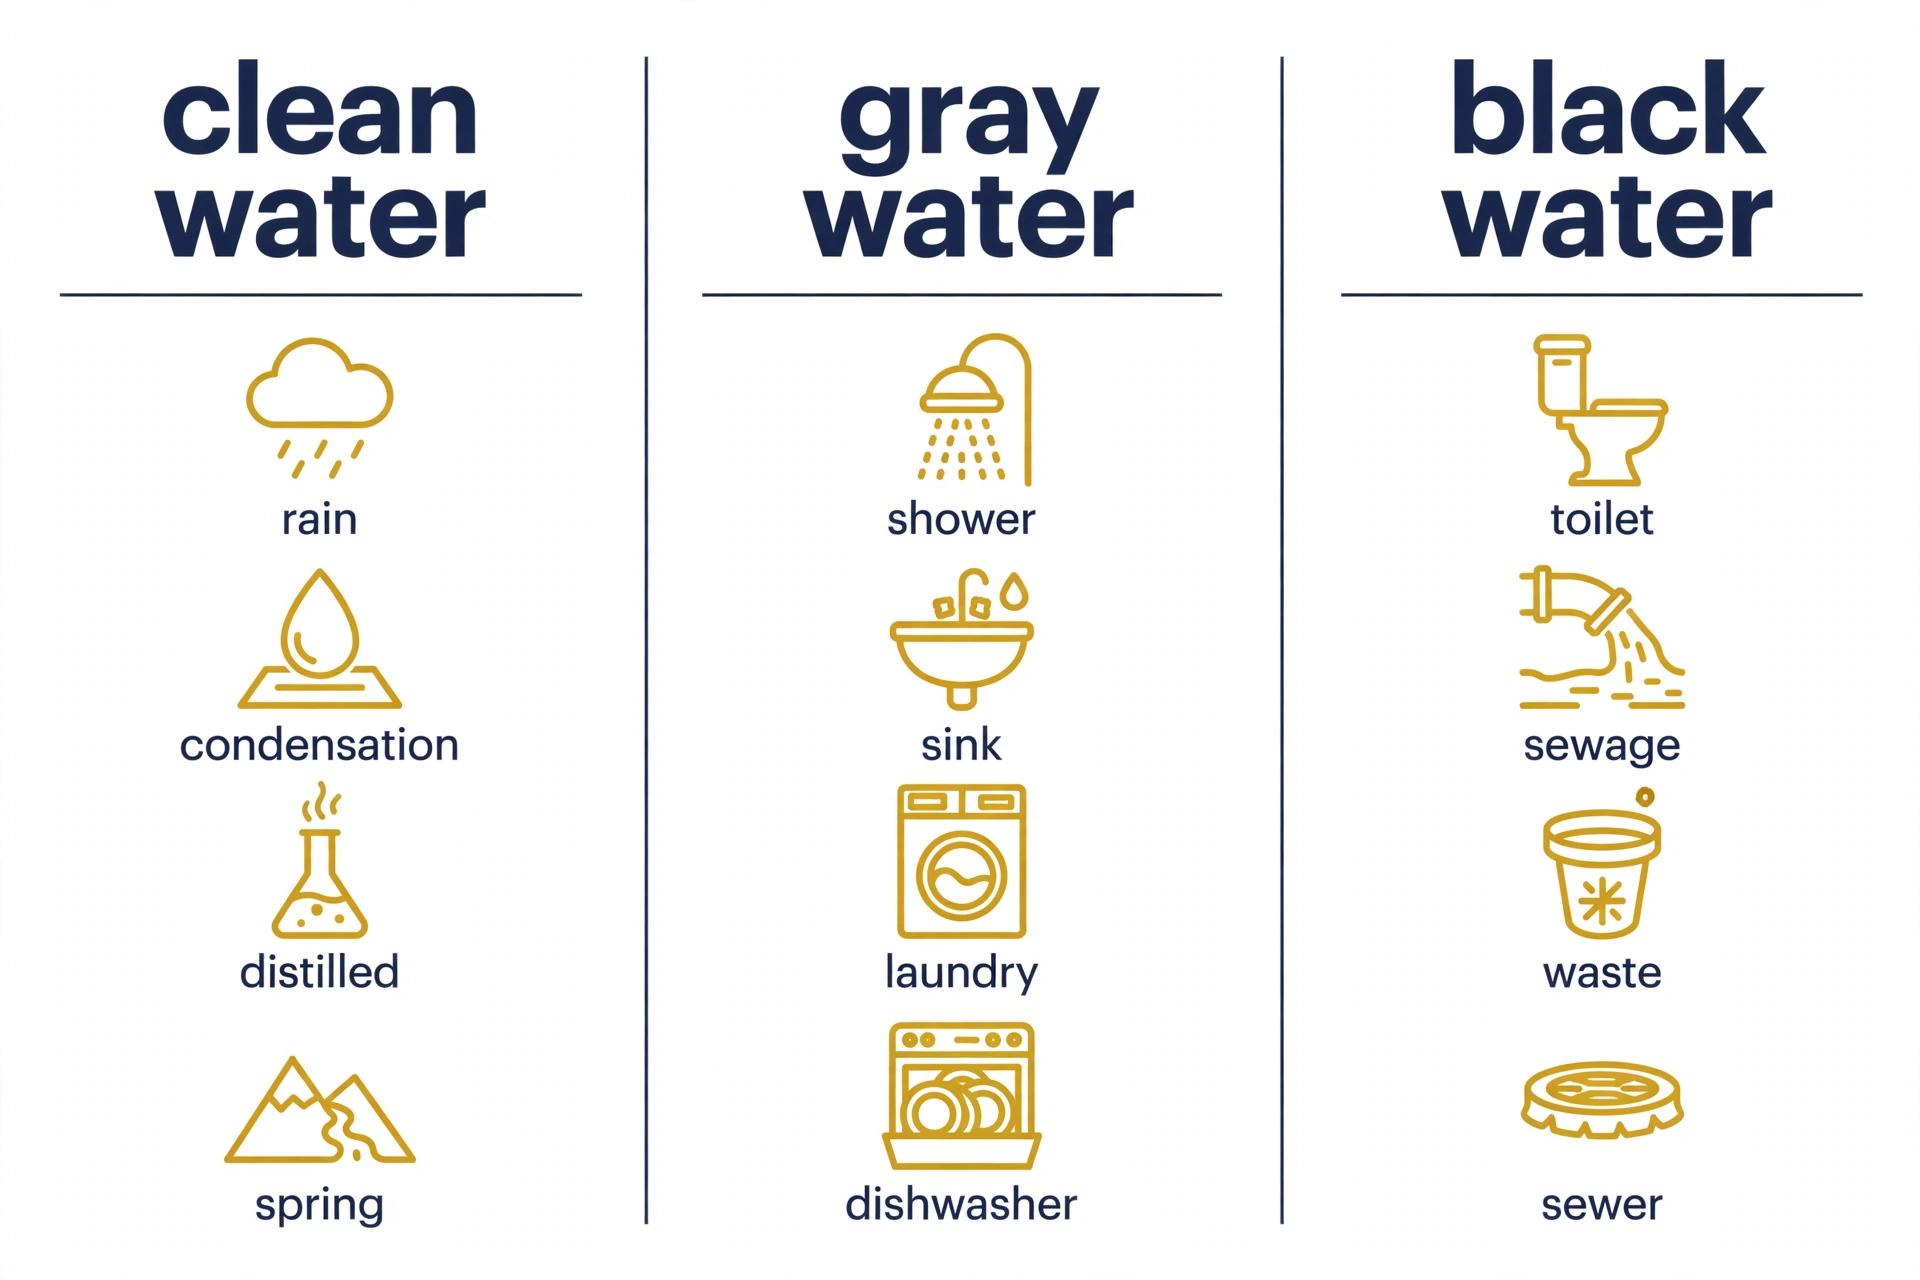
The 3 categories of water damage are Category 1 clean water, Category 2 gray water, and Category 3 black water, and the category sets the safety rules for cleanup. The water damage categories come from the ANSI/IICRC S500 standard, the industry standard for professional water damage restoration. The category depends on the water source and the contaminants in the water.
| Category | Common name | Typical sources | Safety rules |
|---|---|---|---|
| Category 1 | Clean water | Broken supply line, overflowing sink, rainwater through a roof leak | Low health risk, gloves and boots are enough for small spills |
| Category 2 | Gray water | Dishwasher discharge, washing machine overflow, toilet overflow with urine only | Contains bacteria, wear gloves and eye protection, wash skin after contact |
| Category 3 | Black water | Sewage backup, rising floodwater, toilet overflow with solid waste | Health hazard, do not enter without protective gear, call a professional |
Categories change with time and temperature. Category 1 water becomes Category 2 water within 48 hours as it picks up contaminants from building materials. Category 2 water becomes Category 3 water in the same way. Fast action keeps a clean water loss from turning into a hazard.
Water damage also has 4 classes that measure how much water the structure absorbed. Class 1 is the smallest load, with less than 5 percent of surfaces wet. Class 2 covers 5 to 40 percent of surfaces. Class 3 covers more than 40 percent. Class 4 means water soaked deep into low evaporation materials such as plaster, hardwood, and concrete. The class sets how much drying equipment the job needs and how long drying takes.
What Should You Do in the First 24 Hours After Water Damage?
You should make the area safe, stop the water, document the damage, and start drying within the first 24 hours after water damage. The first 24 hours decide how much of a home survives intact, because water keeps moving into drywall, flooring, and framing while it sits.
Follow these 7 steps in order:
- Stay out of standing water until you know the power is off.
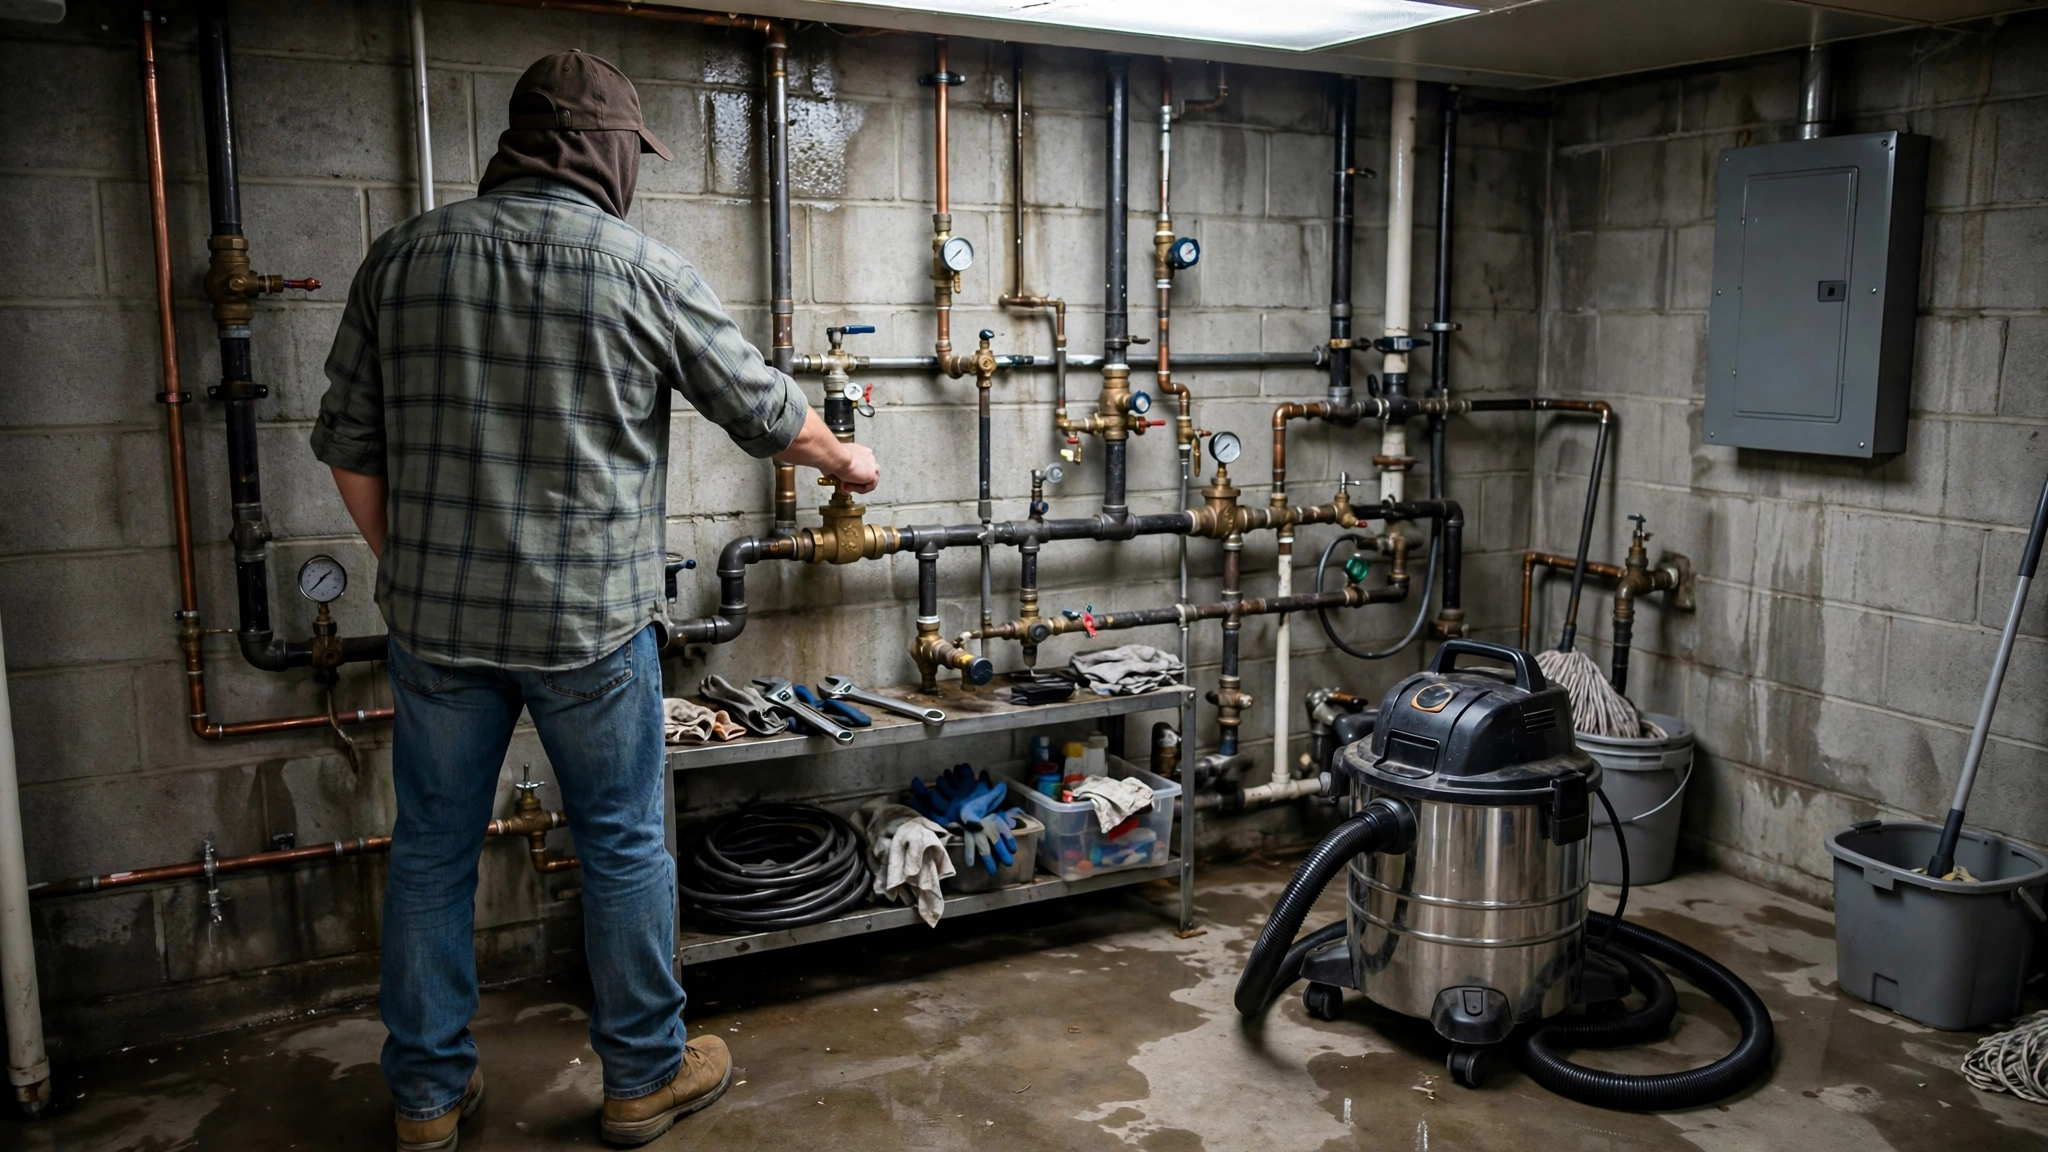
- Shut off the water source at the main valve if it is safe to reach.
- Cut power to wet areas from a dry location at the breaker panel.
- Call your insurer and open a claim before cleanup starts.
- Photograph and video everything before moving or throwing away any item.
- Move dry valuables to a dry room and lift furniture off wet floors.
- Start water removal with buckets, mops, or a wet vacuum if it is safe.
Never enter standing water if the power is on and you cannot confirm the circuit is dead. Never touch a breaker panel while standing in water. If you smell gas, see sparks, or hear crackling, leave at once and call 911 from outside. If ceilings sag or floors feel soft, stay out of the room until a professional checks the structure.
Photos protect the claim. Take wide shots of each room, then close-ups of the water source, the water line on walls, and each damaged item. Photograph serial numbers on appliances and electronics. Keep damaged items in place until the adjuster has seen them, because the adjuster needs the evidence to set the payout.
How Do You Remove Water and Dry Your Home?
To remove water and dry your home, extract standing water first, remove wet contents, expose hidden moisture, then run air movers and dehumidifiers until moisture meter readings show the structure is dry. Water removal has 5 steps, and each step must finish before the next one starts.
Step 1 is extraction. Pumps handle deep standing water, and a wet vacuum handles shallow water on hard floors and carpet. Mops and towels finish small areas. Never use a household vacuum on water, because water inside a standard vacuum creates a shock risk and ruins the motor.
Step 2 is contents removal. Move wet furniture, rugs, boxes, and clothing out of the area. Wet items left in place keep adding moisture to the air and the floor. Sort items into 3 groups: save, clean, and discard. Paper, books, and photos go into a freezer if they are soaked, because freezing stops further damage until a conservator can treat them. Electronics need several days of drying before anyone powers them on.
Step 3 is exposing hidden moisture. Water wicks up drywall, seeps under baseboards, and hides inside wall cavities and under flooring. Remove baseboards to check the wall base. Cut away wet drywall at least 12 inches above the visible water line, because the wet edge sits higher than the stain. Pull up soaked carpet padding, because padding holds water and rarely dries in place.
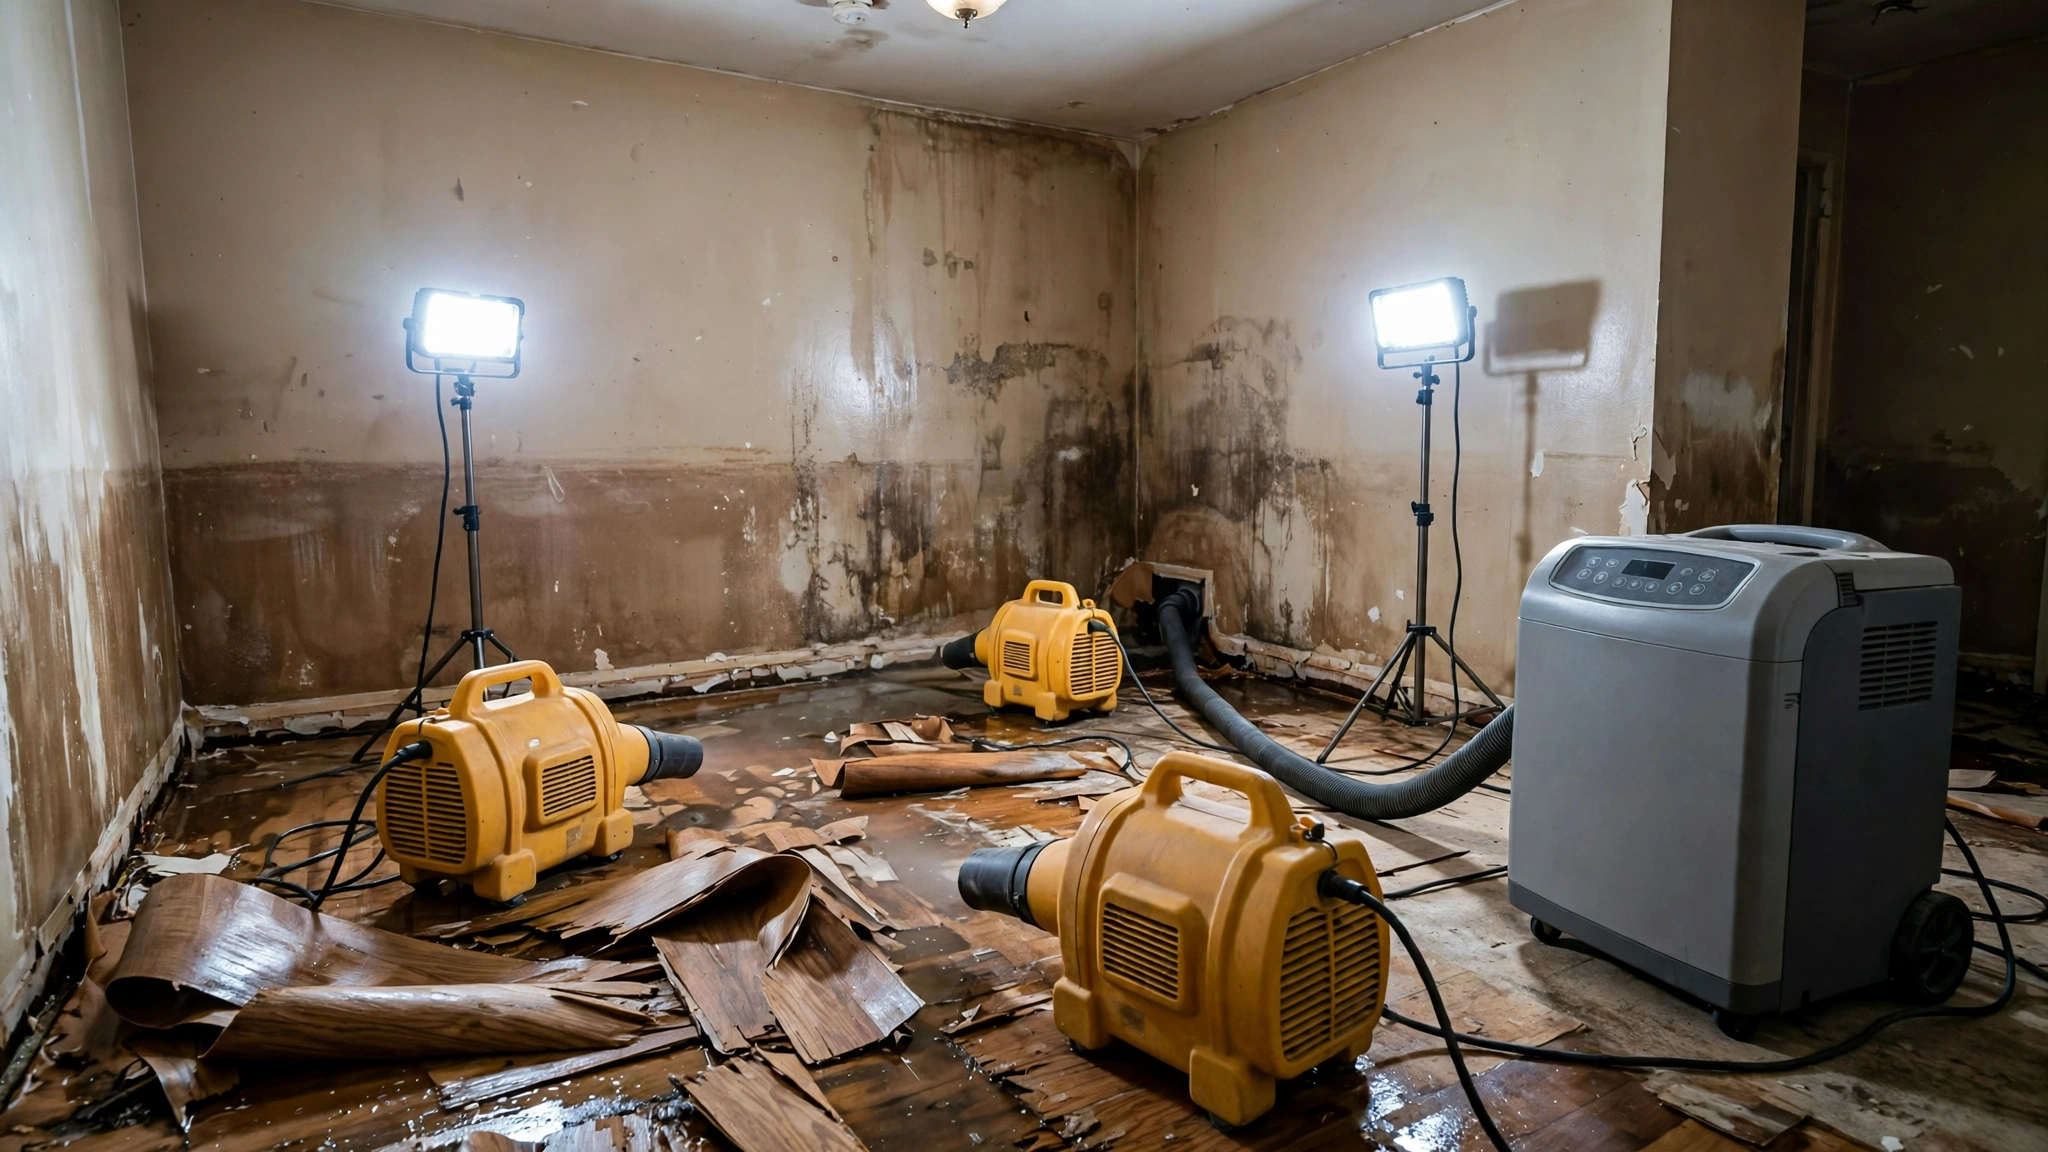
Step 4 is structural drying. Air movers push dry air across wet surfaces, and dehumidifiers pull moisture out of the air. A low grain refrigerant (LGR) dehumidifier pulls more water per day than a household unit. Run the equipment 24 hours a day until readings show the structure is dry. Open windows only when outdoor air is dry, because humid outdoor air slows drying.
Step 5 is measurement. A wall that looks dry on the surface can still read wet on a moisture meter 2 inches above the visible water line, so a meter check beats a visual check every time. Pin meters read moisture inside wood and drywall, and pinless meters scan larger areas fast. Compare readings to a dry area of the same material in an unaffected room. Repairs start only when readings match the dry baseline.
For routine care that stops clogs before they turn into leaks, read our guide to drain maintenance.
How Do You Prevent Mold After Water Damage?
To prevent mold after water damage, dry wet materials within 24 to 48 hours, remove porous materials that stayed wet, clean hard surfaces, and keep indoor humidity below 60 percent. Mold can begin growing on damp surfaces within 24 to 48 hours after water damage (Source: U.S. Environmental Protection Agency, 2026). Drying speed is the main control.
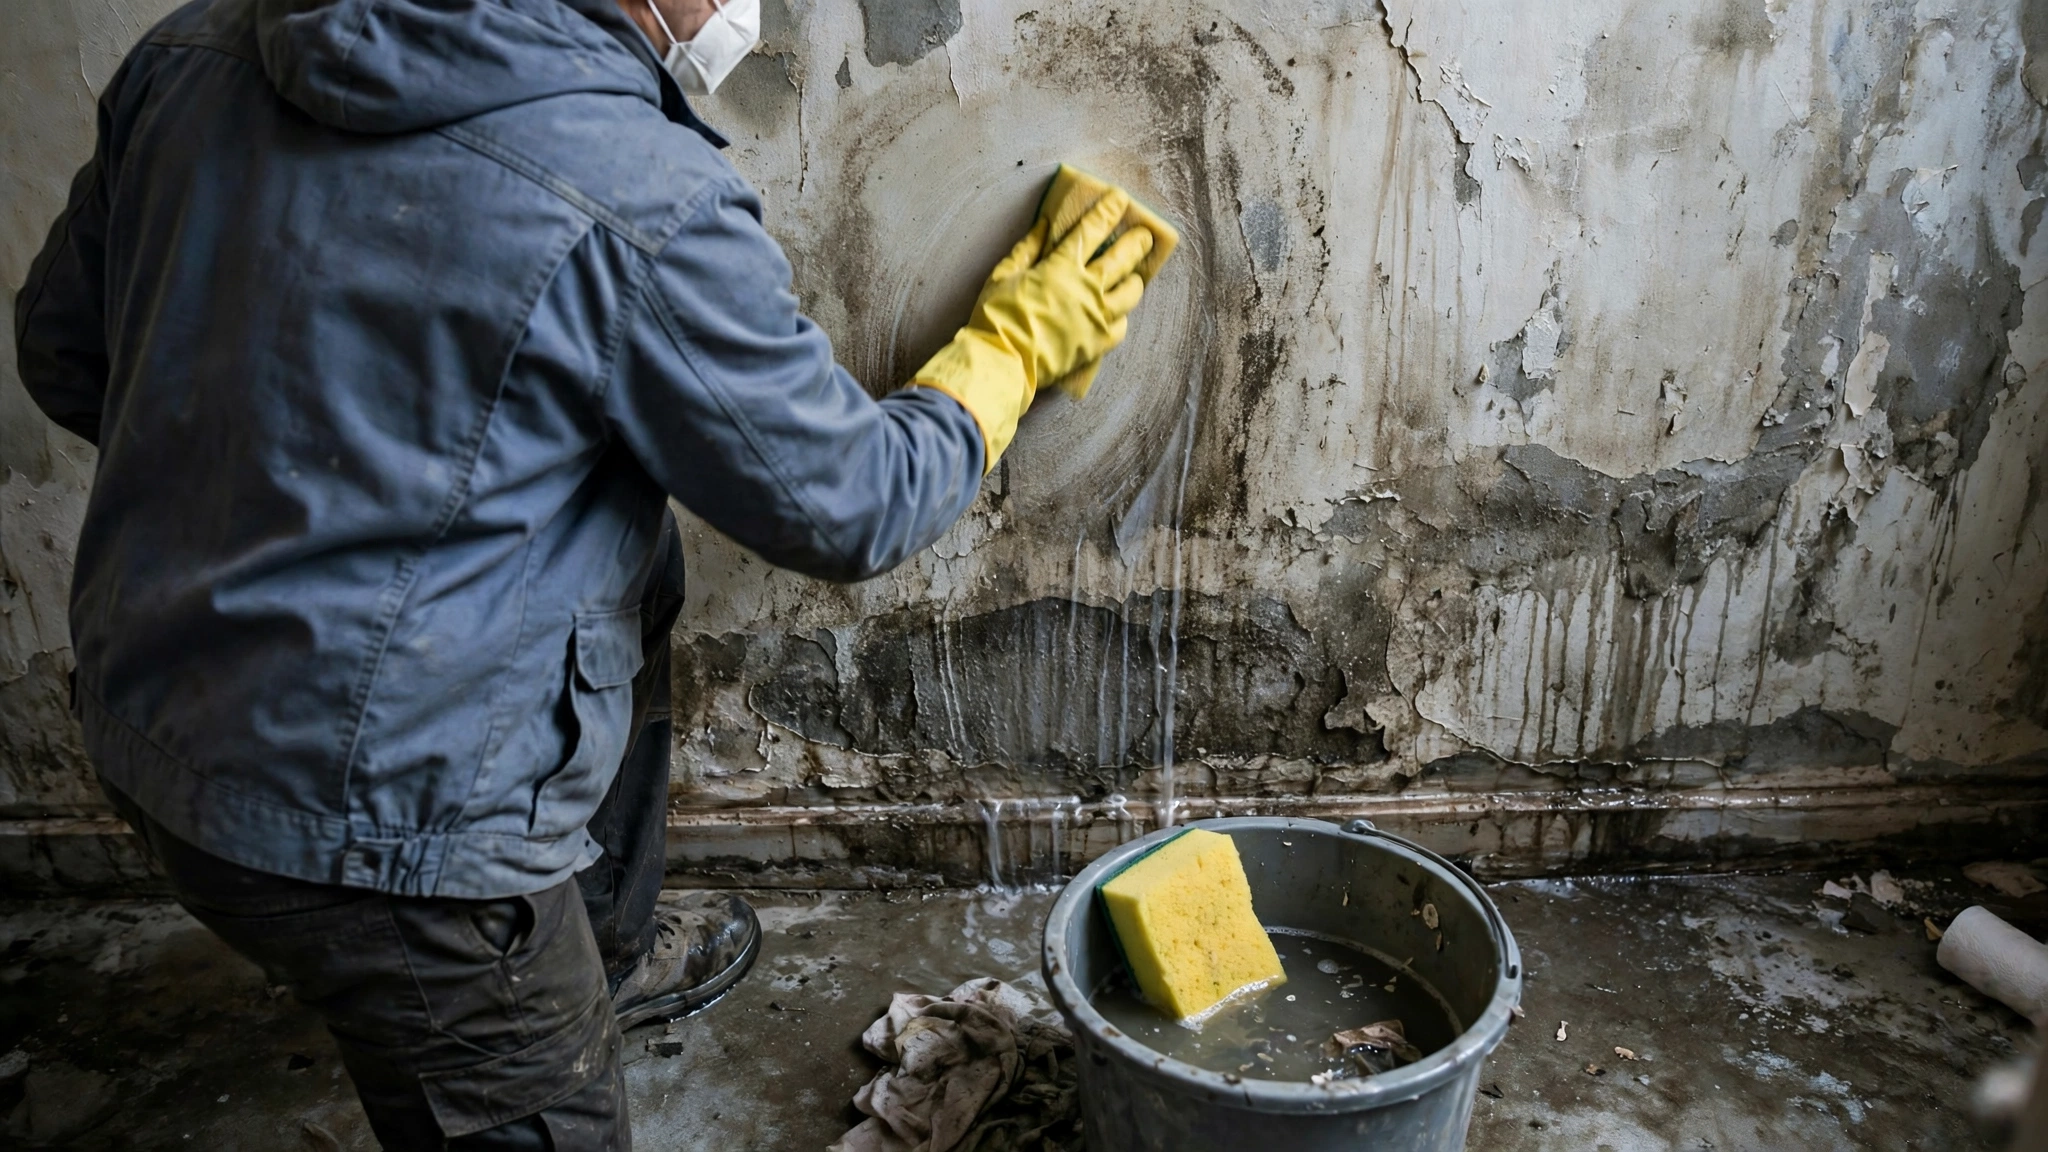
Remove porous materials that cannot be dried in time. Soaked carpet padding, wet insulation, and drywall that wicked water upward usually go in the trash. Bag the material before carrying it through dry rooms, so spores do not spread through the house. Clean hard surfaces with soap and water, then disinfect with a mix of 1 cup of bleach per gallon of water on surfaces that tolerate bleach.
Mold growth in buildings starts when spores find moisture, food, and still air, and drywall paper, wood, and dust supply the food. Air movement and low humidity break that chain. Keep air movers and dehumidifiers running after visible water is gone, because hidden moisture inside walls supports mold growth out of sight.
Watch for mold in these 5 spots: inside closets, behind furniture, under carpet edges, inside wall cavities near the water line, and around window frames. Look for stains, black spots, and discoloration, and smell for a musty odor in rooms that look dry. A musty smell with no visible mold means hidden growth, and hidden growth needs a professional inspection.
Call a mold remediation professional if the affected area is larger than 10 square feet or if materials stayed wet for more than 48 hours. A professional tests air quality, sets containment, and removes mold without spreading spores to clean rooms.
Water Damage Recovery: DIY or Hire a Professional?
DIY water damage recovery fits small Category 1 losses, and a professional crew is the right call for Category 2 or 3 water, large areas, and any loss that stayed wet past 48 hours. The table below gives the cutoffs.
| Factor | DIY fits | Hire a professional |
|---|---|---|
| Water category | Category 1 clean water only | Category 2 gray water or Category 3 black water |
| Area size | Under 10 square feet | Over 10 square feet |
| Time wet | Under 48 hours | Over 48 hours |
| Structure | Floors and walls feel solid | Sagging ceilings, soft floors, or cracked framing |
| Power | Power is off and circuits are dry | Water reached outlets, the panel, or appliances |
| Health | No one in the home has asthma or a weak immune system | Anyone at risk is in the home, or mold is visible |
DIY work saves money on small losses. A wet vacuum rental, a household dehumidifier, and fans handle a small clean water spill for a low cost. DIY work fails when the loss is larger than it looks, because hidden moisture behind walls and under floors needs meters and industrial equipment to find and dry.
Professional crews bring pumps, LGR dehumidifiers, air movers, moisture meters, and infrared cameras. Crews also write drying logs with daily readings, and insurers accept those logs as proof of proper drying. Hire a crew with Institute of Inspection, Cleaning and Restoration Certification (IICRC) training, and check the crew’s license and insurance before work starts.
Renters follow a different path. A renter should notify the landlord in writing at once, photograph the damage, and move personal items to safety. The landlord owns the structure and pays for structural drying and repair. Renter insurance covers personal belongings. A renter should not pay for structural repairs out of pocket without a written agreement.
How Does a Water Damage Insurance Claim Work?
A water damage insurance claim works in 5 steps: report the loss, document the damage, meet the adjuster, get an estimate, and receive approval before permanent repairs start. Report the loss the same day it happens, because late reporting gives the insurer a reason to reduce or deny the claim.
Document the damage before any cleanup, then keep every receipt for emergency work, lodging, and replacement items. Meet the adjuster with the photo log, the plumber’s repair receipt, and moisture readings in hand. Never begin permanent repairs before the adjuster has inspected the damage, because repairs erase the evidence the adjuster needs.
Standard homeowner policies cover sudden and accidental water damage, such as a burst pipe or a failed appliance hose. Standard policies do not cover gradual damage from a slow leak, poor maintenance, or wear. Flood damage from rising surface water needs a separate flood insurance policy, and many policies carry a waiting period before flood coverage starts.
Mold coverage has limits. Many policies pay for mold cleanup only when the mold traces back to a covered event, such as a burst pipe. Many policies also cap mold payouts with a sublimit far below the main dwelling coverage. Read the policy for the mold sublimit and the flood exclusion before filing, so the claim matches the coverage.
If the insurer denies the claim, ask for the denial in writing and check the reason against the policy wording. Common denial reasons are gradual damage, an excluded peril, a mold sublimit, and missing documentation. A written denial with a clear reason is the starting point for an appeal.
How Much Does Water Damage Recovery Cost?
Water damage recovery costs $2,000 to $6,000 for most jobs, and the cost per square foot rises with the water category: $3.50 to $5 for clean water, $5.50 to $8 for gray water, and $12 to $18 for black water (Source: HomeGuide, 2026). Mitigation alone runs $1,300 to $5,200 (Source: Forbes Home, 2026). A Class 4 loss with deep structural soaking can reach $15,000 to $100,000.
| Cost item | Typical range |
|---|---|
| Water extraction and drying, clean water | $3.50 to $5 per square foot |
| Water extraction and drying, gray water | $5.50 to $8 per square foot |
| Water extraction and drying, black water | $12 to $18 per square foot |
| Mitigation only | $1,300 to $5,200 per job |
| Most full jobs | $2,000 to $6,000 per job |
| Mold remediation add-on | $15 to $30 per square foot |
These ranges come from published national guides, and local prices vary with labor rates, material costs, and job size. Get 3 written quotes for any job over $2,000, and check that each quote lists extraction, drying, equipment rental days, material removal, and rebuild separately. A quote that lists only one total hides the drying cost, and drying cost is the part that grows when a job runs long.
Acting fast cuts the bill. Water that sits for 48 hours causes far more damage than water removed the same day, because drywall, flooring, and framing absorb more water each hour. Fast action also keeps a Category 1 loss from turning into a Category 2 or 3 loss, and that change alone can double the per square foot cost.
How Do You Prevent Water Damage in the Future?
To prevent water damage in the future, inspect hoses and fittings once a year, clean gutters each season, test the sump pump, grade soil away from the foundation, and install leak sensors with an auto shutoff valve. Prevention costs far less than recovery, and most prevention tasks take under an hour.
Plumbing leaks waste about 10,000 gallons of water per year in the average US home (Source: U.S. Environmental Protection Agency). Inspect and replace worn pipe fittings and hose connections on washing machines, dishwashers, refrigerator icemakers, and water softeners at least once a year. Replace rubber supply hoses with braided steel hoses, because rubber hoses crack with age and fail without warning.
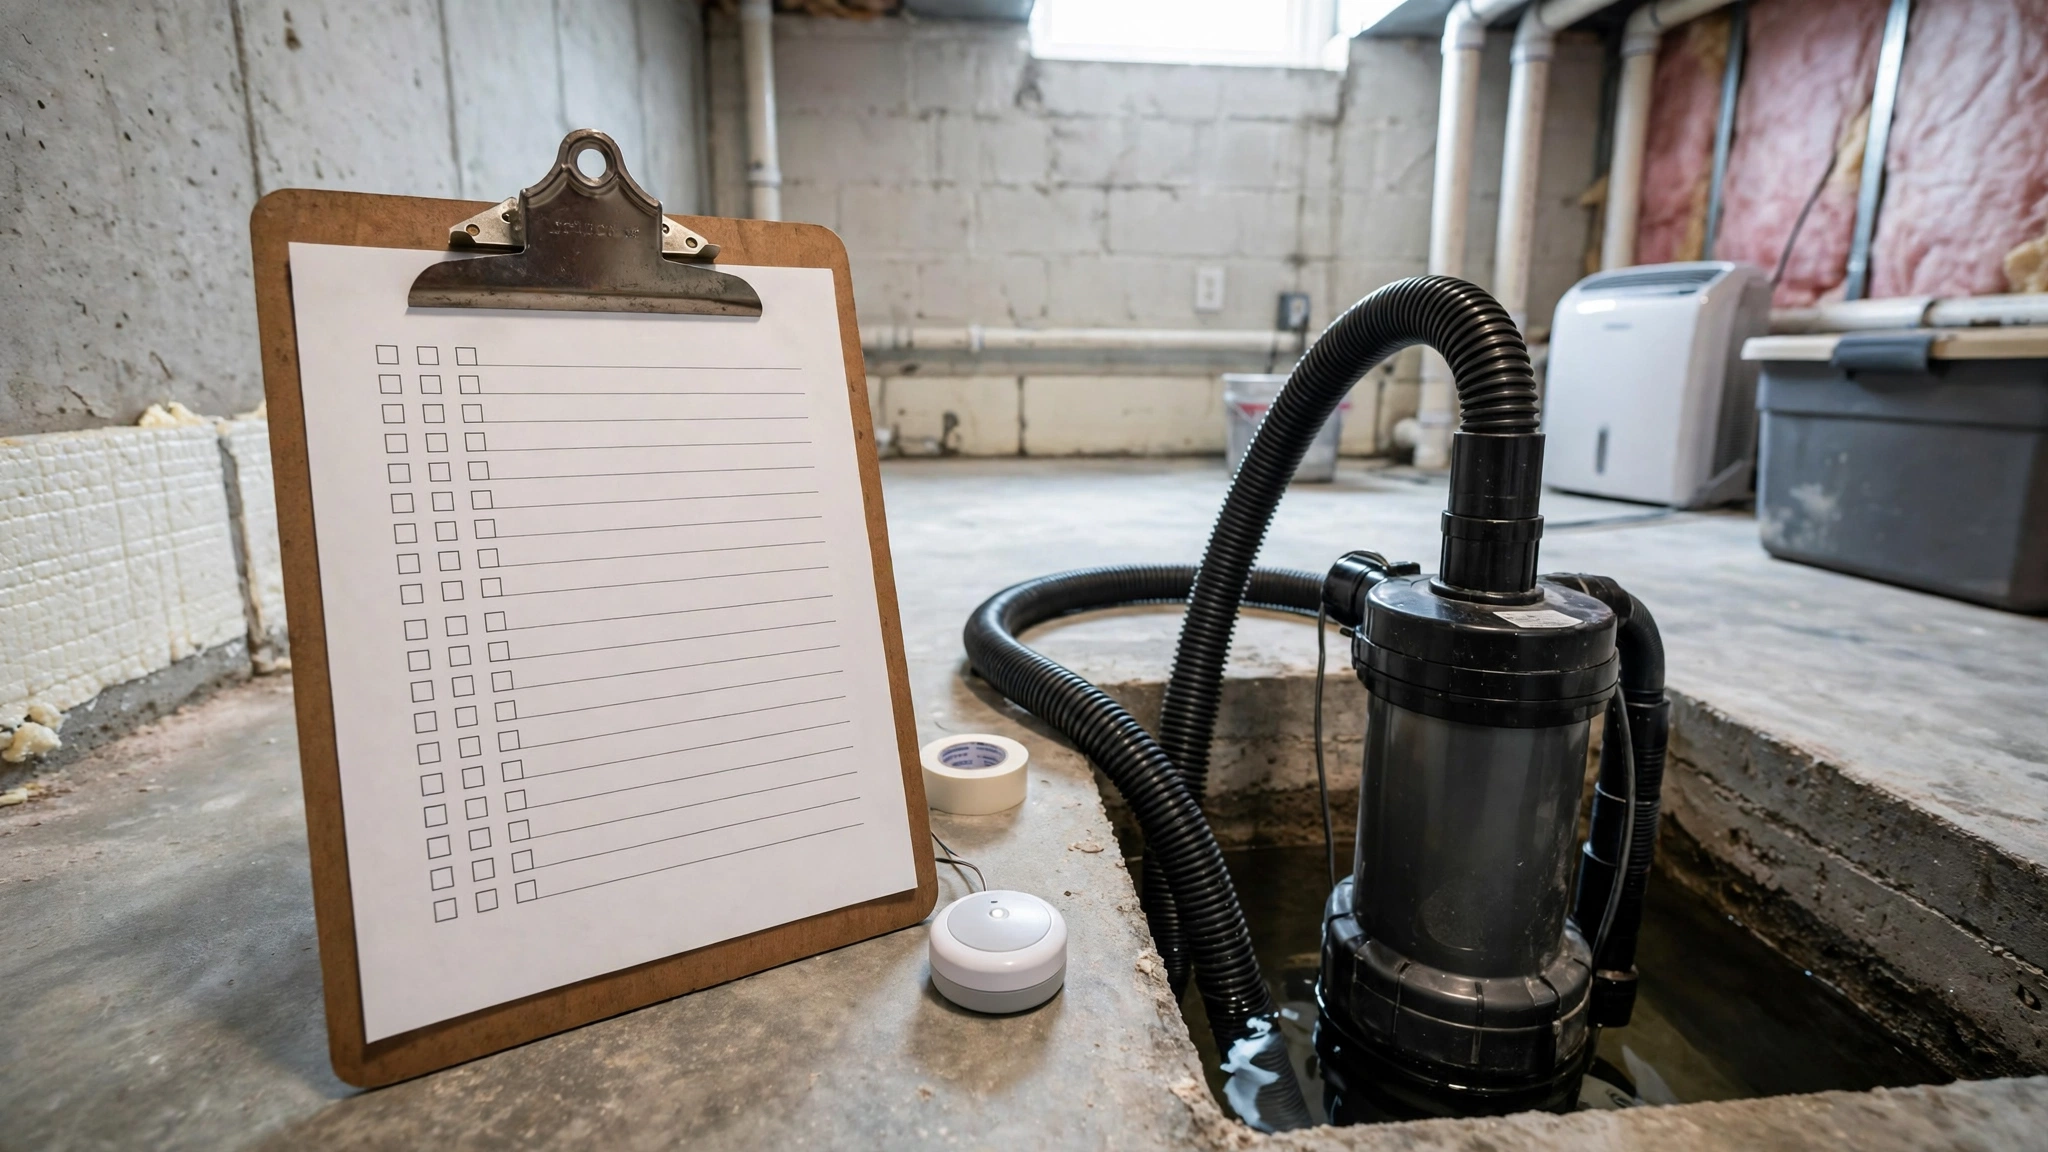
Follow this seasonal checklist:
- Spring: clean gutters and downspouts, check roof flashing, test the sump pump.
- Summer: inspect outdoor faucets and sprinkler lines, check the water heater for rust and leaks.
- Fall: winterize sprinklers, disconnect garden hoses, insulate exposed pipes.
- Winter: run faucets at a trickle during deep freezes, keep the heat on in unused rooms.
Install leak sensors under sinks, behind the washing machine, and near the water heater. Sensors sound an alarm at the first sign of water, and an auto shutoff valve on the main line stops the flow before a small leak becomes a flood. Grade soil so water flows away from the foundation, and keep downspouts extended at least 6 feet from the house.
Conclusion
Water damage recovery works when the first 24 hours go right. Stop the water, cut power from a dry spot, photograph everything, and start drying at once. Water damage recovery then moves through extraction, structural drying, cleaning, and repair, with moisture meter readings proving each stage is done before the next one starts.
Know the 3 water categories, dry within 24 to 48 hours to stop mold, and call a professional for gray water, black water, large areas, and any loss that stayed wet past 48 hours. File the insurance claim the same day, keep every receipt, and do not start permanent repairs before the adjuster inspects. Then prevent the next loss with annual hose checks, clean gutters, a tested sump pump, and leak sensors. Voice of Wave covers home care topics like this one so readers can act fast when a leak, a storm, or a failed appliance puts a home at risk.
Read more home guides on the Voice of Wave blog and keep your home dry, safe, and ready for whatever comes next.
Frequently Asked Questions
How long does water damage recovery take?
Water damage recovery takes 3 to 7 days for drying in small cases and 2 to 6 weeks for full repairs after larger losses. Drying time depends on the water category, the class of the loss, and the materials affected. Class 4 losses with deep soaking take longest, and repairs start only after moisture readings show the structure is dry.
Can I stay in my home during water damage recovery?
Yes, you can stay in your home during water damage recovery if the loss is a small Category 1 spill with power and water working. Leave the home if the water is Category 2 or 3, if ceilings sag, if power is out, or if mold is visible. Children, older adults, and people with breathing problems should leave sooner.
Does homeowners insurance cover water damage recovery?
Yes, homeowners insurance covers water damage recovery when the cause is sudden and accidental, such as a burst pipe or a failed appliance hose. Policies usually do not cover gradual leaks, poor maintenance, or flood damage from rising surface water. Flood damage needs a separate flood insurance policy, and mold cleanup often has a lower sublimit.
How do I know if my walls are dry after water damage?
Use a moisture meter and compare readings to a dry wall of the same material in an unaffected room. Pin meters read moisture inside wood and drywall, and pinless meters scan larger areas fast. Repairs start only when readings match the dry baseline. A wall that looks dry can still read wet 2 inches above the visible water line.
What should I throw away after water damage?
Throw away soaked carpet padding, wet insulation, and drywall that wicked water upward, because these materials rarely dry in place and support mold growth. Discard food, medicines, and cosmetics that touched floodwater or sewage. Keep damaged items in place until the adjuster has seen them, then bag wet material before carrying it through dry rooms.
How soon does mold grow after water damage?
Mold can begin growing on damp surfaces within 24 to 48 hours after water damage, so drying speed matters more than repair speed. Dry wet materials in that window to stop most mold growth. If materials stayed wet for more than 48 hours, or if the affected area is larger than 10 square feet, call a mold remediation professional.