
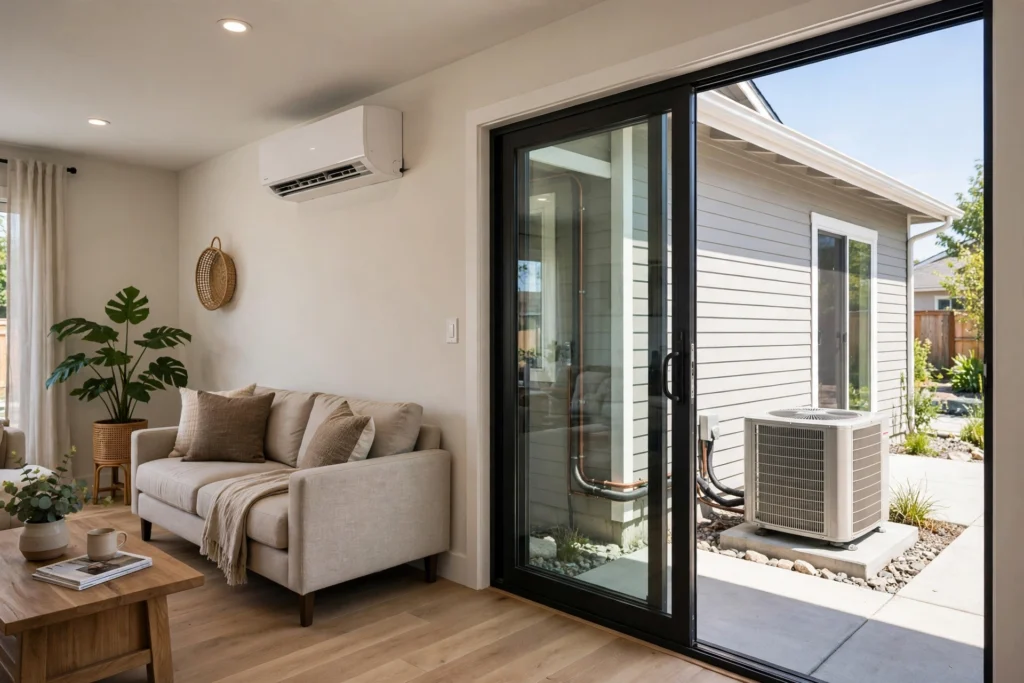
Ductless mini split installation is the process of mounting an indoor air handler on a wall, placing an outdoor condenser outside, and joining the two with refrigerant lines, wiring, and a condensate drain through a wall opening. A technician sizes the system, mounts both units, connects the line set, pulls a vacuum on the lines, and tests the system.
Most single-zone jobs finish in 4 to 8 hours, while multi-zone jobs take 1 to 2 days. Professional installation in 2026 costs $2,000 to $12,000, based on zone count, system size, and labor rates (Source: Carrier, 2026). A ductless mini split heats and cools single rooms or whole homes without ducts. It suits older homes, room additions, garages, and attics where ductwork is missing. This guide covers cost, sizing, placement, install steps, permits, and DIY limits, so you can plan the job with clear facts.
Key Takeaways
- Ductless mini split installation links one outdoor condenser to indoor air handlers with no ductwork.
- Professional installation in 2026 costs $2,000 to $12,000, and a single-zone job takes 4 to 8 hours.
- Size the system with a Manual J load calculation, since the wrong size wastes energy and cuts comfort.
- Mount the indoor unit 6 to 7 feet above the floor, with 6 inches of clearance from the ceiling.
- Most jobs need a permit and a dedicated circuit. The federal 25C tax credit ended Dec 31, 2025.
Table of Contents
- What Is a Ductless Mini Split System?
- How Much Does Installation Cost?
- How Do You Size a Mini Split for a Room?
- Where Should You Place the Units?
- What Are the Install Steps?
- Single-Zone vs Multi-Zone
- Can You Install a Mini Split Yourself?
- Permits, Electrical Work, and Rebates in 2026
- How Long Does Installation Take?
- Mistakes to Avoid After Installation
- Conclusion
- Frequently Asked Questions
What Is a Ductless Mini Split System?
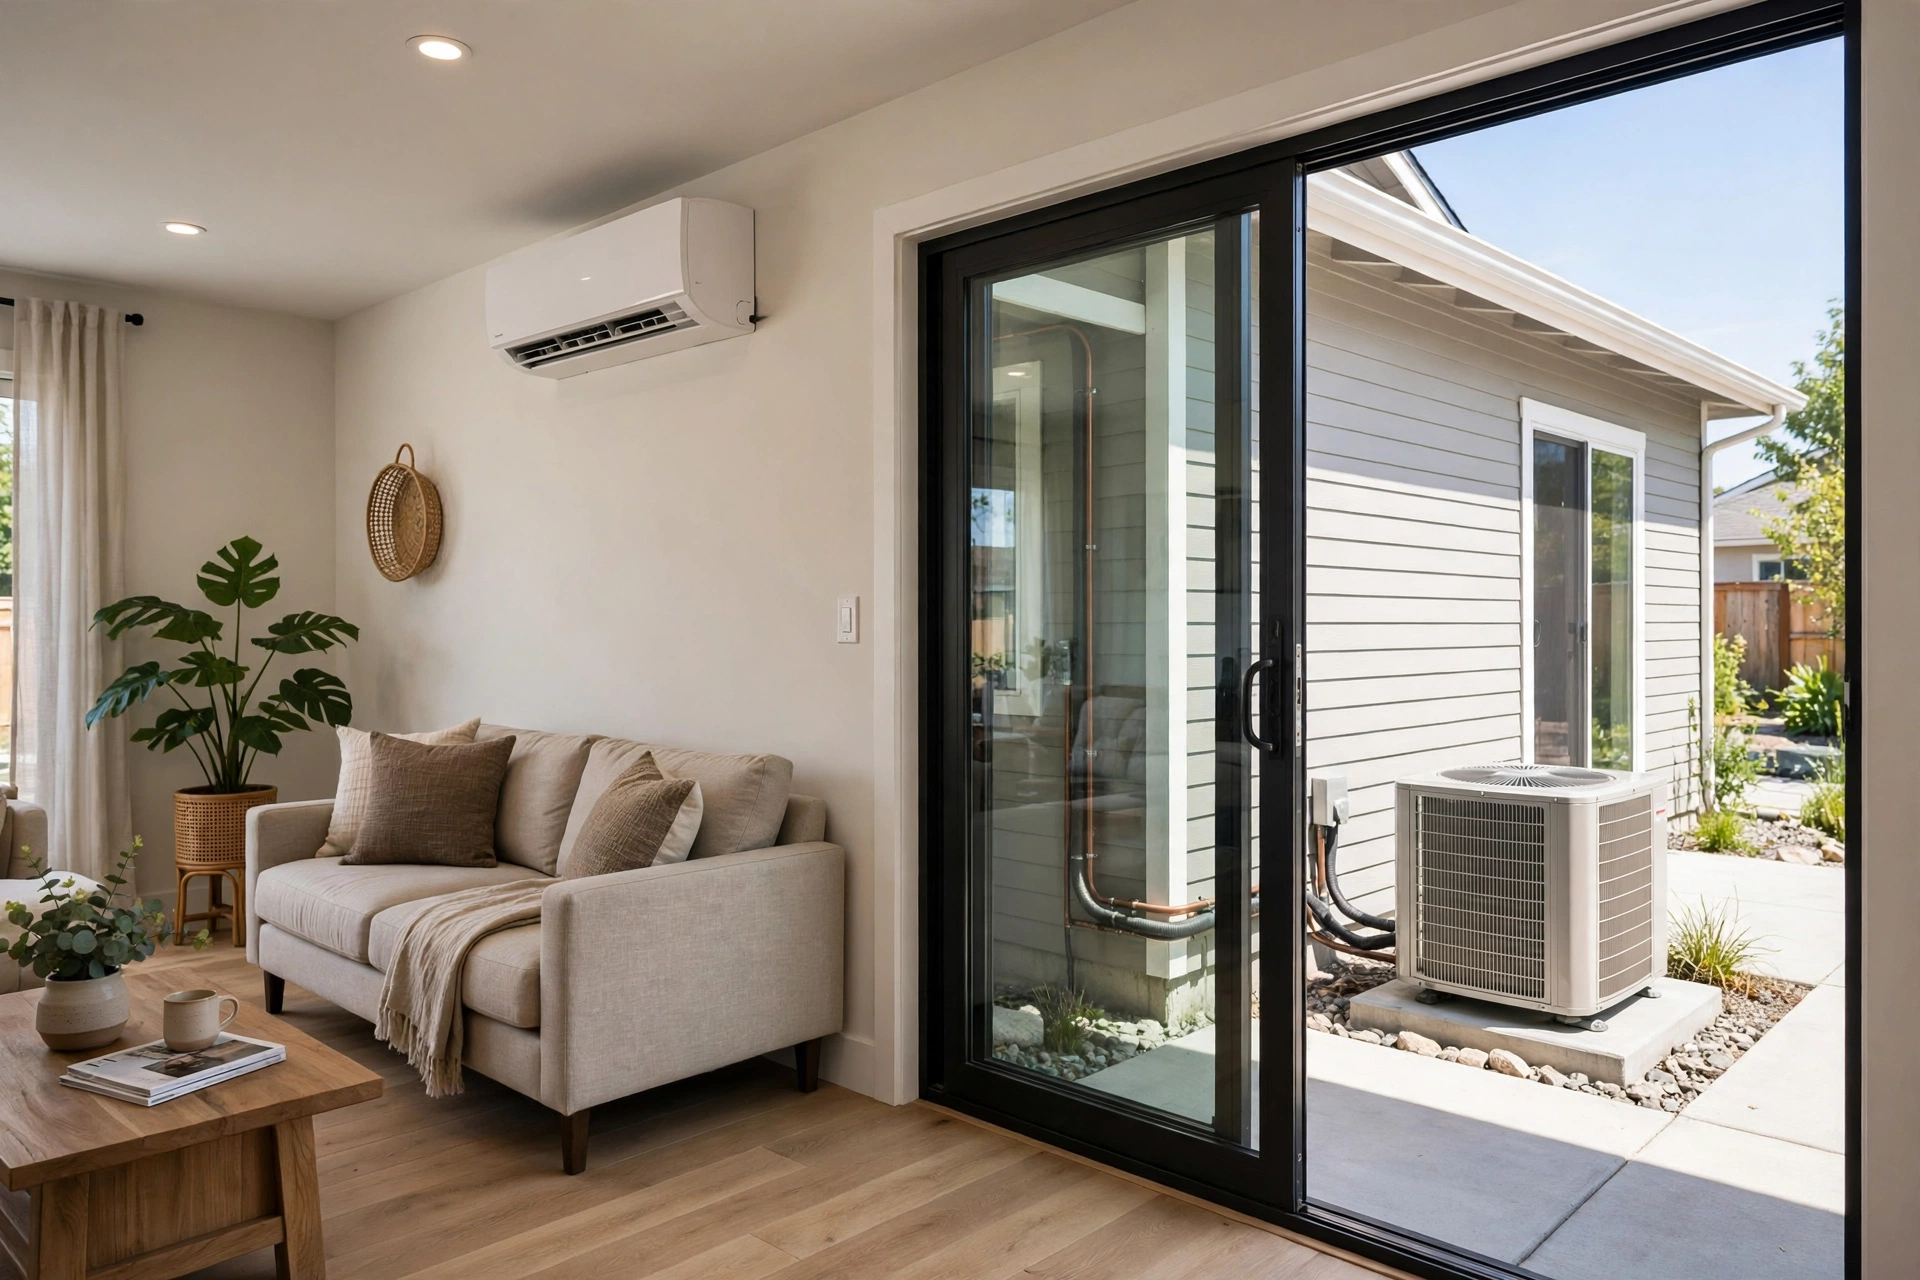
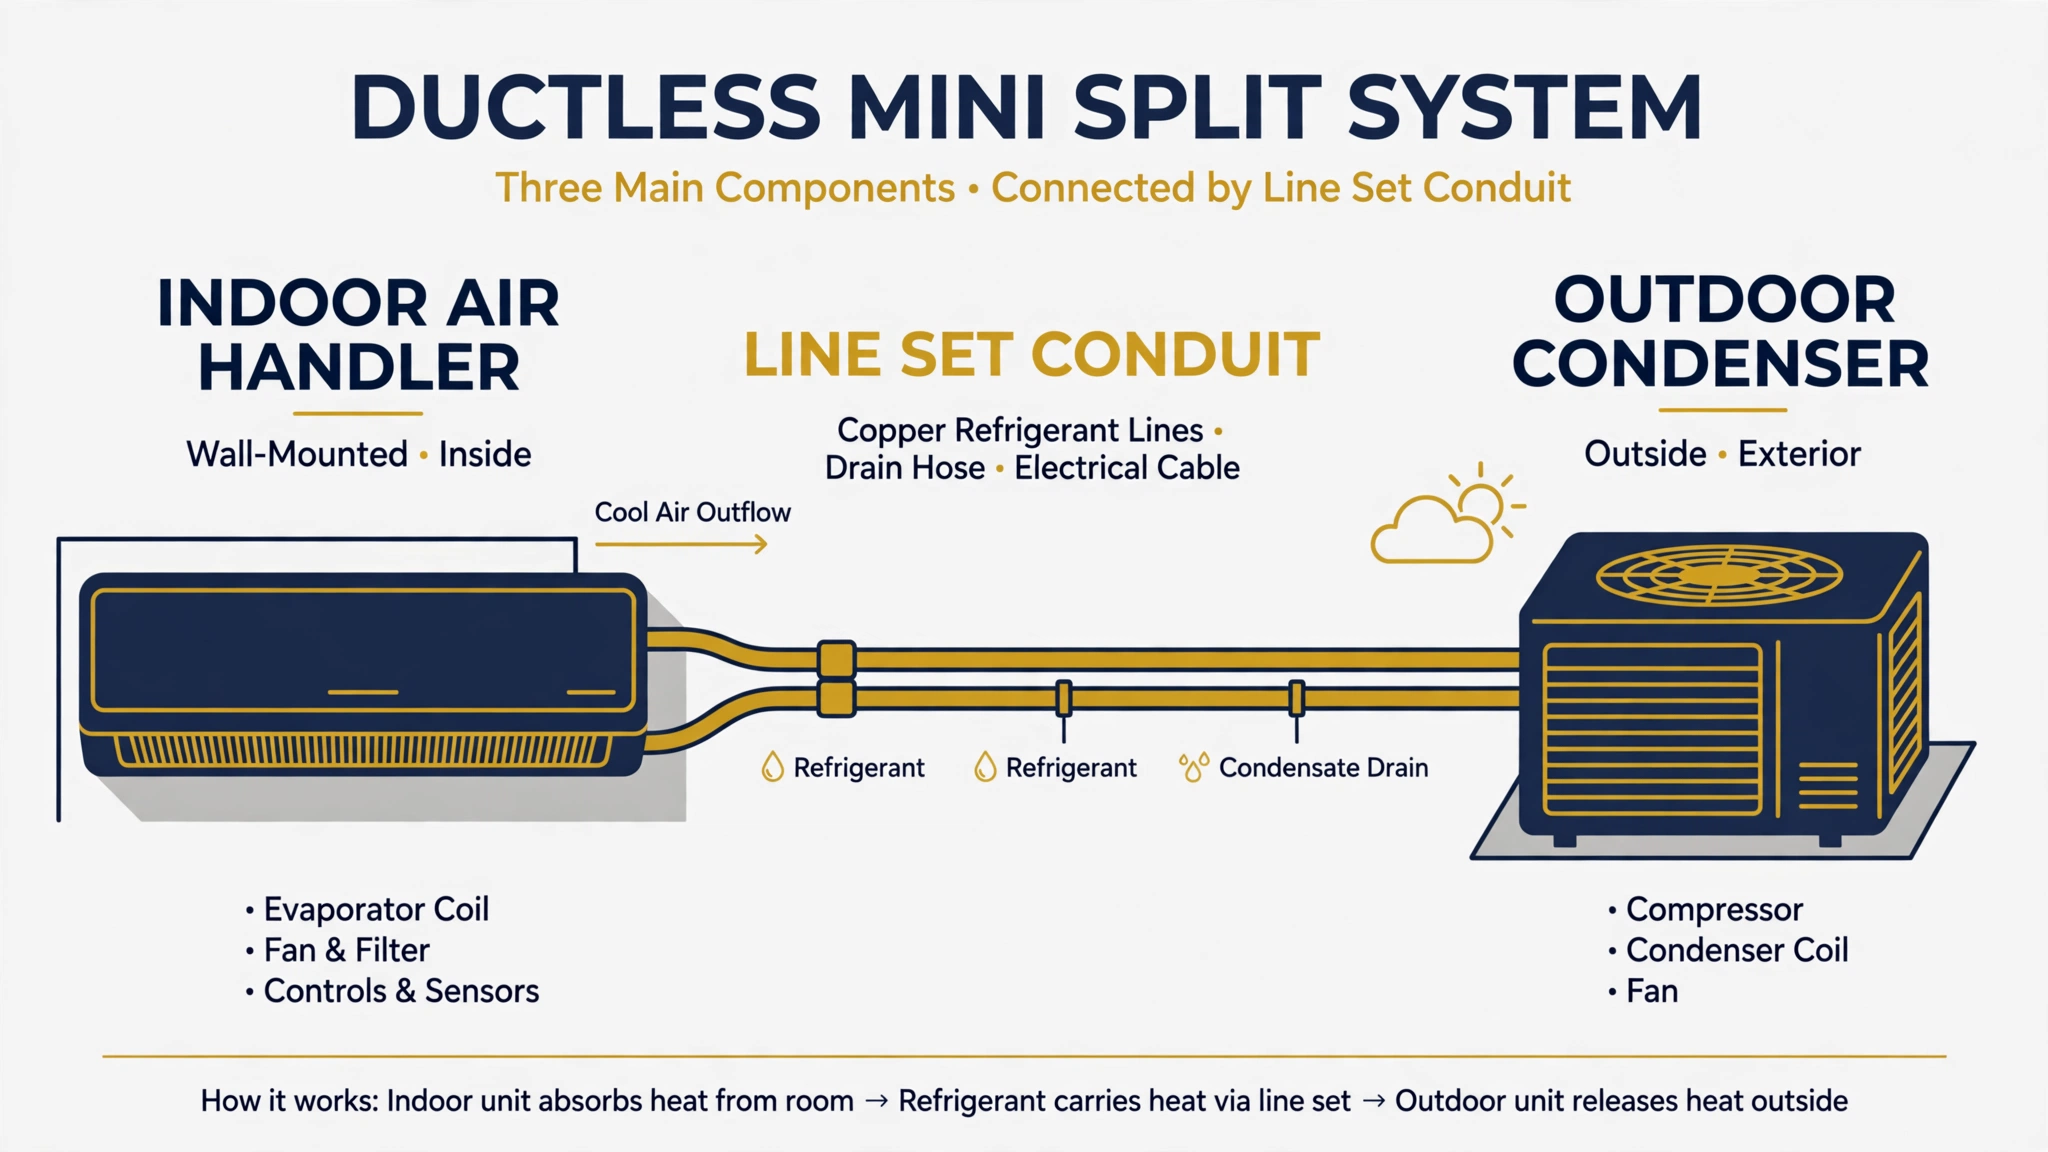
A ductless mini split system is a heating and cooling system with an outdoor condenser and one or more indoor air handlers that heat or cool single rooms without ducts. A conduit links the units and carries the power cable, refrigerant tubing, and condensate drain. Most models are heat pumps, so one system cools in summer and heats in winter.
A ductless mini split system has 3 main parts: the outdoor unit with the compressor and condenser coil, the indoor air handler, and the line set that joins them. Each indoor unit has its own control. A heat pump transfers thermal energy with a refrigeration cycle, and 1 kWh of electricity can transfer 1 to 4.5 kWh of thermal energy into a building (Source: Wikipedia, 2026).
Ductless mini splits fit 4 common cases: homes with no ducts, room additions, converted garages or attics, and single rooms that stay hot or cold with the main system. Voice of Wave covers home improvement topics so readers can plan a project with clear facts before they call a contractor.
How Much Does Ductless Mini Split Installation Cost?
Ductless mini split installation costs $2,000 to $12,000 for a professional job in 2026, and the national average sits near $3,000 for a basic single-zone system. Zone count drives the price more than any other factor. A single-zone system for one room costs far less than a four-zone system for a whole home.
Published 2026 guides put a single-zone job at $2,750 to $6,250 installed, with most jobs near $4,500 once the circuit and permit are counted (Source: Remodel Calculators, 2026). A three-zone system runs $6,000 to $12,500, and a four to five zone system runs $8,000 to $16,500. Angi reports $2,000 to $14,500 with an average near $3,000 (Source: Angi, 2026).
Five factors set the final price: system size, zone count, efficiency rating, electrical work, and access. Zone count adds one indoor unit, one line set run, and more labor per zone. High SEER2 models carry a premium over base models. Electrical work adds cost when the panel needs a new dedicated circuit.
For related pricing guides, browse the Home Improvement section. Air conditioning used about 7% of global electricity as of 2022 (Source: Wikipedia, 2022). The air conditioning page on Wikipedia gives the full history of the technology behind these systems.
| Cost item | Typical range in 2026 |
|---|---|
| Single-zone system, installed | $2,750 to $6,250 |
| Three-zone system, installed | $6,000 to $12,500 |
| Four to five zone system, installed | $8,000 to $16,500 |
How Do You Size a Ductless Mini Split for a Room?
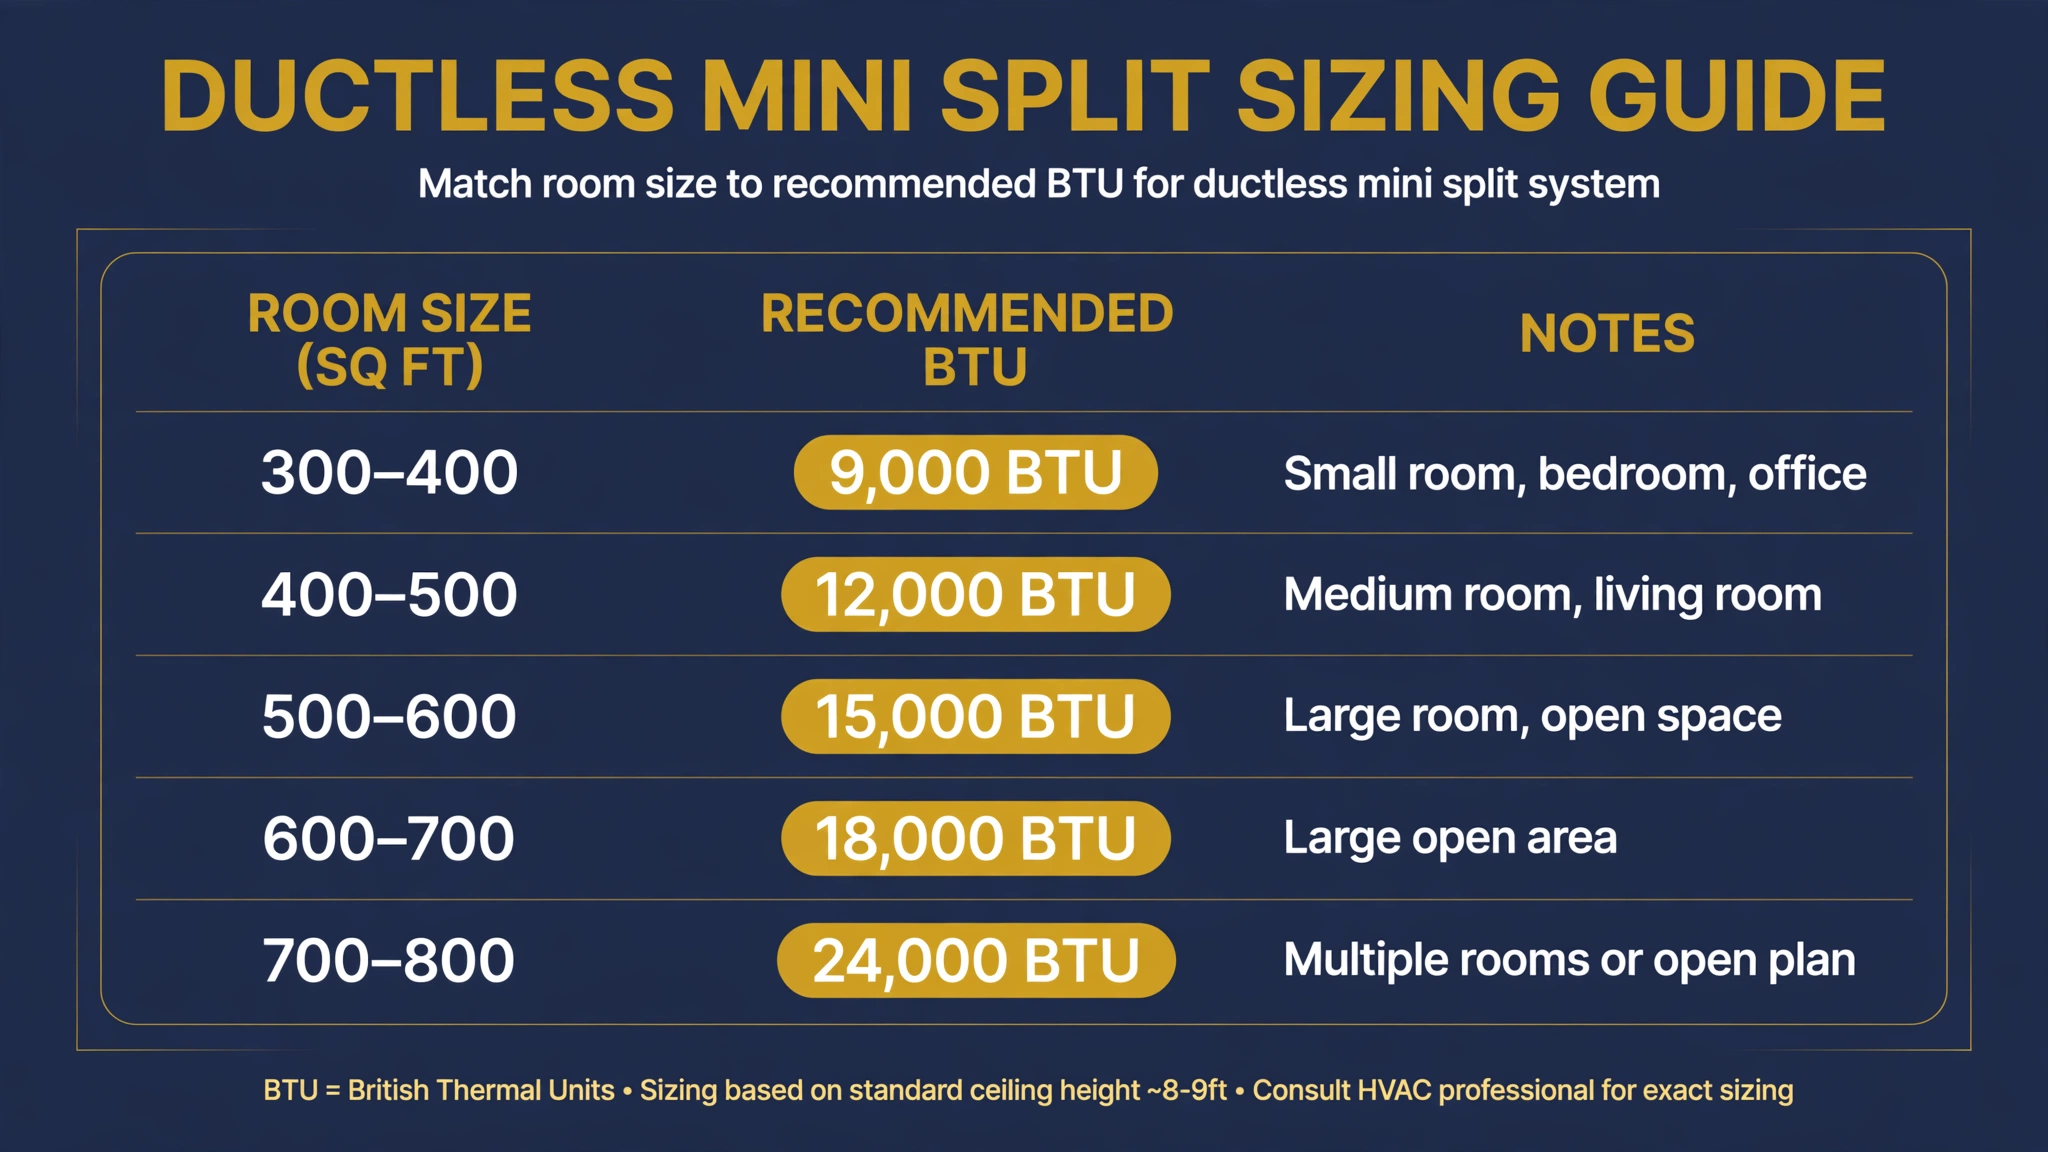
You size a ductless mini split with a Manual J load calculation that counts square footage, insulation, windows, ceiling height, sun exposure, and climate. A Manual J load calculation is the Air Conditioning Contractors of America (ACCA) standard method for sizing heating and cooling equipment room by room.
A rough rule of thumb is 20 BTU per square foot of floor area (Source: Angi, 2026). A 300 sq ft bedroom needs about 6,000 BTU, and a 600 sq ft living room needs about 12,000 BTU. The rule of thumb is a starting point only. A sunny room with large windows needs more capacity, and a shaded, well-insulated room needs less.
| Room size | Base BTU estimate | Common head size |
|---|---|---|
| Up to 300 sq ft | 6,000 BTU | 6,000 BTU |
| 300 to 550 sq ft | 9,000 BTU | 9,000 BTU |
| 550 to 800 sq ft | 12,000 BTU | 12,000 BTU |
An undersized unit runs nonstop and never reaches the set temperature. An oversized unit cools fast, shuts off early, and leaves humidity behind, so the room feels cold and damp. Oversizing also causes short cycling, which wears the compressor.
Where Should You Place the Indoor and Outdoor Units?
Place the indoor unit high on an interior wall, 6 to 7 feet above the floor, with at least 6 inches of clearance from the ceiling and clear airflow to the whole room. Carrier recommends the 6 to 7 foot mounting height and the 6-inch ceiling clearance for typical wall-mounted indoor units (Source: Carrier, 2026).
Pick an interior wall that joins the outdoor wall, so the line set run stays short. Keep the indoor unit away from direct sun, stoves, and lamps that fool the temperature sensor. Keep beds, sofas, and tall cabinets clear of the airflow path.
Place the outdoor unit on a solid, level surface with about 24 inches of clearance around it for airflow and service access (Source: Carrier, 2026). A concrete pad or a wall bracket works for the outdoor unit.
Short line set runs save money and protect performance. Some Carrier ductless systems allow line set lengths up to 328 feet, but most home installs use far less (Source: Carrier, 2026).
For related reading on a similar system, see Heat Pump Replacement: Signs and Timing for when a full heat pump swap beats a repair.
What Are the Steps in Ductless Mini Split Installation?
Ductless mini split installation follows 6 steps: site assessment and sizing, indoor unit mounting, line set routing, outdoor unit placement, connections, and startup testing. A single-zone job takes 4 to 8 hours, and a multi-zone job takes 1 to 2 days (Source: Bryant, 2026).
- Assess the site and size the system. The installer measures each room and runs the Manual J load calculation.
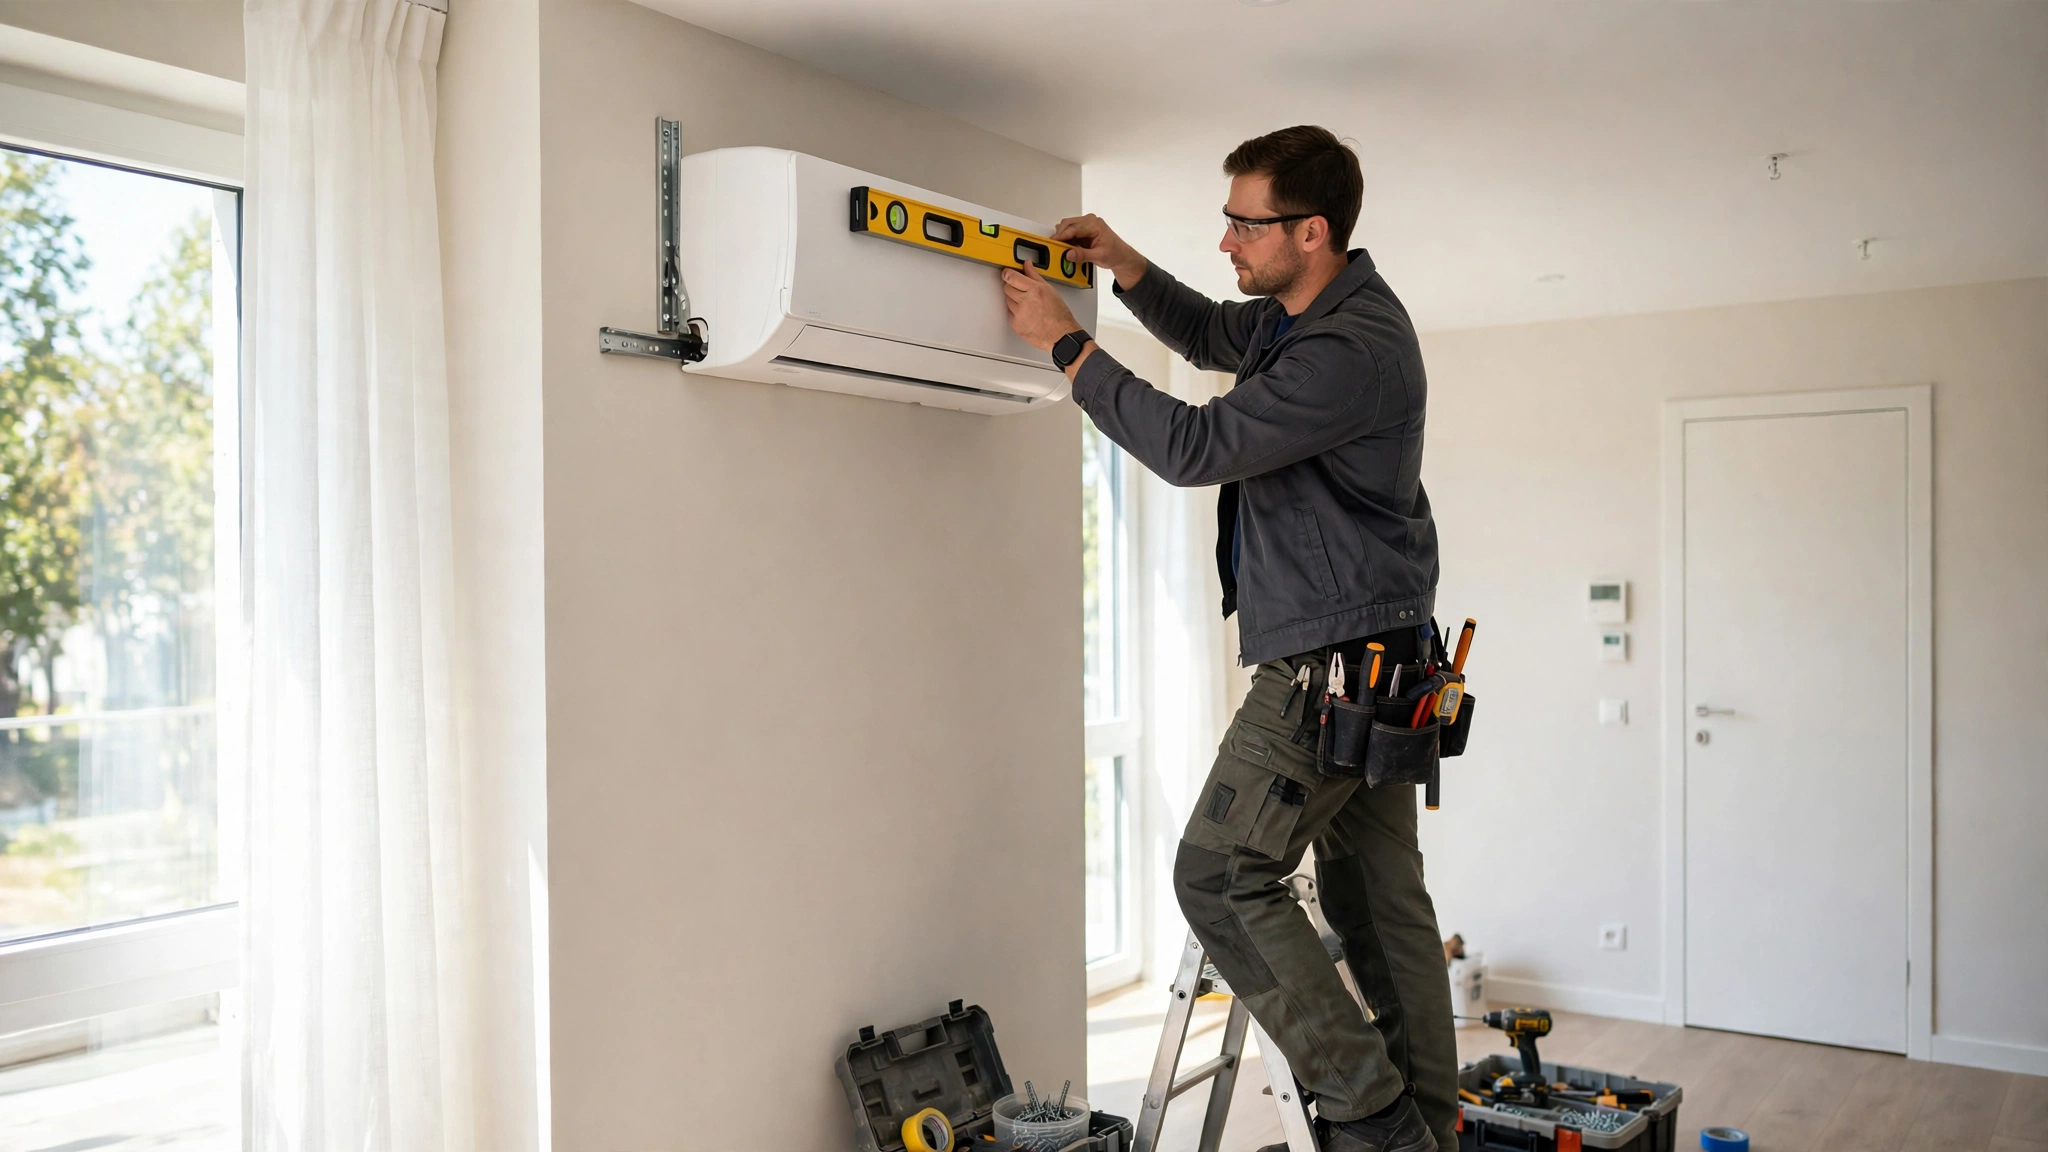
- Mount the indoor unit. The installer fixes the mounting plate to wall studs and hangs the indoor air handler.
- Drill the wall opening. The installer bores a 3-inch hole through the exterior wall with a slight downward pitch for drainage.
- Route the line set and wiring. The installer runs the copper refrigerant lines, the power cable, and the condensate drain through the hole to the outdoor unit.
- Set the outdoor unit. The installer levels the pad or bracket, sets the condenser, and connects the line set, drain, and wiring.
- Vacuum, charge, and test. The installer pulls a vacuum on the lines, opens the refrigerant valves, and tests heating, cooling, and drainage.
The vacuum step decides long-term reliability. Air and moisture left in the lines form acid that eats the compressor, and a weak vacuum leaves a slow leak that shows up months later as poor cooling. Ask the installer to show you the vacuum reading before the valves open.
Flare connections need the same care. A bad flare leaks refrigerant slowly. A small drop of refrigerant oil on the flare before tightening helps the brass faces mate without galling, a step many manuals omit (Source: EatSip365, 2026).
Single-Zone vs Multi-Zone: Which System Fits Your Home?
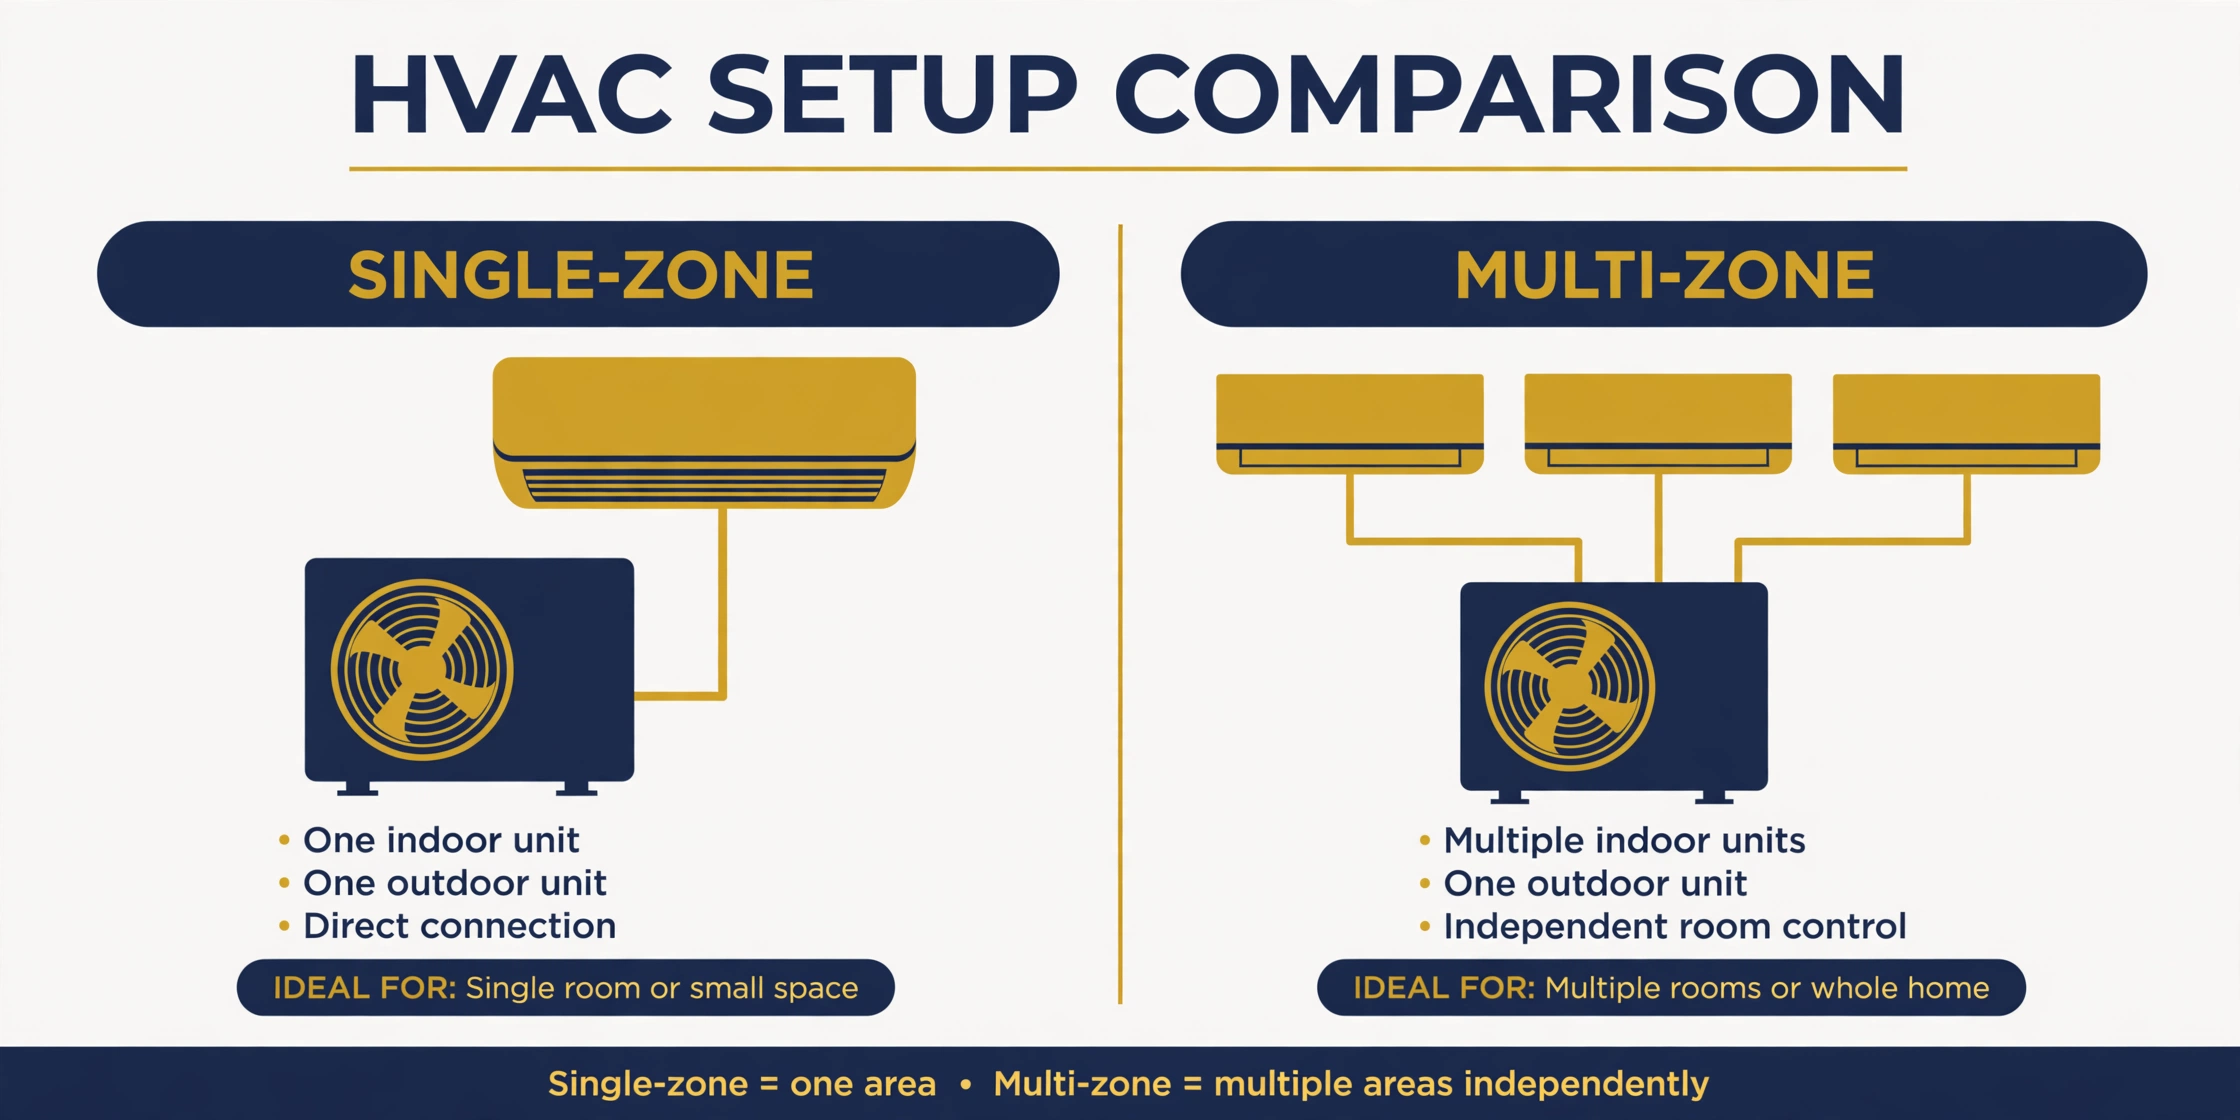
A single-zone system fits one room with one indoor unit and one outdoor unit, while a multi-zone system fits two or more rooms with several indoor units on one outdoor unit. A single-zone system is the right pick for a garage, an addition, or one problem room.
A multi-zone outdoor unit can serve up to 8 indoor heads on some models (Source: SupplyHouse, 2026). Each indoor head gets its own control, so a bedroom can stay cool while the living room stays warmer. A multi-zone system costs more up front, takes longer to install, and has one point of failure: if the outdoor unit stops, every zone stops with it.
| Factor | Single-zone | Multi-zone |
|---|---|---|
| Indoor units | 1 | 2 to 8 |
| Best fit | One room, garage, addition | Whole home, several rooms |
| Installed cost in 2026 | $2,750 to $6,250 | $6,000 to $16,500 |
| Zone control | One temperature | Each room set on its own |
Pick single-zone when one room needs help and the rest of the house already has working heat and cooling. Pick multi-zone when the house has no ducts and several rooms need comfort.
Can You Install a Ductless Mini Split Yourself?
No, most homeowners should not install a ductless mini split themselves, since the job needs refrigerant handling, high-voltage electrical work, and a vacuum pump, and a DIY install can void the warranty. Bryant states that professional installation is strongly recommended (Source: Bryant, 2026).
DIY kits with pre-charged quick-connect line sets exist, and brands such as MRCOOL sell them for homeowner installation. A pre-charged line set needs no vacuum pump and no flaring. Even with a DIY kit, most states still require a licensed electrician for the dedicated circuit, which costs $500 to $1,000 (Source: Angi, 2026).
A DIY install carries 4 clear risks. A bad flare or a skipped vacuum step causes a slow refrigerant leak that damages the compressor. Electrical mistakes cause shock or fire risk, and many brands void the warranty when a licensed installer does not perform the work.
Hire a licensed HVAC contractor, and do the prep work yourself: clear the wall and move furniture.
What Permits, Electrical Work, and Rebates Apply in 2026?
Most cities and counties require a permit for ductless mini split installation, and the job needs a dedicated electrical circuit. Check with the local building department before install day. A permit costs $250 to $400 in most areas (Source: RealCostIQ, 2026).
Most single-zone systems run on a 208 to 230V circuit, and the panel must have a free slot and enough spare capacity. The installer or a licensed electrician runs the circuit, fits the outdoor disconnect box, and grounds the system to code. An old panel with no free slots may need a subpanel or an upgrade.
Rebates changed in 2026. The federal 25C tax credit, which covered 30% of qualified heat pump costs up to a $2,000 annual cap, ended for equipment placed in service after Dec 31, 2025 (Source: James and Co., 2026). State and utility rebates still exist in many areas, so check the DSIRE database for current programs in your state.
Since Jan 1, 2026, new mini splits must use a low-GWP (under 700) A2L refrigerant such as R-454B or R-32 (Source: RealCostIQ, 2026).
How Long Does Installation Take and What Happens on Install Day?
A single-zone ductless mini split installation takes 4 to 8 hours, and a multi-zone installation takes 1 to 2 days, based on zone count and line set routing (Source: Bryant, 2026). A simple wall-mount job on a wood-frame house finishes in one workday.
Prepare the home the night before install day. Clear 6 feet of floor space under the indoor unit spot and around the outdoor unit spot. Move furniture, rugs, and wall art out of the work area.
On install day, the crew starts with a walkthrough to confirm the indoor and outdoor spots, the line set route, and the drain path. The crew mounts the indoor unit first, then drills the wall hole and runs the lines. The crew then wires the system, pulls the vacuum, and runs the startup test.
Before the crew leaves, run your own 5-point check. Confirm each indoor unit blows cold air in cooling mode and warm air in heating mode. Confirm the condensate drain drips outside. Confirm you have the model numbers and warranty papers in writing.
What Mistakes Should You Avoid After Installation?
Avoid 4 common mistakes after ductless mini split installation: skipping filter cleaning, blocking airflow, ignoring the drain, and skipping the first service visit. The filter needs cleaning every 2 to 4 weeks in heavy use, and a dirty filter cuts airflow and raises energy use.
Wash the filter with mild soap and water, let it dry fully, and slide it back in place. Keep furniture, curtains, and tall plants away from the indoor unit so air flows freely. A blocked indoor unit short cycles and leaves hot or cold spots.
Check the condensate drain each season. A clogged drain backs water into the indoor unit and can stain the wall or floor. Pour a cup of clean water into the drain pan at the start of cooling season.
Book the first service visit 12 months after installation.

Conclusion
Ductless mini split installation gives a home room-by-room comfort without ducts, and the job is straightforward when the planning is right. Size the system with a Manual J load calculation, place the indoor unit high on an interior wall, and set the outdoor unit on a level pad with 24 inches of clearance. Professional installation in 2026 costs $2,000 to $12,000, and a single-zone job takes 4 to 8 hours. Hire a licensed HVAC contractor, collect 3 written quotes, and check state and utility rebates before you sign. Voice of Wave covers home comfort topics to help readers plan the next project with facts they can check.
Explore more home guides: Browse the latest articles on Voice of Wave blog for fresh ideas on home improvement, heating, cooling, and everyday living.
Frequently Asked Questions
How much does ductless mini split installation cost in 2026?
Ductless mini split installation costs $2,000 to $12,000 for a professional job in 2026, with a basic single-zone system near $3,000 on average. A three-zone system runs $6,000 to $12,500, and a four to five zone whole-home system runs $8,000 to $16,500. Zone count, system size, efficiency rating, electrical work, and labor rates set the final price.
How long does ductless mini split installation take?
A single-zone ductless mini split installation takes 4 to 8 hours, and a multi-zone installation takes 1 to 2 days. The time depends on zone count, line set length, wall type, and electrical work. A simple wall-mount job on a wood-frame house finishes in one workday, while long line runs or masonry walls add hours.
Can I install a ductless mini split myself?
No, most homeowners should not install a ductless mini split themselves. The job needs refrigerant handling, high-voltage electrical work, and a vacuum pump, and the EPA requires Section 608 certification for refrigerant work. DIY kits with pre-charged line sets exist, but a licensed electrician is still needed for the circuit, and DIY work can void the warranty.
What size mini split do I need for a 600 sq ft room?
A 600 sq ft room needs about 12,000 BTU, based on the rule of thumb of 20 BTU per square foot. The exact size needs a Manual J load calculation that counts insulation, windows, ceiling height, sun exposure, and climate. A sunny room with windows may need 15,000 BTU, while a shaded and well-insulated room may need only 9,000 BTU.
Do I need a permit for ductless mini split installation?
Yes, most cities and counties require a permit for ductless mini split installation. Most jurisdictions require a permit for HVAC work, and many require a licensed contractor to pull it. A permit costs $250 to $400 in most areas. Check with the local building department before install day to confirm the rules and the fee.
How far can the indoor unit be from the outdoor unit?
The distance between the indoor and outdoor units depends on the model. Some Carrier ductless systems allow line set lengths up to 328 feet. Most installs use far less, since short runs save money and protect performance. Keep the run as short as the floor plan allows and stay within the limits for length and elevation.